Why Your Microwave Buttons Stopped Working (And How to Fix It)
There are few kitchen inconveniences more annoying than a microwave that simply ignores you. You press "Start" or "Add 30 Seconds," and nothing happens. The display might be blank, or maybe the lights are on but the buttons feel dead.
Looking for more guidance? Take a look at our Repairs overview.
Get the Casa App
Identify and resolve the issue to prevent future problems.
For many homeowners, the immediate instinct is to assume the appliance is broken and start shopping for a replacement. But before you spend hundreds of dollars on a new unit—or pay for a service call—take a breath.
Non-responsive microwave controls are often caused by simple, reversible issues like a triggered safety lock, a tripped breaker, or temporary moisture buildup. It is rarely a catastrophic failure.
In this guide, we will walk through a safe, step-by-step process to diagnose the problem. We’ll cover what you can fix yourself and clearly identify when it’s time to call in a pro.
(Note: Microwaves contain high-voltage capacitors that retain electricity even when unplugged. For your safety, this guide focuses only on external troubleshooting. Never remove the outer casing of a microwave unless you are a trained technician.)
![Microwave troubleshooting]
Common Reasons Microwave Controls Fail
If your microwave is giving you the silent treatment, it usually comes down to one of three categories:
Power interruptions: The outlet, fuse, or circuit breaker has cut power to the unit.
Settings and Locks: The "Child Lock" feature has been accidentally activated.
Panel Issues: Moisture, steam, or wear has temporarily affected the touchpad.
Let's figure out which one applies to you.
Step 1: Check for Signs of Life
The first step is distinguishing between a dead microwave and a locked microwave.
Do this first:
Look at the display. Is it completely blank, or are there numbers/zeros showing?
Open the door. Does the interior light turn on?
If the display is on or the light works:
Your microwave has power. The issue is likely within the control panel logic or settings. Jump to Step 2.
If the display is blank and there is no light:
Your microwave isn't getting electricity. Jump to Step 4.
Step 2: Disable the "Child Lock"
This is the most common reason for a "broken" microwave. Most modern microwaves have a safety feature designed to prevent children from accidentally starting the machine. When active, the buttons become unresponsive, sometimes displaying "LOCK" or "L" on the screen—but often, they just look normal and don't work.
How to fix it:
Look closely at your control panel. Find the "Stop/Cancel" button or sometimes the "Start" button.
Look for a small padlock icon or the word "Lock" printed next to a button (often the "0", "Clear", or "Start" key).
Press and hold that button for 3 seconds.
You might hear a beep or see a lock icon disappear from the screen.
Try pressing "Start" again.
If the buttons respond, you’ve solved it. If they are still unresponsive, proceed to the next step.
Step 3: Check for Moisture or "Ghost Touching"
Steam is a natural part of cooking, but excessive moisture can confuse a touch-sensitive control panel. If you recently boiled water or cooked something for a long time without using the exhaust fan, condensation might have settled between the membrane layers of the keypad.
Symptoms of moisture damage:
The buttons are unresponsive.
The microwave beeps randomly (phantom touches).
You see visible fog or droplets on the panel.
How to dry the panel:
Unplug the microwave to ensure safety and reset the electronics.
Wipe the surface gently with a microfiber cloth to remove external moisture.
Leave the microwave door propped open to encourage airflow.
If possible, place a small fan about 2 feet away, blowing gently toward the panel.
Wait 24 hours. This requires patience, but it allows internal moisture to evaporate.
After 24 hours, plug it back in and test. If it works, the issue was just temporary condensation. If it’s still dead, the control board itself may have shorted out.
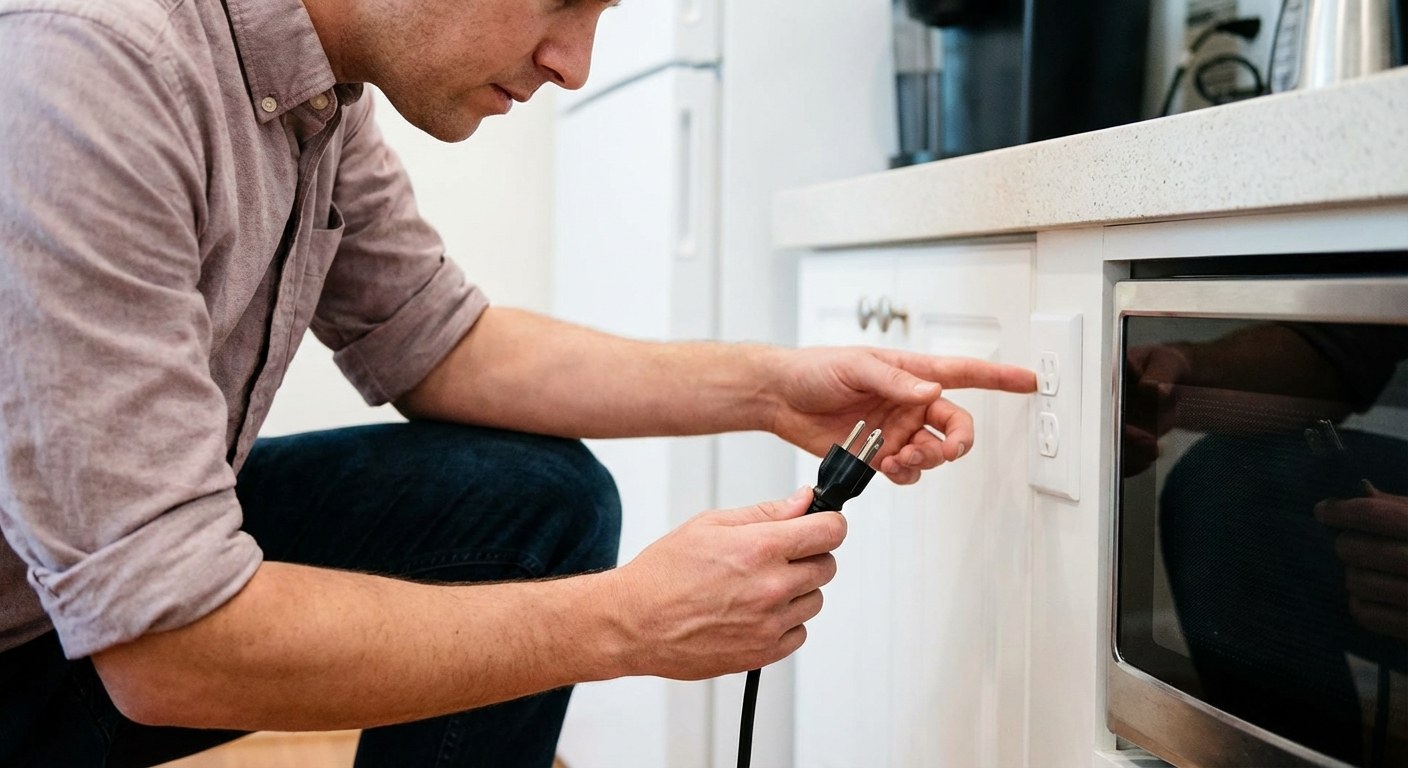
Step 4: Troubleshoot Power Issues
If your microwave had no lights and a blank display in Step 1, we need to verify the power source. This is especially common for over-the-range microwaves, which often share a circuit with other kitchen devices.
Test the outlet:
Unplug the microwave.
Plug in a small lamp or a phone charger into the same outlet.
If the lamp doesn't work: The issue is your home’s power, not the microwave. Go to "Reset the Breaker" below.
If the lamp works: The outlet is fine, meaning the microwave's internal fuse or power supply has failed. This is a "Stop" point—you need a pro.
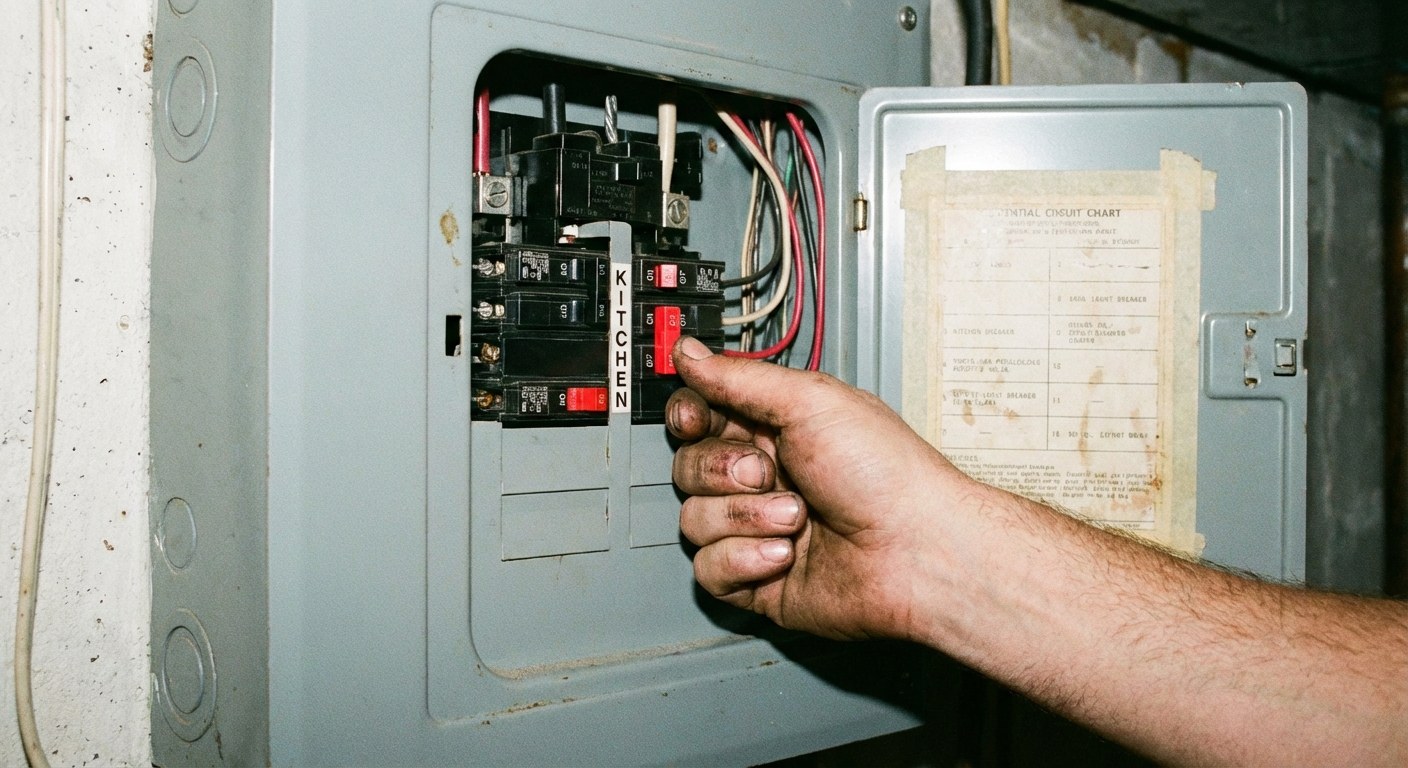
Reset the circuit breaker:
If the outlet seems dead, you may have tripped a breaker.
Go to your home’s electrical panel (breaker box).
Find the switch labeled "Microwave," "Kitchen," or "OVR-RNG."
Flip it firmly to OFF, wait 5 seconds, and flip it back to ON.
Check the microwave display again.
![Circuit breaker]
Decision Time: DIY vs. Professional Repair
Once you've gone through these steps, you should have a clear answer. Here is a quick summary of what to do next based on your results.
Safe to Fix Yourself
Child Lock: Just a button press away. (Cost: $0)
Tripped Breaker: A quick flip of a switch. (Cost: $0)
Moisture buildup: Requires 24 hours of patience. (Cost: $0)
When to Call a Pro
Internal Fuse: If the outlet works but the microwave is dead, a thermal fuse inside the unit likely blew. This is a safety device; replacing it requires opening the cabinet, which carries high-voltage risks.
Control Board Failure: If the "Child Lock" isn't on and drying didn't help, the electronic touchpad is likely broken.
Typical Repair Costs:
Service Call: $100–$150 just for diagnosis.
Parts & Labor: A control board replacement can cost $200–$400 total.
The "Replacement Rule":
If you have a standard countertop microwave that costs $150 or less, it is rarely cost-effective to repair it professionally. If you have a built-in or high-end over-the-range model (costing $400+), a repair is usually worth the investment.
Keep Your Home Running Smoothly
Appliance hiccups like this are a normal part of homeownership. The key is knowing which problems require a technician and which ones just need a little troubleshooting.
Keeping track of your appliance manuals and maintenance history can save you serious time when things go wrong. For help organizing your home’s details and staying prepared for moments like this, download the Casa app. It’s the easiest way to keep your home info in one place, so you’re always ready to handle the unexpected.