Take a deep breath. While you definitely shouldn't ignore it, a sparking microwave doesn't necessarily mean the unit is trash. In fact, the cause is often something simple that you can fix yourself in just a few minutes.
This guide will walk you through a safe, step-by-step process to identify why your microwave is acting up and how to stop it.
What Sparking Usually Indicates
Sparking occurs when high-voltage microwave energy can't be absorbed by the food and instead jumps between conductive surfaces. This usually happens for one of three reasons:
- Metal is present: This could be a fork you forgot to remove, a foil wrapper, or even gold-rimmed dinnerware.
- Food buildup: Carbonized food splatters (burned grease) can act like metal and conduct electricity, causing sparks.
- Component damage: A small cover inside the microwave called a "waveguide" might be damaged, or the interior paint may be chipped, exposing the bare metal underneath.
Let's figure out which one is affecting your kitchen.
![Microwave sparking]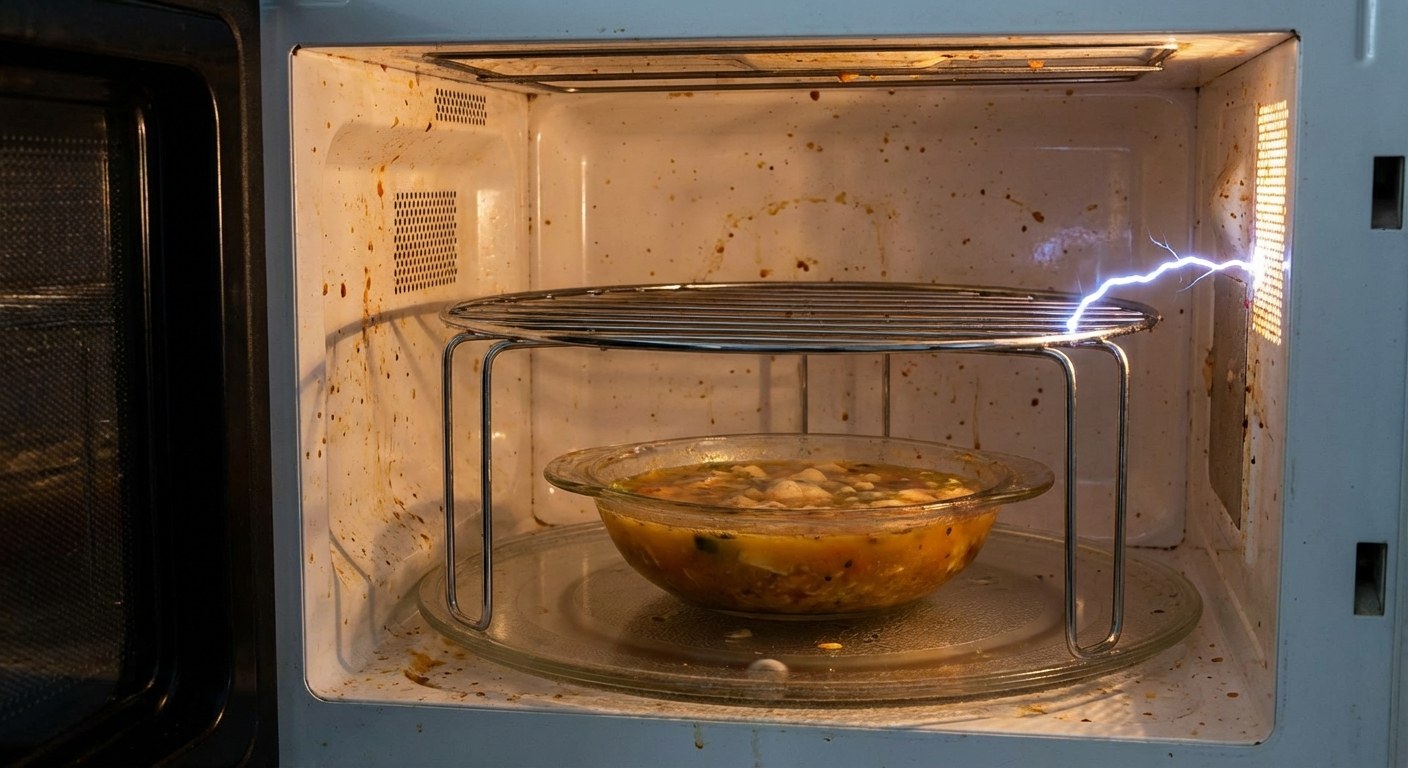
Step-by-Step Guide to Fix a Sparking Microwave
Safety is the priority here. We are dealing with electricity, so follow the order of these steps carefully.
Step 1: Perform a Safety Shutdown
Before you stick your hands inside or inspect anything closely, make sure the appliance is safe to handle.
- Press the Stop/Cancel button immediately if it's currently running.
- Unplug the microwave from the wall outlet.
- Wait at least 30 seconds. This allows the internal electrical components to discharge any residual energy.
Step 2: Check for Metal Objects
The most common reason for sparking is simply user error. We've all been there—leaving a spoon in a bowl or not realizing a takeout container has a metal handle.
- Open the door and inspect the contents. Look for aluminum foil, metal twist ties, forks/spoons, or plates with metallic rims (gold or silver paint).
- Remove anything that isn't clearly marked "microwave safe."
- Test: Place a microwave-safe glass of water in the center of the turntable. Plug the unit back in and run it for 30 seconds.
- Did the sparking stop? Great, it was just the metal object. You're done!
- Is it still sparking? Stop the microwave immediately, unplug it again, and move to Step 3.
Step 3: Inspect for Grease and Food Buildup
If there is no metal inside, the culprit is likely the walls of the microwave itself. Old food splatters that have been cooked over and over eventually turn into carbon. Carbon conducts electricity, which leads to arcing.
- Look closely at the ceiling and sidewalls of the interior. Do you see black spots or crusty food residue?
- Check the turntable and the roller ring underneath it.
- If you see grime, it needs to be deep cleaned.
How to Deep Clean:
- Mix one cup of water and one tablespoon of vinegar in a microwave-safe bowl.
- Microwave the mixture for 3 minutes on high to create steam (this softens the gunk). Leave the door closed for another 5 minutes.
- Wipe down the interior with a sponge or cloth. For stubborn spots, use a non-scratch scrub pad.
- Wash the turntable and roller ring in the sink with warm soapy water.
Test: Once everything is dry and reassembled, run the water test again (30 seconds on high). If the sparks are gone, it was just a dirty microwave. Keeping a cleaning schedule in an app like Casa can help prevent this buildup from returning.
Step 4: Inspect the Waveguide Cover
If the microwave is clean and metal-free but still sparking, look at the waveguide cover. This is a small square or rectangular panel, usually located on the right side wall or ceiling of the interior. It looks like cardboard or mica plastic.
Its job is to protect the magnetron (the part that makes the heat) from food splatters.
- Inspect the cover. Is it burned, cracked, or does it have a hole burned through it?
- If it is damaged, it must be replaced. Do not use the microwave with a damaged waveguide cover.
How to Replace:
- Unplug the unit.
- Remove the screw or pop the plastic tabs holding the old cover in place.
- Discard the old cover.
- Align the new cover (make sure you bought one specific to your model number) and screw or snap it back in.
Test: Run the water test again. If this was the issue, the sparking should stop immediately.
Step 5: Check for Chipped Paint
The interior of your microwave is actually made of metal, but it's coated in a special paint that prevents the microwaves from reacting with it. If that paint chips or peels, the exposed metal can cause arcing.
- Look for scratches or chips, especially under the roller ring or on the floor of the microwave.
- If you see bare metal, you can fix it with microwave cavity paint. Do not use regular spray paint or wall paint—they are not safe for food or heat.
How to Fix:
- Unplug the unit.
- Sand the chipped area lightly with fine-grit sandpaper to smooth the edges. Wipe away the dust.
- Apply a thin coat of microwave cavity paint. Let it dry for 10 minutes. Apply a second coat if needed.
- Wait 24 hours. This is critical—the paint must fully cure before you use the oven.
Test: After the paint cures, run the water test.
When to Call a Professional
If you have removed all metal, cleaned the interior, replaced the waveguide cover, touched up the paint, and the unit still sparks, you likely have an internal electrical failure (such as a failing magnetron or high-voltage diode).
At this point, stop using the microwave immediately. Internal electrical repairs on microwaves can be dangerous due to high-voltage capacitors that hold a charge even when unplugged. It is time to call a pro or replace the unit.
Time and Cost Estimates
Fixing a sparking microwave is usually very affordable compared to buying a new one.
- Total Time:
- Cleaning: 20 minutes.
- Waveguide Replacement: 10 minutes.
- Paint Touch-up: 20 minutes of work + 24 hours drying time.
- Cost:
- Cleaning: Almost free (water and vinegar).
- Waveguide Cover: $5 – $15.
- Microwave Cavity Paint: $10 – $20.
- Professional Repair: $100 – $200 (often not worth it for countertop models).
Final Thoughts
Most of the time, a sparking microwave looks much worse than it actually is. By methodically checking for metal, cleaning up old spills, and inspecting the waveguide cover, you can often save the appliance and avoid the cost of a replacement.
Once you’ve got your kitchen back in order, it helps to keep track of maintenance so you aren’t caught off guard again. The Casa app is great for organizing your home’s appliance details and manuals, so if you ever need that specific part number for a waveguide cover again, it’s right at your fingertips.
Ready to feel more in control of your home repairs? Download the Casa app today.


