The good news is that you can restore order. This isn't about achieving perfection overnight; it's about taking methodical steps to improve your garden's health and appearance. With a clear plan, you can tackle the overgrowth and create a foundation for easier maintenance in the future.
This guide will walk you through how to assess the situation, what you can handle yourself, and when it’s wise to call in a professional.
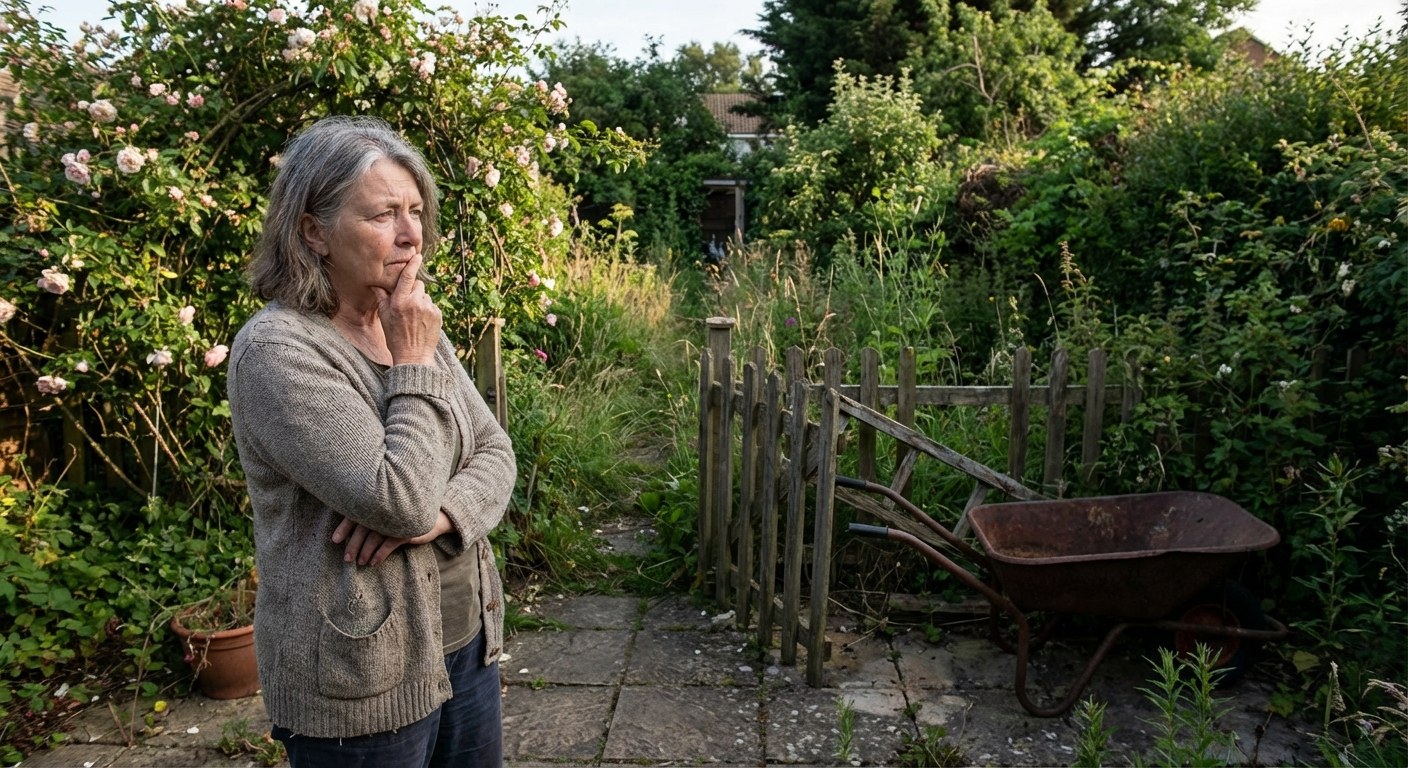
Why an Overgrown Garden is a Problem
Beyond just looking messy, an overcrowded garden can cause several issues:
- Poor Air Circulation: Densely packed plants don't get enough airflow, which can encourage fungal diseases like powdery mildew.
- Competition for Resources: Plants compete for sunlight, water, and soil nutrients, leading to weaker growth for everything.
- Pest Hideouts: Tangled growth provides a perfect hiding spot for pests.
- Invasive Plant Takeover: Aggressive weeds or vines can quickly choke out your desired plants if left unchecked.
Let’s get started on a plan to bring your garden back to health.
Step 1: Inspect and Plan Your Approach
Before you start cutting, take a walk around your entire garden. The goal is to understand what you're dealing with so you can work efficiently. Put on a pair of work gloves and take a few notes.
- Look Up: Identify any trees or large shrubs that are taller than you can safely reach from the ground, roughly 10 feet. Pruning at height is a job for professionals.
- Look for Bullies: Scan your garden beds for invasive plants. These are often fast-spreading vines or groundcovers (like English ivy or creeping bamboo) that form dense mats and smother other plants. Note any patches that cover a significant area.
- Check for Crowding: Look at your shrubs, perennials, and other plants. Are branches crossing, rubbing against each other, or growing so densely that no light can reach the center of the plant?
- Decide on a Style: Think about the look you want. Do you prefer the clean, defined edges of a formal garden, or a more relaxed, natural appearance? Keeping this in mind will guide your pruning decisions.
This initial assessment is the most important step. It tells you where to start and helps you identify tasks that might be beyond a safe DIY scope.
When to Stop: The 10-Foot Rule
If your inspection reveals trees or shrubs taller than 10 feet that need significant pruning, this is a clear sign to stop and call a professional. Working on a ladder with power tools like saws is extremely dangerous without proper training and safety equipment. A certified arborist or a professional tree service has the expertise to do this work safely and correctly.
Step 2: Remove Invasive Plants
If you identified patches of invasive plants, tackling them is your first priority. These aggressive growers will only continue to spread if you don't remove them completely.
This is safe to try yourself if: The invasive plants are in a manageable patch and can be removed with hand tools.
What you’ll need:
- Work gloves
- Safety glasses
- Hand pruners or loppers
- Garden spade or digging fork
- Heavy-duty trash bags
How to remove them:
- Cut Back the Top Growth: Start at the edge of the patch and use your pruners to cut the vines or stems near the ground. This clears the area so you can see what you’re doing.
- Dig Out the Roots: Use a spade or digging fork to loosen the soil and pull out the root systems. Be as thorough as possible—leaving even small pieces of root behind can allow many invasive species to regrow.
- Dispose of Them Properly: Do not put invasive plants in your compost bin. Many can re-root and spread from there. Place all plant material, including roots, into heavy trash bags for disposal with your household garbage.
Once the invasives are gone, take another look. If the remaining plants still look crowded, it's time to prune. If they now have enough space, you can skip to Step 4.
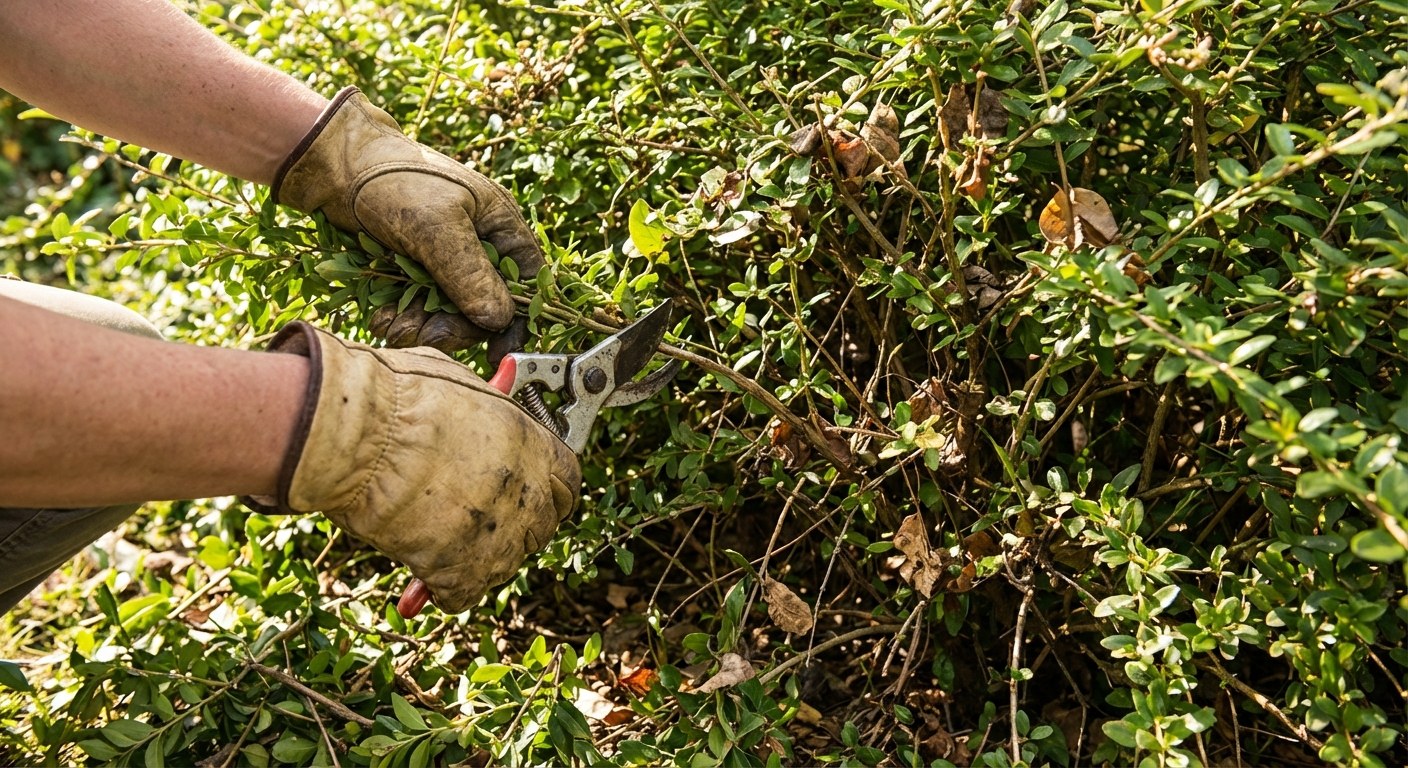
Step 3: Prune and Shape Your Plants
Pruning is the art of selective cutting. Your goal is to improve the plant's health, shape, and size.
This is safe to try yourself for: Most shrubs and perennials that are reachable from the ground.
How to prune effectively:
- Start with the 3 Ds: Always begin by removing any branches that are Dead, Diseased, or Damaged. These are easy to spot and removing them is an instant improvement.
- Thin the Interior: Next, look for branches that are rubbing against each other or crossing. Remove one of them to open up the plant. Your goal is to create enough space for air and light to penetrate the center. A good rule of thumb is to have about 6 inches of space between major stems.
- Shape the Plant: Step back every few cuts to look at the overall shape.
- For a natural look, vary the length of your cuts to avoid a sheared, boxy appearance.
- For a more formal look, use pruners to create a clean, uniform outline. A good practice is to keep the top of a shrub slightly narrower than the base so sunlight can reach the lower branches.
- Clean Up: Gather all your trimmings and add them to your compost pile (as long as they are disease-free) or your yard waste bin.
When to Call a Professional Landscaper
If you’ve done some pruning but the plants are still too large or you’re not happy with the shape, a professional landscaper can help with more significant reshaping or design choices.
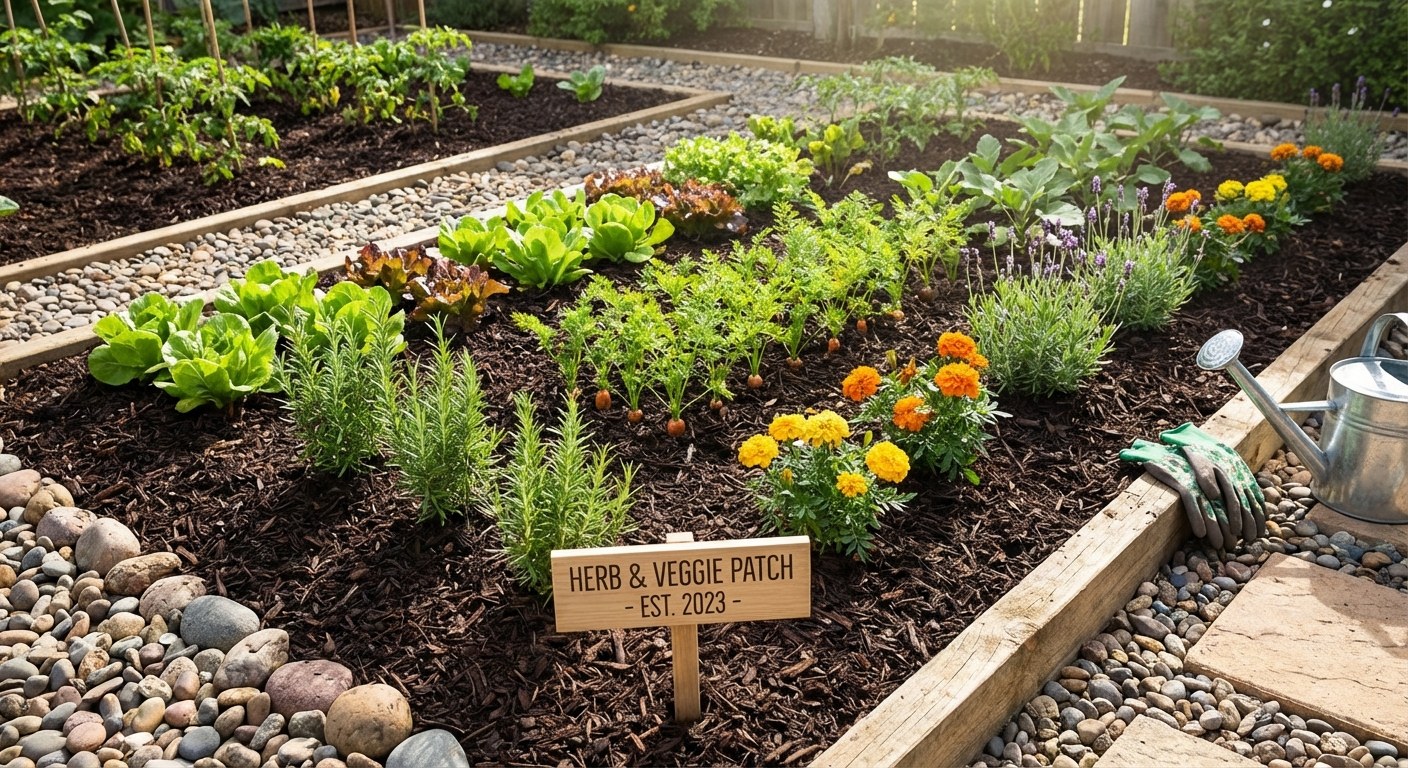
Step 4: Mulch and Maintain
After all your hard work clearing and pruning, applying a layer of mulch is the final step. It gives your garden a clean, finished look and offers several benefits.
How to apply mulch:
- Weed the Surface: Do a final check and pull any small weeds you may have missed.
- Spread an Even Layer: Apply a 2-inch layer of a quality mulch, like shredded bark, around your plants.
- Keep a Gap: Be sure to keep the mulch about 2 inches away from the base or stems of your plants. Piling mulch against the stem can trap moisture and lead to rot.
- Water Lightly: Give the mulched area a gentle watering to help it settle into place.
Typical Time and Cost
- DIY Project: For a small to medium-sized garden, expect this project to take anywhere from a few hours to a full weekend. The cost is minimal if you already own basic tools like gloves and pruners. Your main expense would be for mulch, which typically costs $3-$7 per bag.
- Hiring a Professional: A general garden cleanup from a landscaping company can range from $300 to over $700, depending on the size of your garden and the amount of work needed. For large tree pruning, hiring a certified arborist can cost anywhere from $500 to $1,500 or more, depending on the tree's size and location.
Your Garden, Reclaimed
Taming an overgrown garden is a satisfying project that instantly improves your home’s curb appeal and creates a healthier environment for your plants. By following these steps—inspecting, clearing, pruning, and mulching—you can transform a tangled mess into a tidy, enjoyable space.
Keeping track of tasks like seasonal pruning can feel like one more thing to remember. The Casa app can help you create a simple maintenance calendar for your home and garden, so you know exactly what needs doing and when. Download Casa today to stay organized and feel confident in managing your home.
Related Reading


