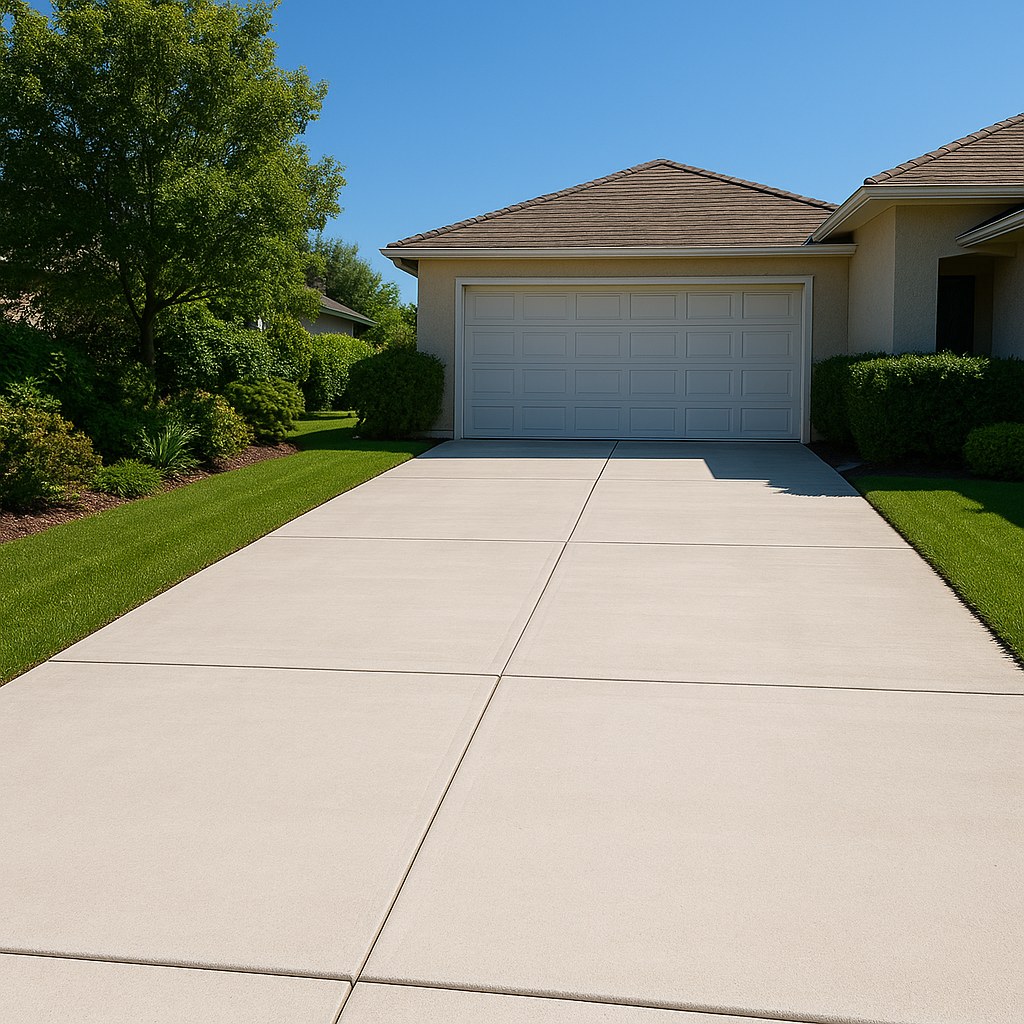
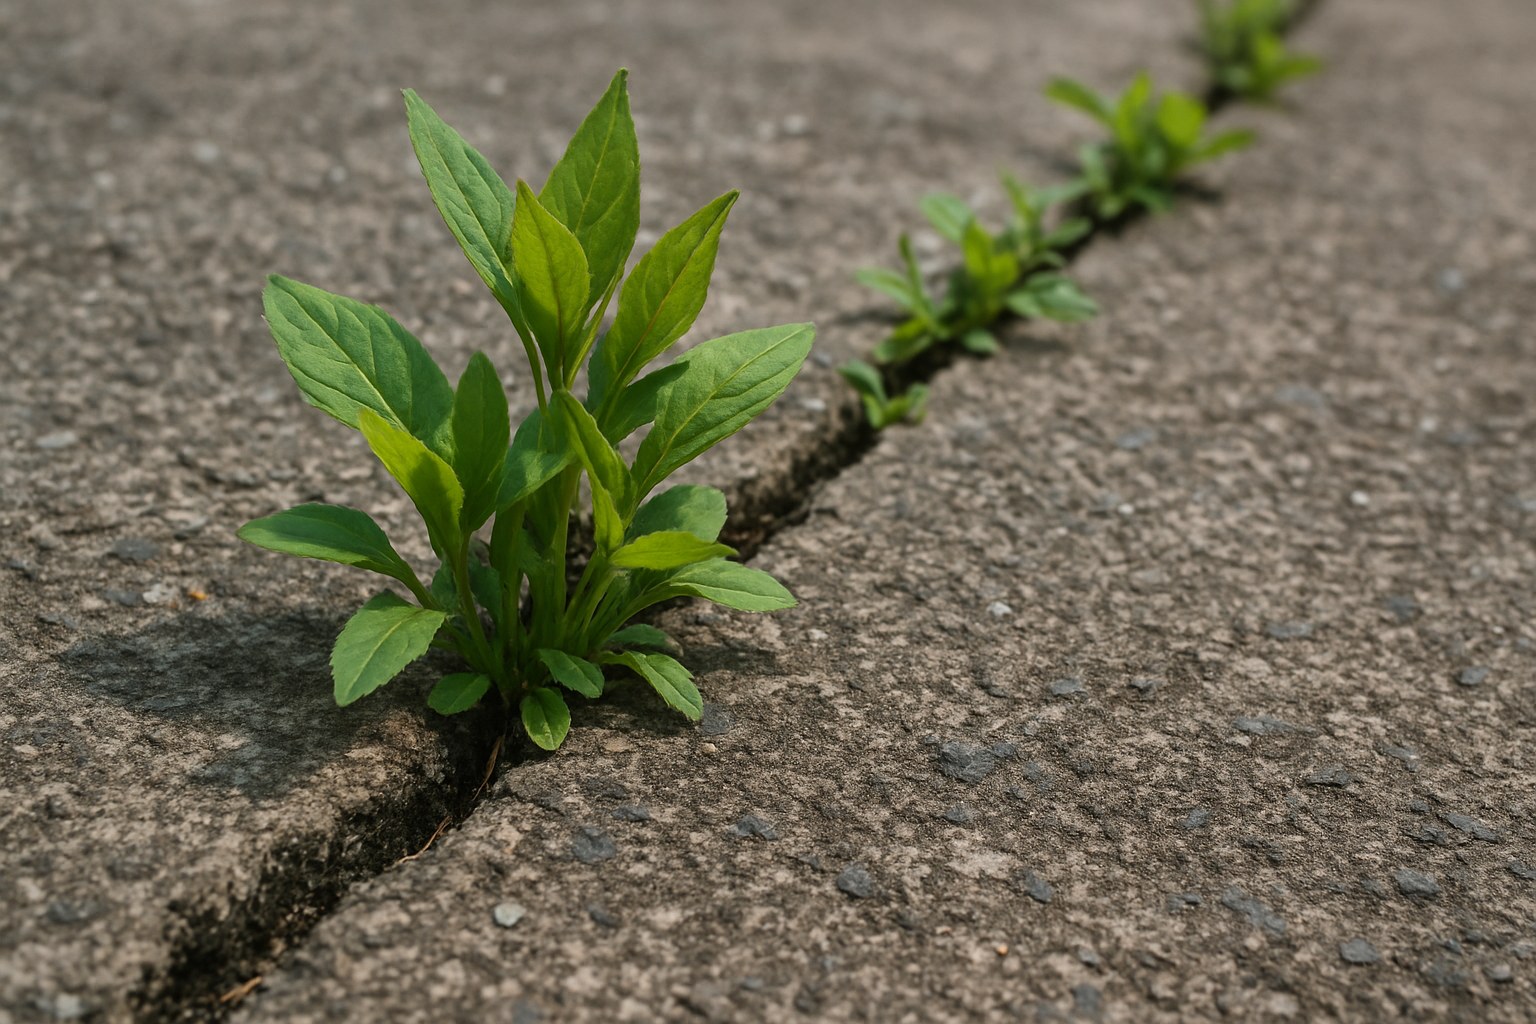
There are few things more frustrating for a homeowner than seeing stubborn weeds poke through the cracks in their driveway. It’s a blemish on your home's curb appeal and can make an otherwise tidy property look neglected. That little bit of green might seem harmless, but if left unchecked, it can lead to bigger problems down the road.
The good news is that you don't have to live with a weedy driveway. With the right approach, you can tackle this problem yourself and restore your driveway to its pristine, weed-free state. Think of me as your expert on the line, ready to walk you through it.
In this guide, we'll break down everything you need to know about how to get rid of weeds in your driveway cracks, from assessing the severity of the problem to choosing the perfect removal method for your situation.
Why Driveway Weeds Are More Than Just an Eyesore
Before we grab our tools, it’s important to understand why dealing with these weeds is so crucial. It’s not just about aesthetics.
- They Worsen Cracks: Weed roots are surprisingly powerful. As they grow, they expand, putting pressure on the surrounding asphalt or concrete. This can turn tiny cracks into large, problematic fissures over time.
- They Trap Moisture: Weeds and the soil they grow in hold moisture against the driveway surface. In colder climates, this can lead to freeze-thaw cycles that cause significant damage and crumbling.
- They Signal Deeper Issues: Widespread weed growth can sometimes indicate that the foundation beneath your driveway is compromised, allowing moisture and soil to accumulate where they shouldn't.
By tackling the weeds, you're not just cleaning up; you're performing essential preventative maintenance for one of the most important surfaces of your home.
Your Step-by-Step Guide to a Weed-Free Driveway
The key to effectively removing driveway weeds is to match your method to the scale of the problem. A few scattered weeds require a different approach than a driveway that looks more like a lawn. Let’s figure out what you’re dealing with first.
Step 1: Assess the Driveway Weeds
First, let's play detective. Take a slow walk up and down your driveway and take stock of the situation. This initial 10-minute assessment will save you a ton of time and effort later.
Here's what to look for:
- Estimate the Coverage: Look at the total surface area. Do the weeds cover less than about 25% of the cracks? Or is the problem more widespread? This is the most important question, as it will determine which path you take.
- Check for Nearby Plants: Do you have delicate flower beds, a prized rose bush, or a vegetable garden bordering the driveway? Note anything within 3-5 feet of the edges. This will be critical if you consider a chemical solution.
- Inspect the Cracks: Are any of the cracks unusually wide (more than 1/4 inch) or deep (more than 1/2 inch)? Large cracks might need more than just weed removal; they may require repair and sealing to prevent a quick return of the problem.
Once you have a clear picture, you can choose the right method for the job.
Step 2: For Minor Infestations (< 25% Coverage) - Manual Removal
If you're just dealing with a few rogue weeds here and there, a hands-on approach is your best bet. It’s quick, effective, and doesn't involve any chemicals or heavy machinery.
Tools You’ll Need:
- Work gloves
- A hand weeder (also called a dandelion puller or crack weeder)
- A stiff-bristled broom
- A trash bag
Here’s How to Do It:
- Protect Your Hands: First, put on your work gloves.
- Get a Good Grip: Hold the weed firmly at its base, close to the driveway surface.
- Loosen the Root: Insert the tip of your hand weeder into the crack right alongside the weed’s root system. Wiggle it back and forth to loosen the soil and the root.
- Pull Straight Up: With the root loosened, pull the weed straight up and out of the crack. The key is to get as much of the root as possible. If the root snaps off, the weed will likely grow back.
- Clean Up: Toss the pulled weeds into your trash bag. Once you’ve pulled all the weeds, use your stiff broom to sweep away any remaining soil and debris from the cracks.
After you're done, take another look at those empty cracks. If any are wider than 1/4 inch, it’s a good idea to fill and seal them. For severe cracking, you may want to call a paving contractor to prevent more serious structural issues.
Step 3: For Widespread Weeds (> 25% Coverage) - The Heavy-Duty Options
If your driveway has a serious weed problem, pulling each one by hand would take forever. For widespread growth, you have two main options: a non-chemical mechanical method or a chemical herbicide treatment.
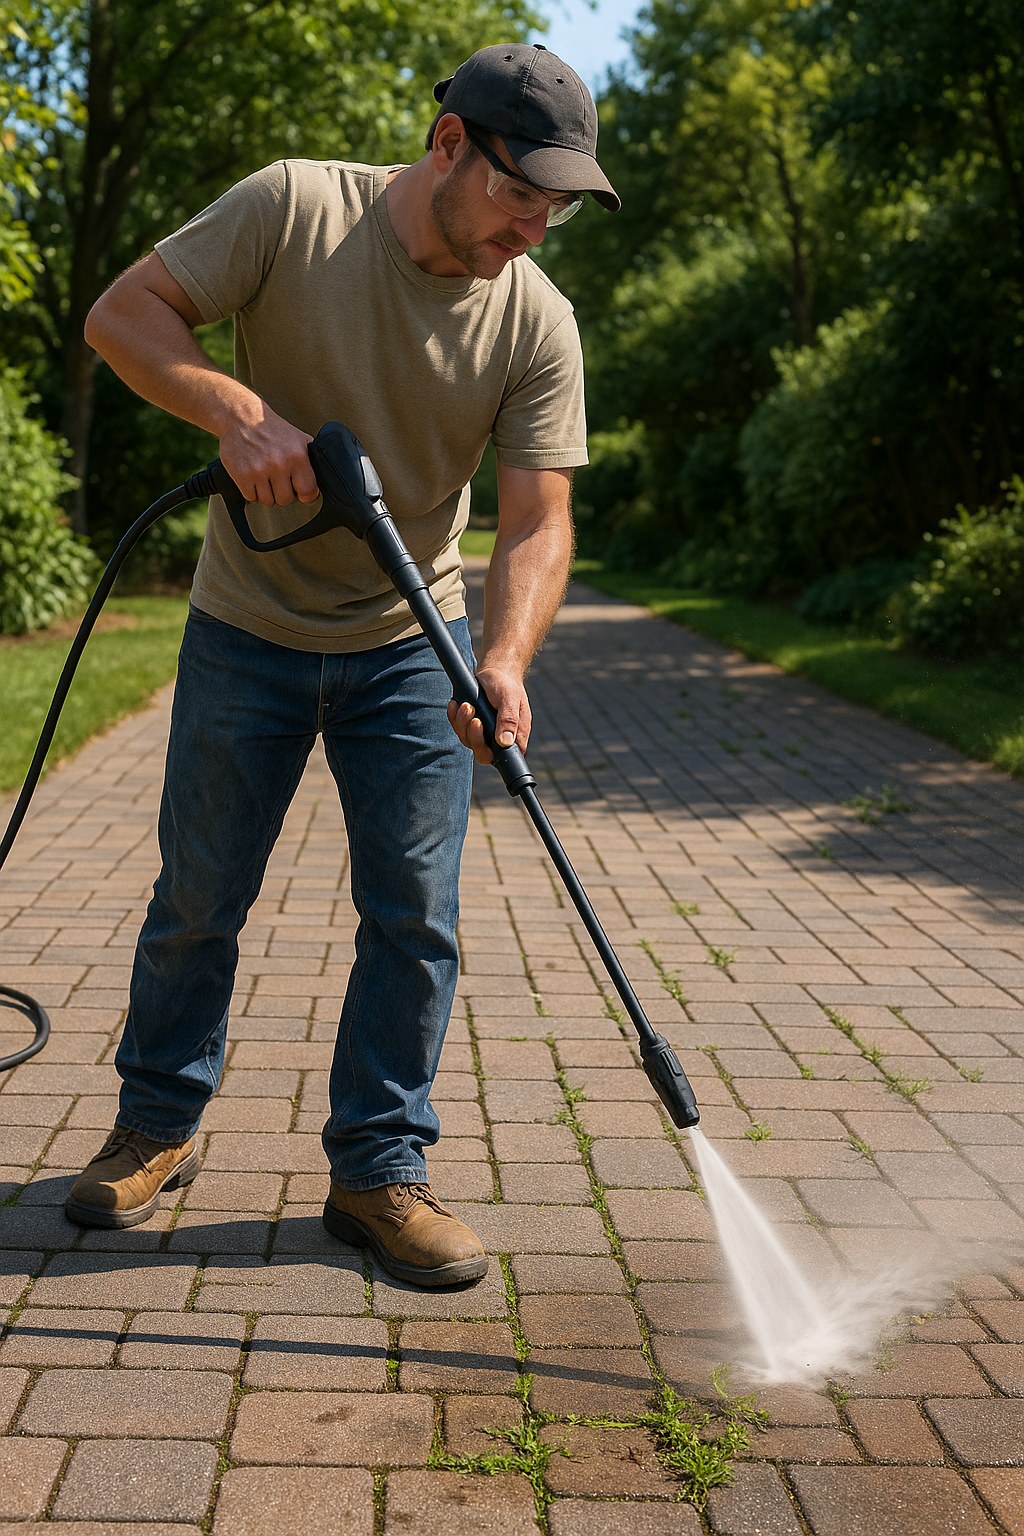
Option A: The Non-Chemical Power Wash (For Homes with Nearby Plants)
If you have sensitive landscaping near your driveway, this is the method for you. A pressure washer can blast away weeds, roots, and soil without harming your precious plants.
Tools You’ll Need:
- Safety glasses and work gloves
- Pressure washer
- A medium-pressure tip (a green 25-degree tip is usually perfect)
- Stiff-bristled broom
Here’s How to Do It:
- Safety First: Put on your safety glasses and gloves. Pressure washers are powerful tools.
- Set Up the Washer: Connect the pressure washer to your garden hose and power source, following the manufacturer’s instructions. Attach the 25-degree tip.
- Target the Weeds: Hold the wand about 6 inches from the driveway surface and aim it directly at the base of the weeds in a crack. Squeeze the trigger.
- Sweep the Cracks: Move the wand slowly along the length of the crack. The high-pressure water will tear up the weeds and flush out the roots and dirt. Be methodical, working from one end of the driveway to the other.
- Clear Debris as You Go: Every few minutes, stop and use your stiff broom to sweep the dislodged weeds and gunk off the driveway so you can see what you're doing.
- Final Rinse: Once all the cracks are clear, give the entire driveway a final rinse to wash away any remaining dirt.
Option B: The Herbicide Application (For Tough Weeds with No Nearby Plants)
When you have a stubborn, widespread weed problem and no sensitive plants nearby, a glyphosate-based herbicide can be a very effective solution. However, this method requires extreme caution.
Tools You’ll Need:
- Disposable gloves, safety glasses, and long sleeves
- A glyphosate-based herbicide (look for one rated for driveway/patio use)
- Cardboard or plastic sheeting (to protect any nearby grass)
Here’s How to Do It Safely:
- Gear Up and Read the Label: Safety is non-negotiable. Put on your gloves, glasses, and a long-sleeve shirt. Read the entire herbicide label and follow all safety precautions and application instructions to the letter.
- Wait for a Calm Day: Apply herbicide on a dry, calm day with little to no wind (under 5 mph) to prevent the spray from drifting onto other plants.
- Protect Your Lawn: Even if you don’t have flower beds, protect the edge of your lawn by laying down cardboard or plastic sheeting along the driveway's edge.
- Spray Carefully: Hold the nozzle about 6 inches above the weeds and spray the leaves until they are wet, but not to the point of dripping and running off onto the pavement. Be precise and target only the weeds.
- Let It Dry: Keep pets and people off the driveway until the herbicide has completely dried, which usually takes a couple of hours.
- Be Patient: Herbicides don’t work instantly. It will take about 7 days for the weeds to turn yellow, die, and dry up. Once they have, you can easily sweep them away.
If the weeds are still thriving after a week, you may be dealing with a particularly resistant species and should consider calling a landscaping professional for advice.
How to Keep Weeds from Coming Back
Getting rid of the weeds is only half the battle. To keep your driveway looking great, you need to prevent them from returning.
- Seal the Cracks: After the cracks are clean and dry, use a concrete or asphalt crack filler to seal them up. This denies weed seeds a place to germinate.
- Apply Pre-Emergent: In the early spring, you can apply a pre-emergent herbicide to the cracks. This creates a barrier that stops weed seeds from sprouting in the first place.
- Keep It Clean: Regularly sweep your driveway to remove dirt, debris, and seeds that can accumulate in cracks and provide a welcoming home for new weeds.
DIY vs. Hiring a Professional: A Cost Breakdown
Fixing this yourself can save you a good amount of money.
- DIY Cost: You can get a good hand weeder for $10-$20. A bottle of effective herbicide typically costs $20-$40. If you need to rent a pressure washer, expect to pay around $50-$100 for a day.
- Professional Cost: Hiring a lawn care or landscaping service for professional weed control typically costs between $65 and $150 per visit, according to Thumbtack. For extensive problems requiring crack repair and sealing, the cost could be higher.
Your Driveway Is in Your Hands
A weed-filled driveway doesn’t have to be a permanent problem. By correctly assessing the situation and choosing the right method, you can effectively clear out those pesky intruders and take back your curb appeal. Whether it's a little hands-on pulling or a full power wash, this is one DIY project that delivers immediately satisfying results.
For more expert home maintenance guides, personalized reminders, and access to trusted professionals for the jobs you can’t handle, download the Casa app today. We’re here to help you manage your home with confidence, one project at a time.