You’ve spent hours, maybe even days, prepping, priming, and painting a room. You’ve cleaned your brushes, peeled off the painter's tape, and stepped back to admire your handiwork. But then, your heart sinks. As the light hits the wall just right, you see it: streaks, roller marks, and patchy spots. The finish is anything but uniform.
It’s one of the most frustrating moments in any DIY project. But before you throw your hands up in despair, I’m here to tell you that an uneven paint job is an incredibly common issue, and more importantly, it’s almost always fixable. You don’t need to live with a blotchy wall, and you probably don’t need to start over from scratch.
Whether your paint is still a bit tacky or has been dry for days, we’ve got a solution for you. In this guide, I’ll walk you through how to diagnose the problem, fix the finish, and learn the pro techniques to prevent it from happening again.
Why Does My Paint Look Uneven? Common Causes of a Patchy Finish
Understanding what went wrong is the first step to making it right. An uneven paint finish, often called "flashing" or "ghosting" in the trades, can be caused by a variety of factors. Here are some of the most common culprits:
- Improper Surface Preparation: Painting over a dirty, greasy, or glossy surface without proper cleaning and priming is a recipe for poor adhesion and an inconsistent look.
- Skipping the Primer: Primer is essential, especially on new drywall, patched areas, or when making a drastic color change. It seals the surface and creates a uniform base, so the paint absorbs evenly. Without it, some areas will soak up more paint, looking dull and flat, while others will appear glossy.
- Poor Application Technique: Not maintaining a "wet edge" is a classic mistake. This means allowing a section of paint to dry before overlapping it with the next section, which creates visible lap marks.
- Using the Wrong Tools: A cheap roller cover can shed fibers onto your wall, and using a roller with the wrong nap (thickness) for your wall's texture can result in an uneven "orange peel" effect or poor coverage.
- Inconsistent Pressure: Applying too much pressure with your roller or brush in some spots and not enough in others will leave behind thick and thin patches.
- Not Mixing the Paint Properly: Paint pigments can settle at the bottom of the can. If you don’t stir it thoroughly before and during your project, the color and sheen can be inconsistent across the wall.
Now that we have an idea of the cause, let’s get to the fix.
Step 1: Assess the Wall Like a Pro
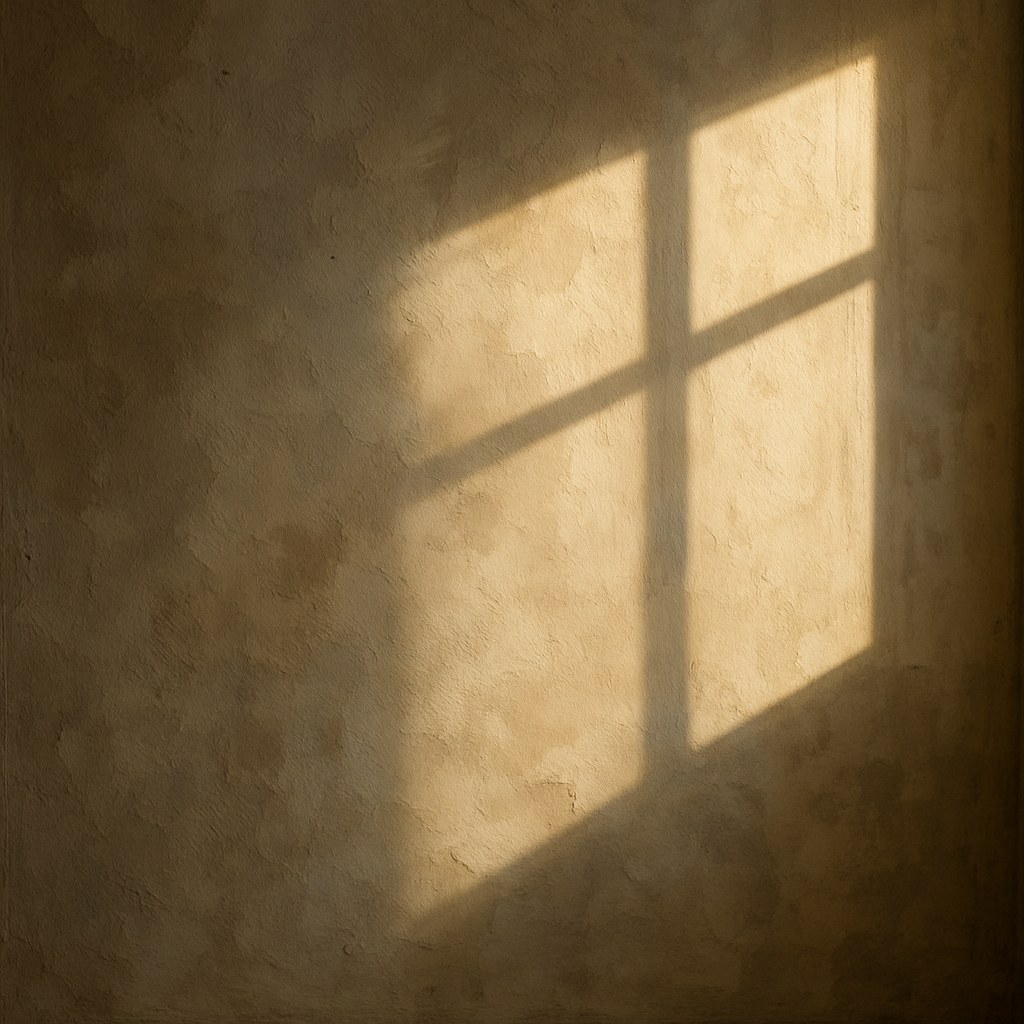
Before you grab a roller and start slapping on another coat, you need to properly assess the situation. Sometimes, what looks like an uneven paint job is actually just a trick of the light.
- Use Natural Light: Open all the curtains and blinds during the day. Look at the wall from different angles to see where the problem areas are.
- Create Raking Light: Turn off the overhead lights and use a handheld light or a flashlight. Hold it close to the wall and shine the beam across the surface at a shallow angle. This technique, called "raking," is what professionals use to exaggerate texture and reveal every tiny imperfection that you might not see in direct light.
- Step Back: View the wall from at least six feet away to get a complete picture of the patchiness.
If the wall looks perfectly fine under these conditions, the issue might be your room's lighting. Harsh, direct overhead lighting can create shadows that make even a perfect paint job look flawed. In that case, consider diffusing the light with different fixtures or lampshades.
If the unevenness is still visible, it’s time to determine your next move. Is the paint still fresh or has it fully cured?
Step 2: How to Fix Uneven Paint While It's Still Wet
If you notice the unevenness within an hour or two of applying the final coat, you’re in luck! You can often fix the issue without sanding or starting over. The paint should still be slightly tacky, not fully wet and not completely dry.
The key here is to gently re-work the surface to create a uniform finish. The technique depends on the tool you used.
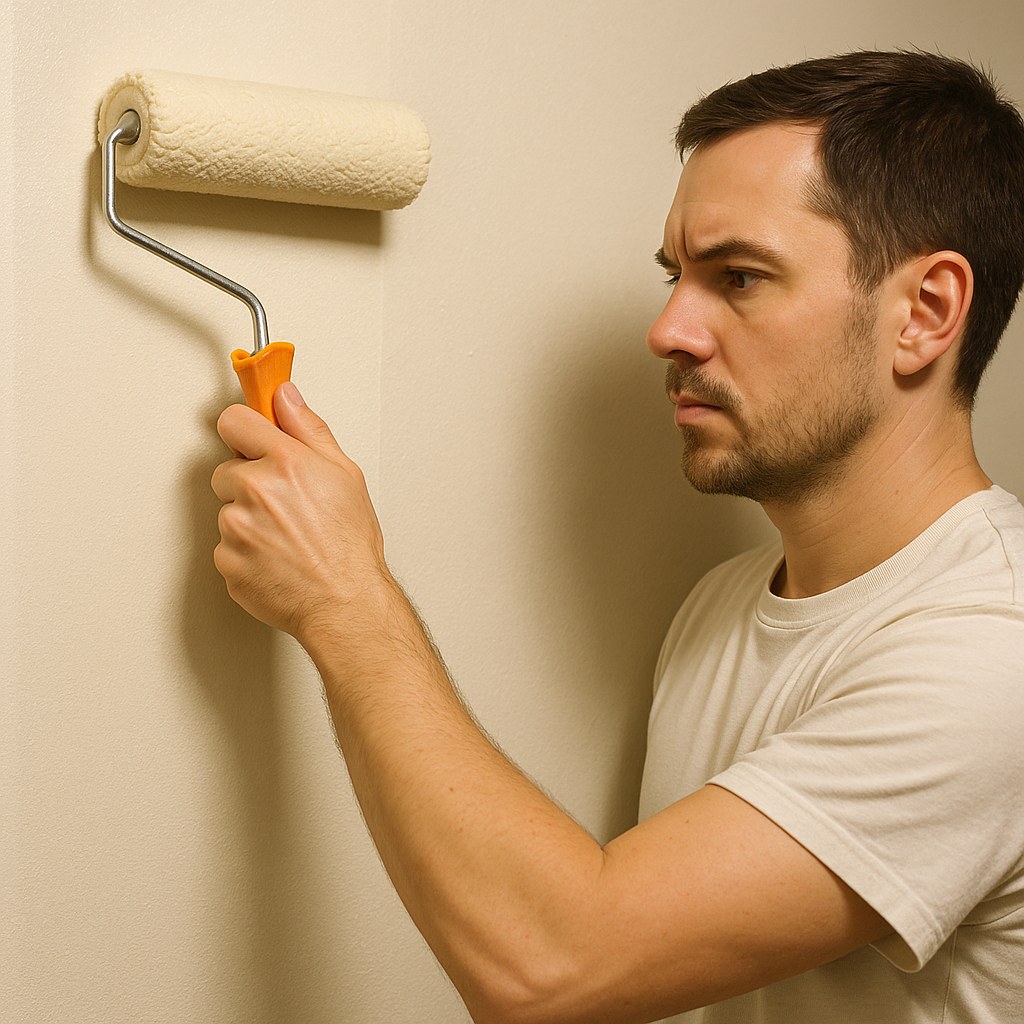
If You Used a Roller
The fix is a technique called "back-rolling."
- Take your roller (the one you just used is fine) and lightly dampen it with water for latex paint or mineral spirits for oil-based paint. Squeeze or wring out all the excess liquid; the roller should be barely damp.
- Start in the middle of an uneven area and, using very light pressure, roll in a single, continuous stroke from the ceiling down to the floor.
- Lift the roller off the wall, return to the top, and make another parallel stroke, overlapping the first one by about 50%.
- Continue this process across the entire wall. This light pass will smooth out ridges and redistribute the paint into a consistent film without adding more paint.
If You Used a Brush
For uneven brush marks, you can use a technique called "tipping-off."
- Lightly dampen the tips of a high-quality paintbrush.
- Holding the brush at a low angle, gently drag the tips of the bristles over the streaky areas in a single, smooth stroke.
- Always brush from the unpainted area toward the section you just painted, feathering the edges lightly. This will knock down the brush lines and create a smoother finish.
After trying these methods, step back and inspect the wall again. If it looks uniform, congratulations! Just let it dry completely. If it still looks off, it’s best to let it cure fully and proceed with the dry-paint fix.
Step 3: How to Fix Uneven Paint After It Has Dried
If the paint is already dry, don't worry. This is the most common scenario, and while it requires a bit more elbow grease, the results are worth it. The goal is to smooth the surface and apply one final, flawless coat.
- Safety First: Put on a dust mask (an N95 is recommended) before you begin. You don’t want to inhale sanding dust.
- Lightly Sand the Problem Areas: Using a fine-grit sandpaper (220-grit is a good choice), gently sand the uneven patches, roller marks, or drips. The goal isn't to remove all the paint but to smooth out the imperfections and dull the sheen. The surface should feel smooth to the touch when you’re done.
- Clean the Dust: This step is critical. Wipe down the entire wall with a clean, damp cloth or a microfiber cloth to remove every particle of sanding dust. Any dust left behind will ruin your new coat of paint.
- Spot-Prime the Sanded Areas: Apply a thin coat of a quality primer over the spots you sanded. Why? Because sanding may have exposed the previous layer or created a more porous surface. Primer ensures your topcoat will absorb evenly, preventing the flashing you were trying to fix in the first place. Let the primer dry completely according to the manufacturer's instructions.
- Apply One Final Topcoat: Now it’s time for the final coat of paint. To ensure success:
- Stir your paint for at least two minutes.
- Using a roller, apply the paint in a "W" or "N" pattern to a 3x3 foot section to distribute it evenly.
- Without lifting the roller, fill in the pattern with parallel vertical strokes.
- Always overlap your previous strokes by 50% to blend them seamlessly.
- Maintain a "wet edge" by moving quickly to the next section before the previous one starts to dry.
- Let the paint dry fully before making your final judgment. Resist the urge to do touch-ups, as this often creates more problems than it solves.
When Is It Time to Call a Professional Painter?
Most minor cases of uneven paint are perfect for a DIY fix. However, if you’ve tried these steps and the problem persists, or if the job feels too overwhelming, it might be time to call in a professional. A professional painter typically costs between $20 and $70 per hour, but their expertise can save you time, stress, and deliver a truly flawless finish.
Consider hiring a pro if:
- The walls have a complex texture that’s difficult to paint evenly.
- The issue is on very high walls or ceilings that are unsafe to reach.
- You’ve applied multiple coats and the finish is still blotchy, which could indicate a deeper issue with the wall surface itself.

Your Flawless Finish Awaits
Seeing an imperfect paint job can be disheartening, but it’s a problem that can be solved with a little patience and the right technique. By properly assessing the wall, choosing the correct method for wet or dry paint, and focusing on careful application, you can achieve the smooth, professional-looking finish you envisioned.
For more expert home maintenance tips, detailed repair guides, and easy access to certified professionals when you need them, download the Casa app today. We're here to help you tackle any project, big or small, and keep your home in perfect shape.


