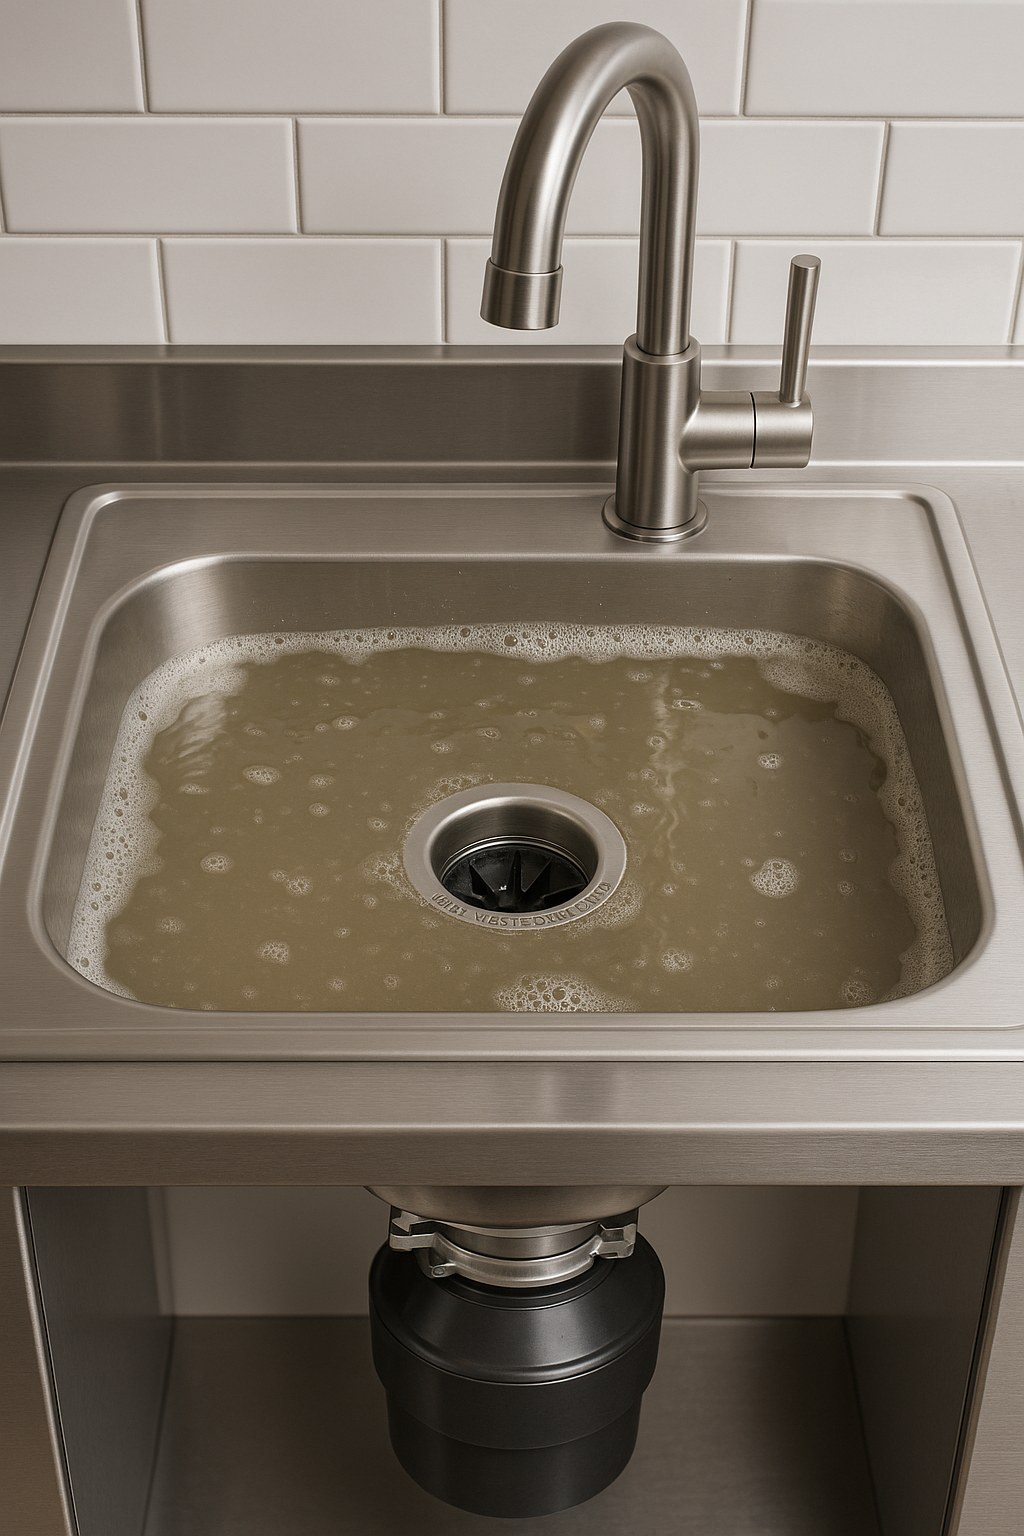
There are few things more frustrating in the kitchen than finishing a load of dishes only to find murky, foul-smelling water bubbling up from your sink drain. When your garbage disposal starts sending water back the wrong way, it’s not just an inconvenience—it’s a sign that something is blocking the path of your wastewater. This problem, known as backflow, is surprisingly common and can be caused by anything from a simple clog to an incorrectly installed dishwasher hose.
The good news? You can often fix this issue yourself without calling a plumber. We’re here to walk you through it, step by step, just like we’re on the phone with you. In this guide, we'll cover how to diagnose the cause of the backflow and provide clear instructions to get your sink draining properly again.
Why Is My Garbage Disposal Backing Up? Common Causes
Before we grab our tools, let's understand what's happening under your sink. Your garbage disposal and dishwasher typically share the same drain line. When everything is working correctly, water flows smoothly down and away. Backflow occurs when that path is obstructed. Here are the most frequent culprits:
- A Clogged Drain Line: Food scraps, grease, and other debris can build up in your sink's P-trap or farther down the drain line, creating a blockage that forces water back up.
- An Improper Dishwasher Connection: For wastewater to drain correctly, your dishwasher hose needs what’s called a "high loop" or an "air gap." Without it, water from the sink and disposal can flow back into the dishwasher and vice-versa.
- A Clogged Dishwasher Hose or Air Gap: The hose connecting your dishwasher to the disposal can get clogged with food particles, preventing proper drainage and causing a backup when the dishwasher runs.
- A Worn-Out Splash Guard: The rubber guard in your sink drain can sometimes become dislodged or damaged, though this is a less common cause of major backflow.
Ready to figure out which one is causing your headache? Let’s get started.
Step-by-Step Guide to Fix Garbage Disposal Backflow
First, we need to determine if the backflow is related to your dishwasher or a more general drain clog. This quick diagnostic test will point us in the right direction.
Step 1: Assess the Backflow Scenario
- Run cold water into the sink for about 15 seconds.
- Turn on the garbage disposal for 10 seconds, then turn it off.
- Watch the sink drain for a minute. Does any water come back up?
- Next, start your dishwasher on a "rinse" or "drain" cycle.
- Pay close attention to the sink drain. Does dirty water back up into the sink while the dishwasher is draining?
Based on what you saw, choose the scenario below that matches your situation.
Scenario A: Water Only Backs Up When the Dishwasher Runs
If the problem only happens when your dishwasher is draining, the issue almost certainly lies with the connection between your dishwasher and the garbage disposal. Let's inspect it.
1. Check the Dishwasher Hose for a High Loop or Air Gap
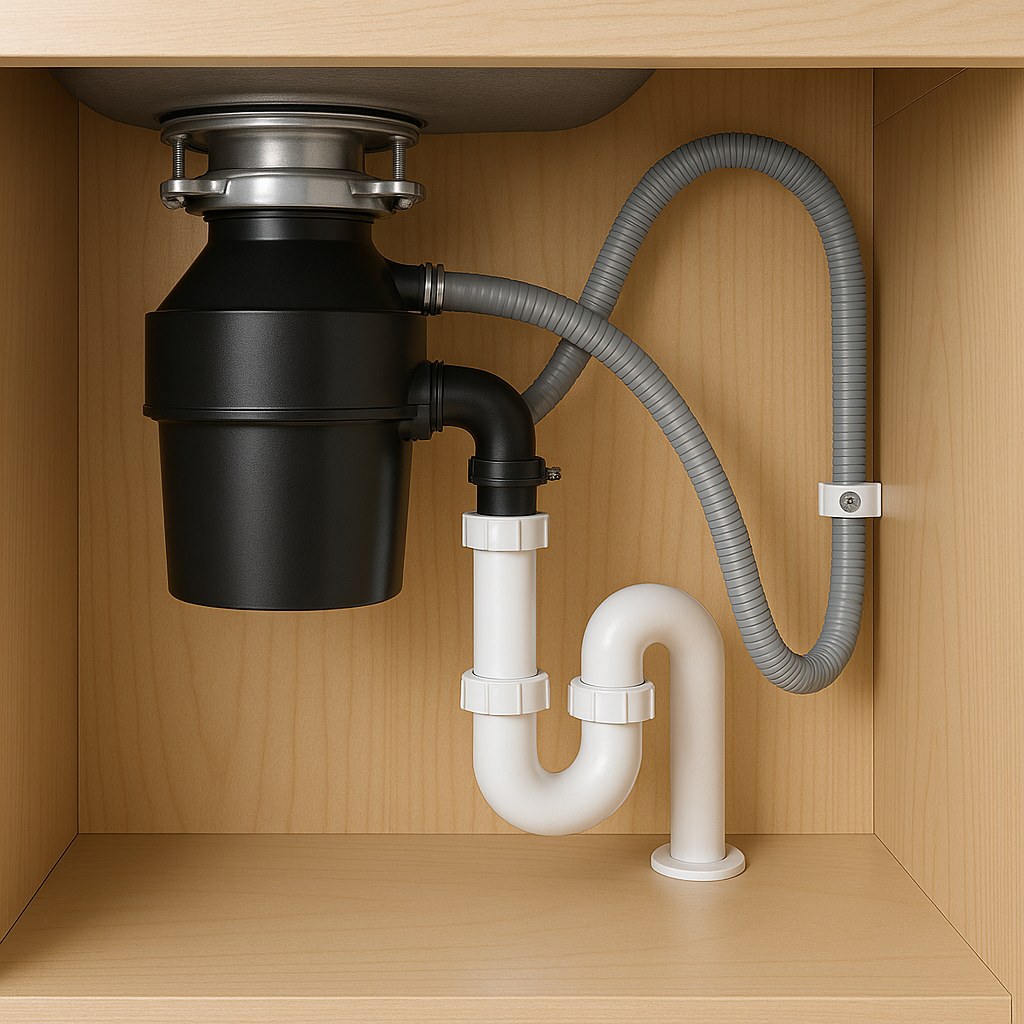
Look under your sink. You should see a flexible hose running from your dishwasher to a small inlet on the side of your garbage disposal. This hose needs an upward loop to prevent backflow.
- High Loop: The hose should be routed up as high as possible under the sink (ideally secured to the underside of the countertop) before it loops back down to connect to the disposal. This loop uses gravity to keep water from the sink from flowing back into the hose.
- Air Gap: Alternatively, you might have an air gap—a small chrome cylinder on your sink deck, near the faucet. The dishwasher hose runs to this fitting, which prevents cross-contamination.
If you don't have a high loop or an air gap: This is likely your problem. Skip to the section "How to Install a High Loop."
If you do have a high loop or air gap: The line is probably clogged. Let's clear it.
2. Clear the Clogged Air Gap and Dishwasher Hose
An air gap or hose clogged with food debris is a very common cause of dishwasher-related backflow.
You'll Need: A bucket, a flathead screwdriver, and a small flexible brush or tube.
- Disconnect the Hose: Place your bucket under the sink. If you have an air gap, pull the chrome cover off. Use a screwdriver to loosen the clamp holding the dishwasher hose to the air gap or the garbage disposal inlet. Pull the hose off and aim it into the bucket.
- Check for Clogs: Shine a flashlight into the air gap and the hose opening. Look for any visible gunk or debris.
- Clear the Obstruction: Use a small bottle brush or a piece of flexible tubing to gently poke around inside the hose and the air gap fittings to dislodge any blockages. You can try blowing through the tubing to force out debris.
- Flush the Line: With the hose still aimed into the bucket, run your dishwasher's drain cycle for about 30 seconds. This will flush out any remaining particles. If the water flow is weak, the clog is likely inside the hose.
- Reconnect Everything: Reattach the hose to the air gap or disposal inlet and tighten the clamp. Put the air gap cover back on.
Run the dishwasher drain cycle again and check for backflow. If the water now drains properly, you've fixed it!
3. How to Install a High Loop
If you discovered you don't have a high loop, it's an easy and essential fix.
You'll Need: A plastic cable clamp or strap and a screwdriver.
- Find the midpoint of the dishwasher hose under your sink.
- Lift this section of the hose so it touches the underside of your countertop, creating a high, inverted "U" shape.
- Use the cable clamp and a screw to secure the top of the loop to the cabinet wall or the bottom of the countertop.
- Ensure the loop's peak is higher than the disposal inlet. This will prevent sink water from draining back into the dishwasher.
Scenario B: Sink Drains Slowly or Backs Up Generally
If your sink drains slowly all the time or backs up even when the dishwasher isn't running, you're likely dealing with a clog in the main drain pipe. The most common culprit is the P-trap.
1. Clear the P-Trap Clog
The P-trap is the U-shaped pipe under your sink. Its job is to hold water to block sewer gases, but it's also a prime spot for food and grease to accumulate.
You'll Need: A bucket, adjustable pliers, and a bottle brush.
- Position Your Bucket: Place a bucket directly under the P-trap to catch water and debris.
- Loosen the Nuts: You'll see two large slip nuts holding the P-trap in place. Use adjustable pliers to loosen them (remember: righty-tighty, lefty-loosey). You can often finish unscrewing them by hand.
- Remove and Clean: Carefully lower the P-trap and empty its contents into the bucket. Use a bottle brush and hot, soapy water to thoroughly clean the inside of the trap.
- Check the Trap Arm: Look into the horizontal pipe going into the wall (the trap arm) and clear any visible blockages.
- Reassemble: Put the P-trap back in place and hand-tighten the slip nuts. Give them a final quarter-turn with the pliers to ensure a snug fit, but don't overtighten, as this can crack the plastic.
- Test It: Run cold water for a minute to check for leaks and see if the drain flows freely. If it does, problem solved!

2. Snake the Drain Line
If cleaning the P-trap didn't work, the clog is further down the line. It's time to use a drain auger, also known as a snake.
You'll Need: A bucket and a small drain auger (25-foot is usually sufficient).
- Remove the P-Trap: Follow the steps above to remove the P-trap again, placing a bucket underneath.
- Insert the Auger: Feed the end of the drain auger into the trap arm (the pipe leading into the wall). Push it in until you feel resistance—that's the clog.
- Break Up the Clog: Lock the auger cable and turn the handle clockwise while applying gentle forward pressure. You should feel the auger breaking through the blockage.
- Retract and Clean: Slowly pull the auger back out, cleaning the cable with a rag as it emerges.
- Repeat: It's a good idea to repeat the process two or three times to ensure the line is completely clear.
- Reassemble and Test: Reinstall the P-trap, tighten the nuts, and run the garbage disposal with cold water for a full minute. The backflow should be gone.
When Is It Time to Call a Plumber?
While most backflow issues are DIY-friendly, some problems require a professional. If you've tried the steps above and are still having trouble, it's time to call for help.
You should contact a plumber if:
- The backflow persists after clearing the P-trap and snaking the drain. The clog may be too deep or severe for a small home auger.
- You notice the drain pipes under your sink don't have a proper downward slope. Incorrectly pitched pipes will always have drainage problems.
- You suspect the issue is with the garbage disposal unit itself.
- You're simply not comfortable performing any of these steps.
Hiring a professional to clear a clogged kitchen drain typically costs between $150 and $450, depending on the severity and location of the clog. By trying these DIY fixes first, you stand a good chance of saving yourself a significant amount of money.
Take Control of Your Home Maintenance
Fixing a garbage disposal backflow is a rewarding task that can save you time, money, and frustration. By understanding how your plumbing works, you can tackle many common household issues with confidence.
Want more easy-to-follow guides for every corner of your home? Download the Casa app today! Casa empowers you with the knowledge to manage your home maintenance like a pro. From simple fixes to knowing when to call for backup, we’re here to help you keep your home running smoothly.


