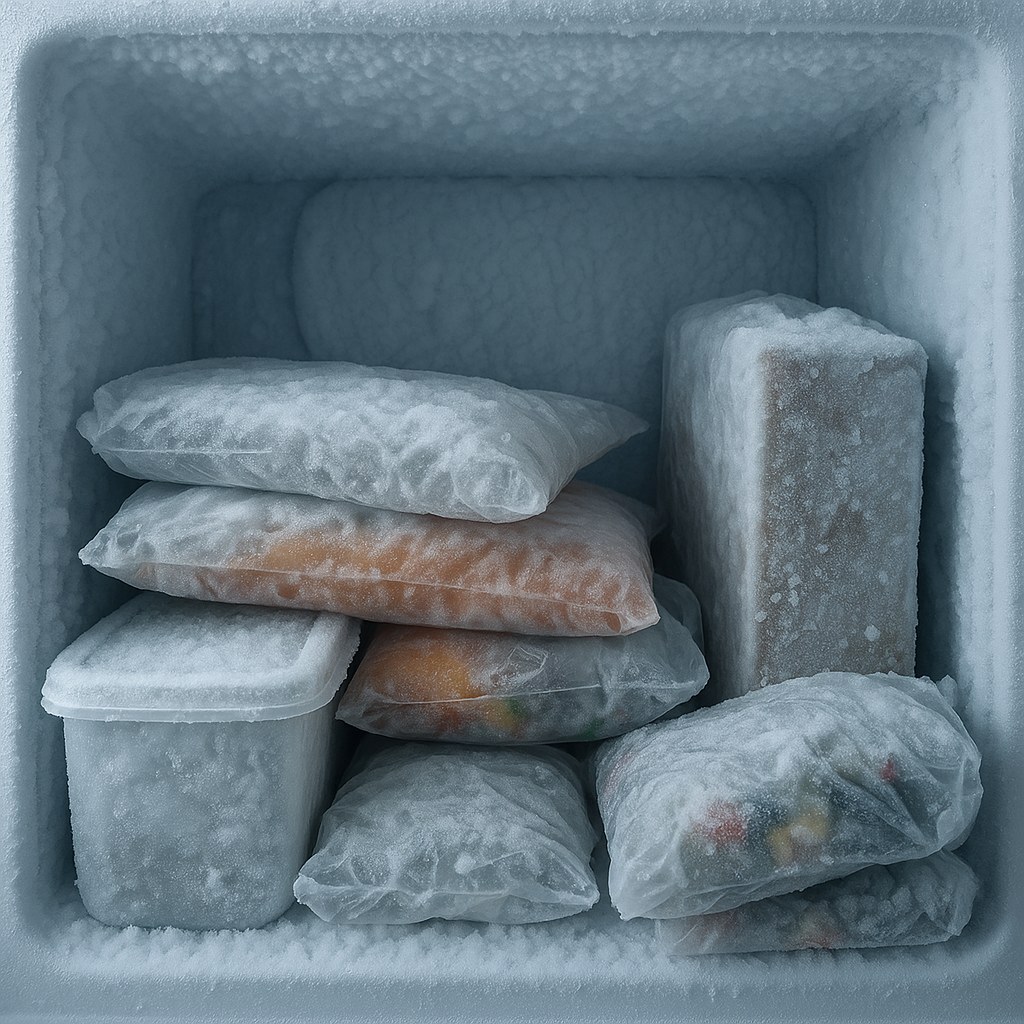
It’s a familiar story: you open your freezer to grab a pint of ice cream, only to be met with a mini-glacier taking over the back wall. Frost buildup isn't just an inconvenience that steals precious storage space; it’s a sign that something is wrong. That icy layer makes your freezer work harder, driving up your energy bill and putting your food at risk of freezer burn.
The good news is that you don't have to live with a freezer that looks like an arctic cave. Most causes of frost buildup are surprisingly easy to fix yourself. Whether you have a modern frost-free model or a classic manual defrost freezer, we’re here to walk you through the troubleshooting process, just like a friendly expert on the phone.
Let's get that freezer back to its peak frosty performance!
Why Is There Frost in My Freezer Anyway?
Frost forms when warm, moist air comes into contact with the cold evaporator coils inside your freezer. The moisture in the air rapidly freezes, creating ice crystals that accumulate over time. While a little bit of frost is normal, excessive buildup usually points to one of these common culprits:
- A faulty door seal (gasket): A gap in the seal lets warm, humid air from your kitchen sneak into the freezer.
- Leaving the door open too long: The longer the door is open, the more moist air gets inside.
- A blocked defrost drain (in frost-free models): The automatic defrost system can't drain away melted ice, causing it to refreeze.
- Over-packing the freezer: Blocking air vents prevents cold air from circulating properly, leading to icy spots.
- It’s simply time to defrost (in manual models): Manual defrost freezers naturally build up ice and need to be cleared out periodically.
Ready to figure out what’s going on with your freezer? The first step is to identify what kind of freezer you have.
Step 1: Identify Your Freezer Type
The solution to your frost problem depends entirely on whether you have a frost-free or a manual defrost freezer. They handle moisture in completely different ways.
- Frost-Free (or Automatic Defrost) Freezers: These models have an internal heater and timer that periodically melts any accumulated frost off the evaporator coils. The resulting water flows out through a small drain hole. If you have a frost-free model and see significant ice, it means this system isn't working correctly.
- Manual Defrost Freezers: These are simpler systems that require you to manually turn off and empty the freezer to let the ice melt away every few months. If you have this type, frost buildup is normal, but excessive or rapid buildup could still signal a problem.
How to check:
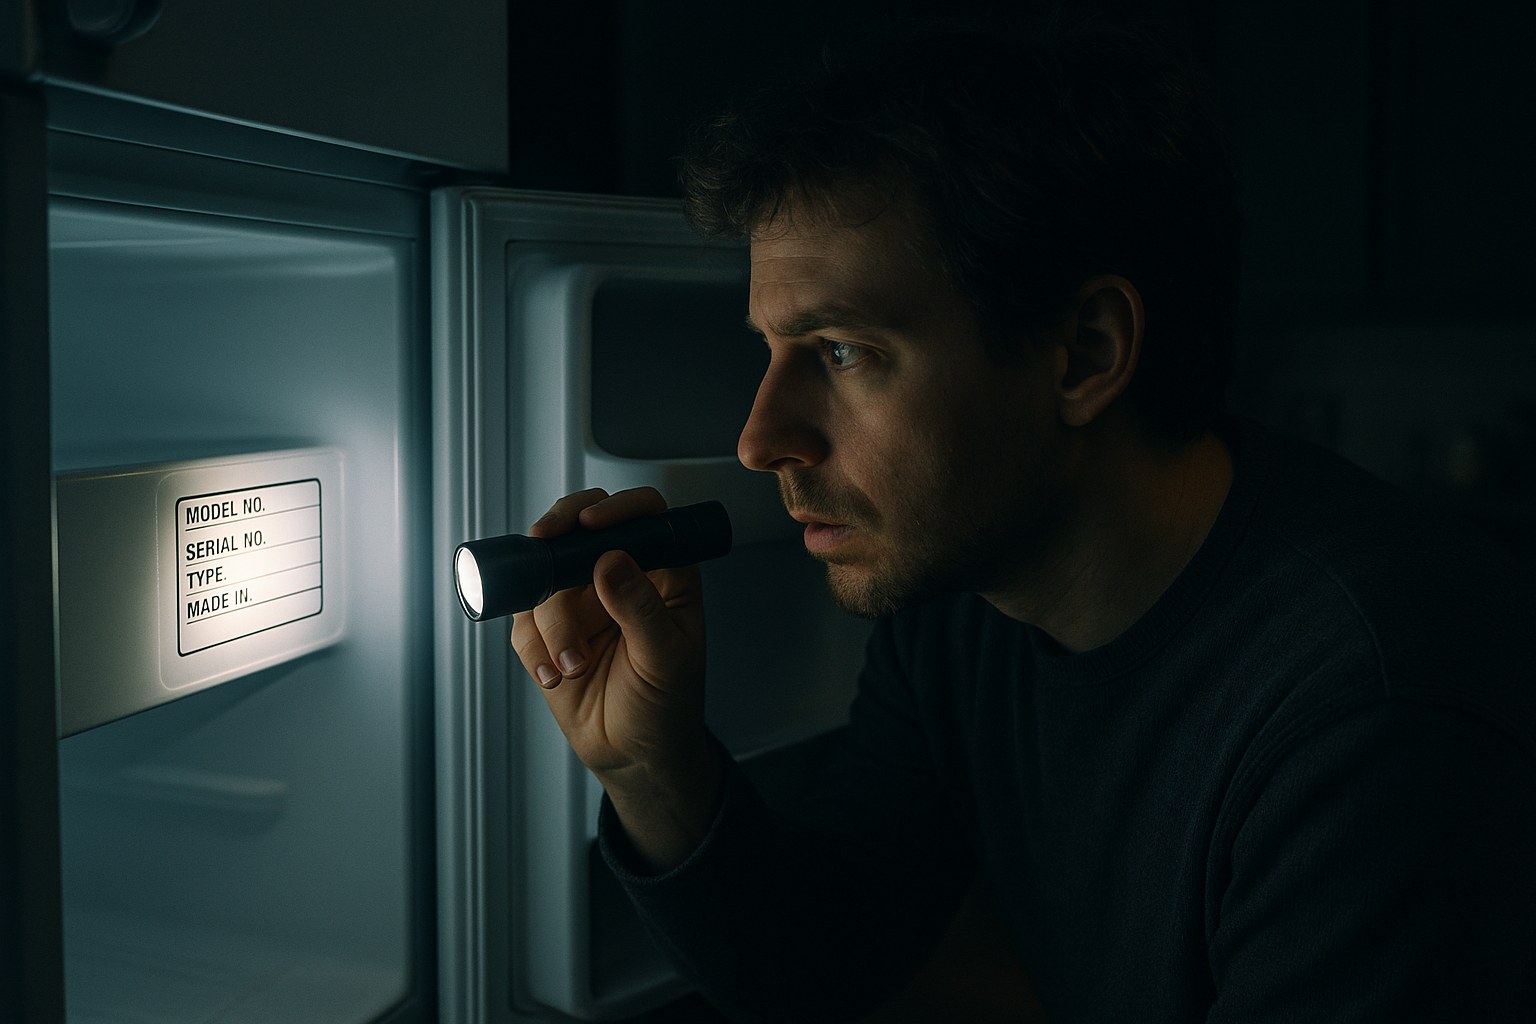
- Look at the control panel or inside the freezer door for labels like “Frost-Free,” “No-Frost,” or “Automatic Defrost.”
- If you can’t find it there, check your user manual or the model data plate (a silver sticker usually found along the interior door frame).
Once you know your freezer type, follow the appropriate guide below.
Part 1: How to Fix a Frost-Free Freezer
If your “frost-free” freezer is anything but, it’s usually due to a bad seal, a blocked drain, or poor airflow. Let’s investigate.
Check the Door Seal (Gasket)
This is the most common culprit. The rubber gasket around the freezer door is designed to create an airtight seal. If it’s dirty, cracked, or loose, it can’t do its job.
- Clean the Gasket: Dip a cloth in warm, soapy water and wipe down the entire seal, making sure to get into the folds where crumbs and sticky residue can hide. Dry it thoroughly.
- Perform the Paper Test: Close the freezer door on a sheet of paper or a dollar bill. Gently pull on it. You should feel steady resistance. Slide the paper around the entire perimeter of the door. If it pulls out easily in any spot, you've found a gap in the seal.
If the gasket is damaged, torn, or fails the paper test even after cleaning, it needs to be replaced. This is a job you can often do yourself, but if you're not comfortable, an appliance technician can handle it.
Clear the Defrost Drain
Is the frost concentrated on the back wall or floor of the freezer, near the air vents? This is a classic sign of a clogged defrost drain. When the freezer runs its automatic defrost cycle, the melted water is supposed to exit through a small drain hole. If that hole is blocked with ice or food debris, the water has nowhere to go, so it refreezes into a sheet of ice.
This fix is a bit more involved but is very doable.
- Unplug the Freezer: Safety first!
- Empty the Freezer: Transfer all your food to a cooler.
- Access the Drain Hole: You’ll need to remove the interior panel at the back of the freezer. It’s usually held in by a few screws. Once it’s off, you’ll see the evaporator coils and, at the bottom, the drain hole.
- Melt the Ice: You’ll likely see a chunk of ice blocking the drain. You can let it melt naturally or speed up the process by placing a bowl of hot water inside the freezer. Never use a hairdryer or sharp objects to chip away the ice, as you can damage the freezer components.
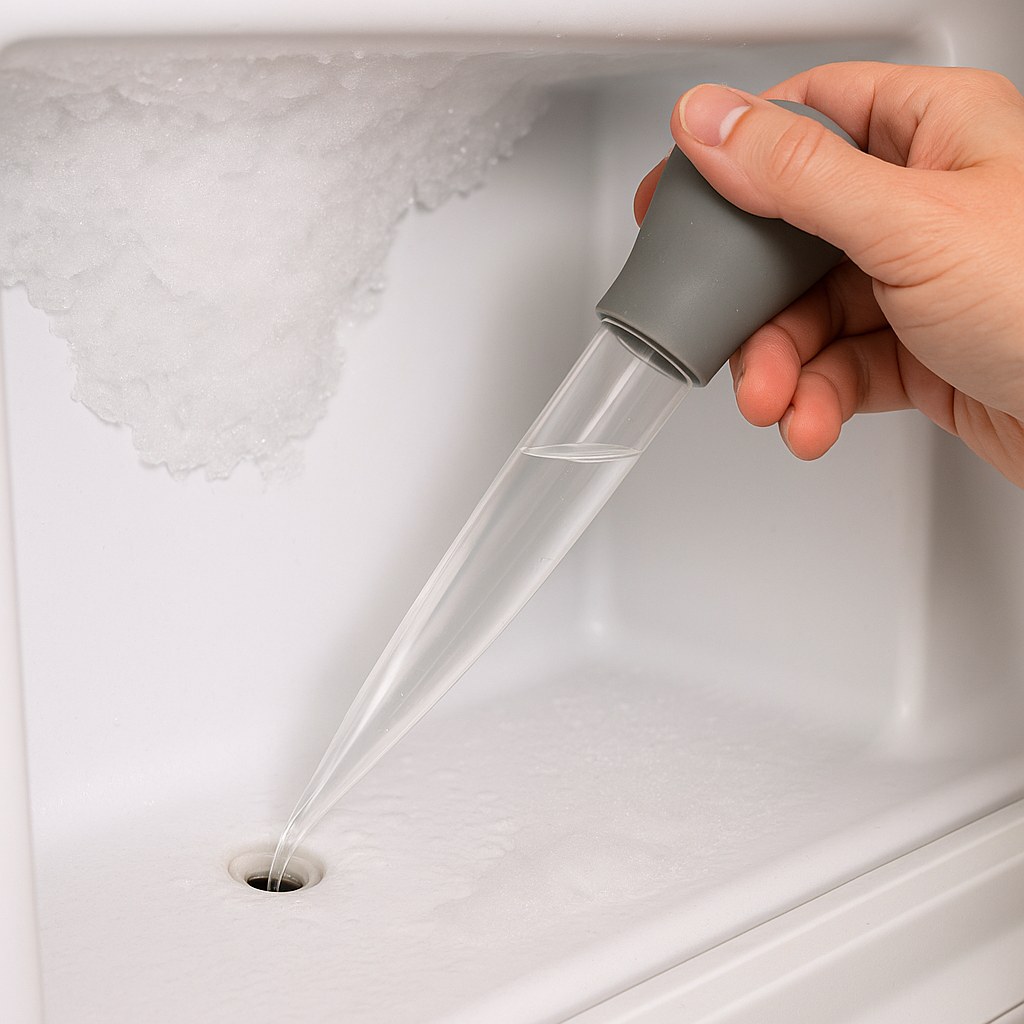
- Flush the Drain: Once the ice is gone, use a turkey baster or a small funnel to flush the drain hole with warm water. You want to see water flowing freely into the drip pan underneath your refrigerator. If it’s still clogged, you can gently push a piece of flexible tubing or pipe cleaner through to clear the blockage.
- Reassemble: Dry the interior, put the panel and shelves back, and plug the freezer in.
After 24 hours, your freezer should be frost-free. If the frost comes back, it could indicate a problem with the defrost heater or timer, which typically requires a professional.
Adjust Temperature and Improve Airflow
Sometimes, the fix is as simple as changing your habits.
- Check the Temperature: Your freezer should be set to 0°F (-18°C). Any colder is unnecessary and can contribute to frost issues.
- Don't Block Vents: Make sure food packages aren't pushed up against the air vents on the back wall. These vents are critical for circulating cold, dry air.
- Cool Hot Foods First: Never put hot leftovers directly into the freezer. Let them cool in the fridge first to reduce the amount of moisture you’re introducing.
- Minimize Door Openings: Try to grab everything you need at once instead of repeatedly opening and closing the door.
Part 2: How to Fix a Manual Defrost Freezer
With a manual defrost freezer, a certain amount of frost is expected. The key is managing it before it gets out of control.
Know When It's Time to Defrost
You should defrost your freezer whenever the ice buildup reaches about ¼-inch thick. Use a ruler to check. Letting it get thicker than that forces the compressor to work overtime, wasting energy.
How to Perform a Manual Defrost
Set aside a few hours for this task.
- Unplug and Empty: Turn off and unplug the freezer. Move your food to coolers with ice packs.
- Manage the Water: Place old towels around the base of the freezer to catch meltwater. Most models have a drain plug at the bottom—open it and place a shallow pan underneath to collect the water.
- Let it Melt: Leave the door wide open and let nature take its course. To speed things up, you can place bowls of hot water inside (on a towel to protect the plastic) and close the door, replacing the water every 15-20 minutes.
- Remove Loose Ice: As the ice begins to melt, you can use a plastic or wooden scraper to gently remove large sheets. We can't stress this enough: never use a metal tool or sharp object! It’s incredibly easy to puncture the freezer wall, which can damage the cooling lines and ruin the appliance.
- Clean and Dry: Once all the ice is gone, wipe the interior completely dry with a towel. A clean, dry surface will slow down future frost formation.
- Power Up: Close the drain plug, plug the freezer back in, and wait for it to reach a safe temperature (below 15°F or -9°C) before reloading your food.
Check Your Settings and Habits
Even with a manual defrost model, you can slow down frost buildup.
- Raise the Temperature: If your freezer is set to its coldest setting (e.g., below -5°F or -20°C), you’re likely creating frost faster than necessary. Adjust it to the recommended 0°F (-18°C).
- Organize Your Contents: Use bins to group similar items together. This way, you can find what you need quickly without holding the door open and letting in a rush of warm, moist air.
How Much Does It Cost to Fix Freezer Frost?
- DIY Fix: For most of the solutions here, the cost is next to nothing—just your time and some basic cleaning supplies. A replacement door gasket might cost between $20 and $60.
- Professional Help: If you need to call an appliance repair technician for a more complex issue, like replacing a defrost timer or thermostat, you can expect to pay anywhere from $150 to $400, depending on the part and labor rates in your area.
Final Thoughts
Dealing with freezer frost is a common homeowner headache, but it’s one you can almost always solve yourself. By correctly identifying your freezer type and following these steps, you can restore order to your freezer, protect your food, and lower your energy bills.
Tackling home maintenance issues like this can be incredibly empowering. For more expert guides, maintenance reminders for all your appliances, and a direct line to vetted professionals when you need them, download the Casa app today! We’re here to help you manage your home with confidence.


