Are you noticing that some rooms in your house are always colder than others? Do your energy bills seem to be creeping up month after month? Before you blame your HVAC system, it might be time to look inside your walls and attic. Your home's insulation is the unsung hero of comfort and energy efficiency, and when it's damaged, you feel it—both in the air and in your wallet.
The good news is that you don’t have to shiver through another winter or sweat through another summer. Many common insulation problems can be fixed with a little DIY know-how. Think of us as your friendly expert on the other end of the line, ready to walk you through diagnosing the problem and figuring out the best solution.
In this guide, we'll cover how to spot the signs of damaged insulation, what might be causing the problem, and how to perform minor repairs yourself. We’ll also help you understand when a problem is too big to handle and it’s time to call in a professional.
The Telltale Signs of Damaged Insulation
Your home has ways of telling you something is wrong with its thermal barrier. You just need to know what to look for and listen for. Here are the most common symptoms of compromised insulation:
- Drafts and Cold Spots: If you feel a noticeable temperature drop when you walk near an exterior wall or into a specific room, it’s a classic sign of missing or ineffective insulation.
- Fluctuating Indoor Temperatures: Does your home get stuffy and hot in the summer and frigid in the winter, despite your HVAC system working overtime? Poor insulation can't effectively keep outdoor temperatures out and indoor conditioned air in.
- High Energy Bills: Your insulation’s primary job is to reduce the amount of work your heating and cooling systems have to do. If it’s damaged, your HVAC runs longer and harder, leading to a significant spike in your utility costs. In fact, according to the U.S. Environmental Protection Agency, homeowners can save an average of 15% on heating and cooling costs just by air sealing and properly insulating their homes.
- Musty or Moldy Odors: A persistent musty smell, especially in your attic or basement, often points to moisture getting into your insulation. Wet insulation is a breeding ground for mold and mildew, which can compromise your home's air quality.
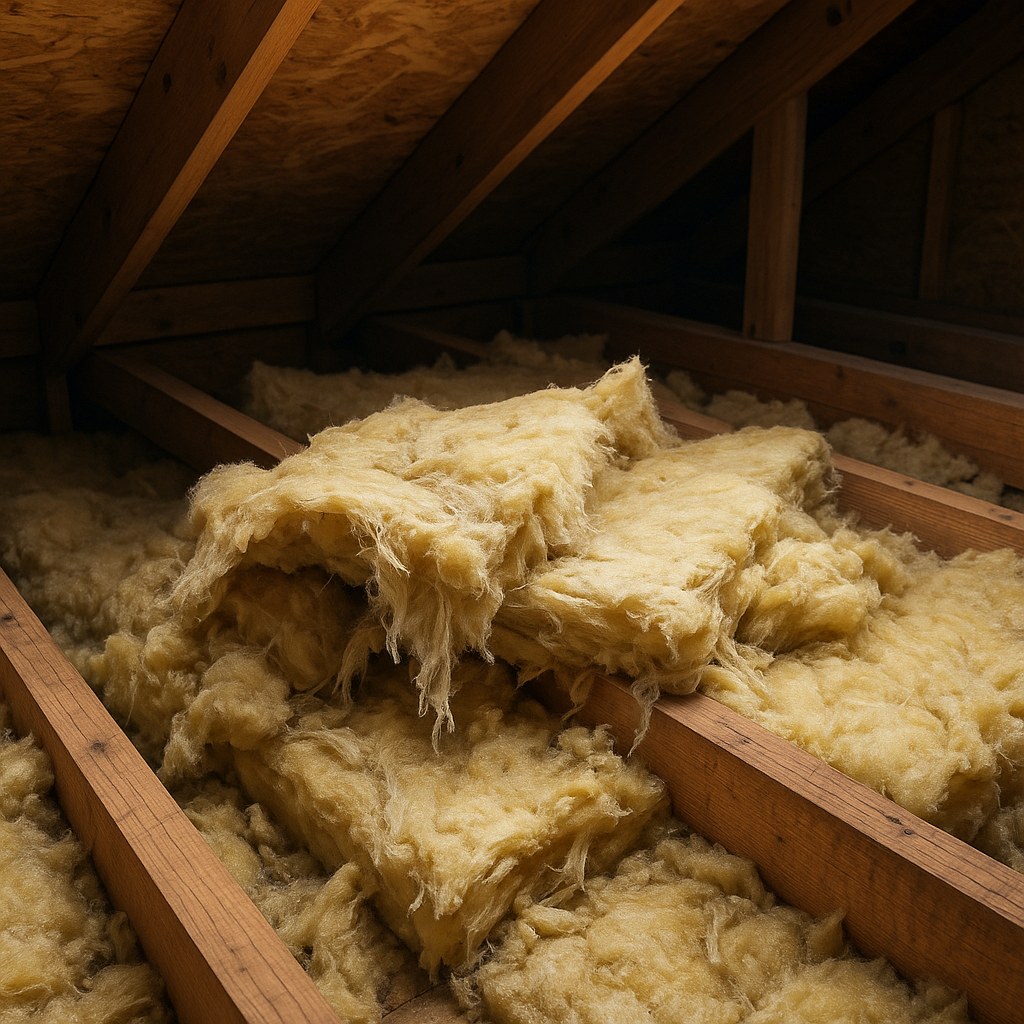
- Visible Damage or Pests: Sometimes the signs are obvious. You might see torn, compressed, or sagging insulation in your attic. You might also notice signs of pests, like droppings, nests, or tunnels, as rodents and insects love to make their homes in soft, warm insulation.
- Water Stains: Stains on your ceiling or walls are a clear indicator of a leak. That water has almost certainly soaked the insulation behind the drywall, compacting it and drastically reducing its effectiveness (its R-value).
Your Step-by-Step Guide to Inspecting and Fixing Damaged Insulation
Ready to play detective? Before you start, remember that safety is paramount. When working with insulation, especially fiberglass or cellulose, you should always wear an N95 mask, safety glasses, and long sleeves and gloves to protect yourself from airborne particles and skin irritation.
Step 1: Find the Problem Area
Grab a powerful flashlight and let's pinpoint where the damage is. The most common trouble spots are the attic, walls, and crawl space or basement.
- In the Attic: Carefully open your attic hatch. Stick to the wooden joists to walk or crawl around—the space between them is just drywall and won't support your weight! Shine your light across the insulation. Look for areas that appear thin, settled, wet, or disturbed.
- In the Walls: This is trickier since the insulation is hidden. You can start by removing an electrical outlet cover (turn off the power at the breaker first!) and peering into the cavity with your flashlight. Look for drafts, moisture, or insulation that has fallen or compacted.
- In the Crawl Space or Basement: Look at the insulation between the floor joists of the level above. Is it sagging, torn, or wet? Is the plastic vapor barrier ripped or missing?
Step 2: Identify Your Insulation Type
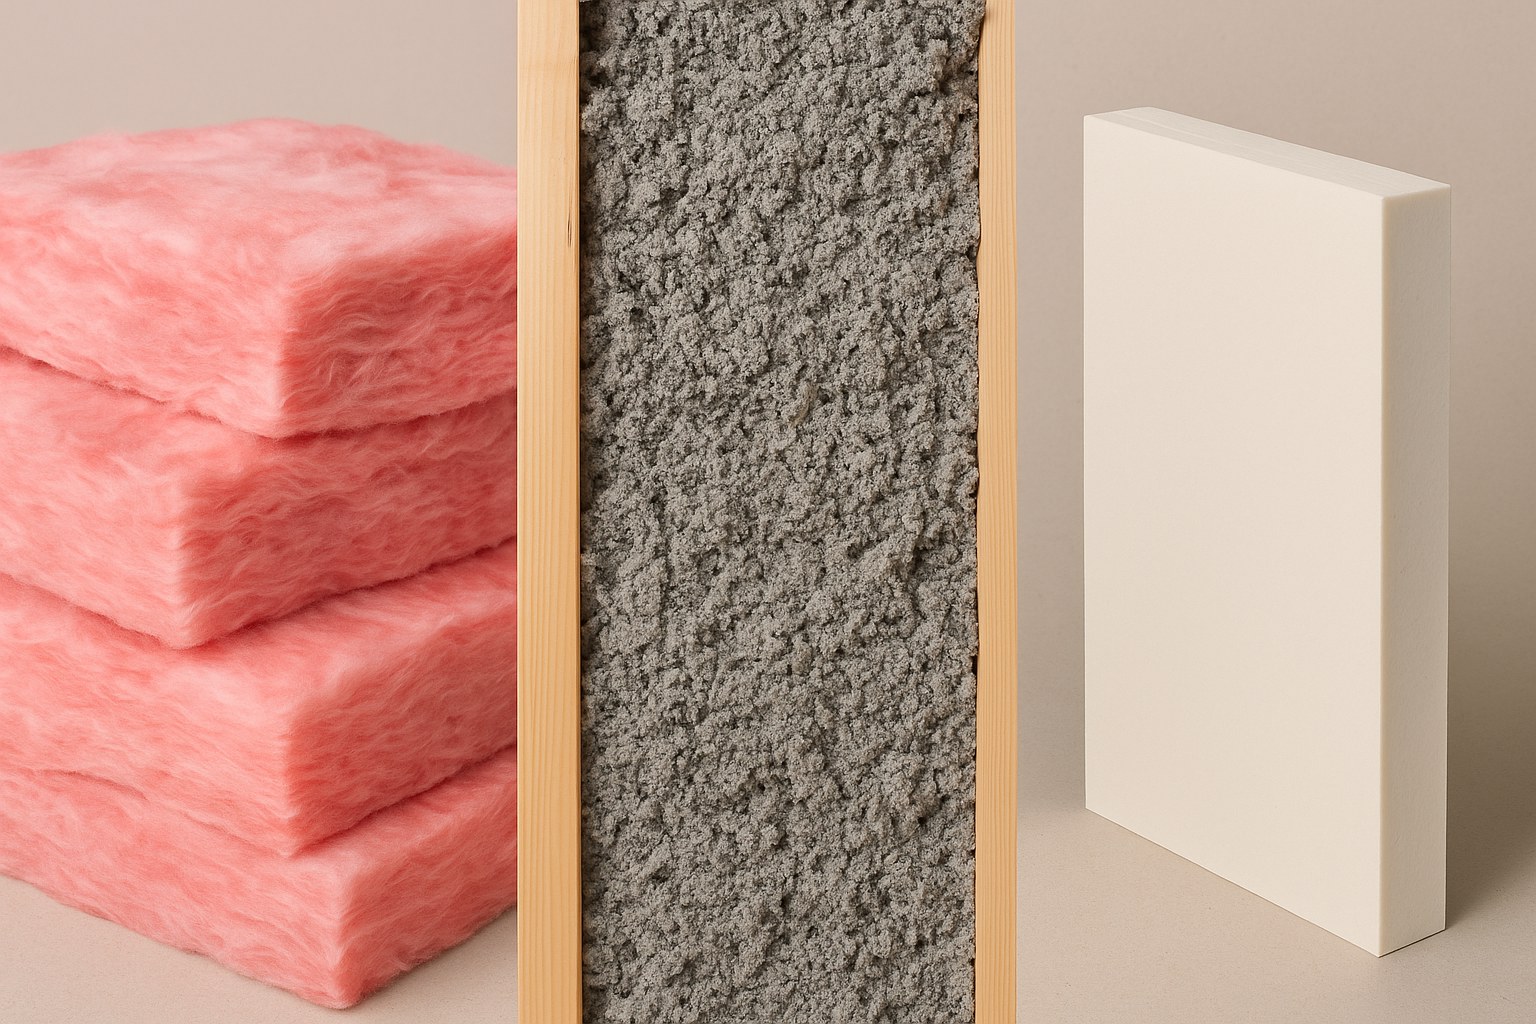
Knowing what kind of insulation you have is key to repairing it correctly. Here are the three most common types you'll encounter:
- Fiberglass Batts: These are the fluffy pink, yellow, or white blankets or rolls that fit between studs and joists.
- Blown-In Cellulose or Fiberglass: This looks like a loose, fluffy material (often gray) that has been blown into the attic or wall cavities.
- Foam (Board or Spray): This includes rigid foam boards attached to walls or hardened spray foam that has been applied to surfaces.
Step 3: How to Repair Minor Insulation Damage
If you’ve found damage that is minor, dry, and free of any mold or pests, you can likely tackle the repair yourself.
Fixing Damaged Attic Insulation
- For Fiberglass Batts: If a section is compressed or torn, measure the damaged area. Use a utility knife to cut a new piece of fiberglass batt to fit snugly in the space. If the insulation has a paper (kraft) facing, it should face down toward the heated living space.
- For Blown-In Cellulose: If you notice low spots or settled areas, you can "top up" your insulation. You can buy bags of cellulose and simply pour and rake it into the low spots to match the surrounding depth. For larger areas, you can rent a small insulation blower from a home improvement store to make the job faster.
- For Foam Insulation: Small cracks or gouges in spray foam or foam board can be sealed easily. Use a can of low-expansion spray foam sealant to fill the gaps. Let it cure for about 15 minutes, then use a utility knife to trim any excess foam flush with the surface.
Fixing Damaged Wall Insulation
Repairing wall insulation is more involved because you have to get through the drywall. This is a job best suited for those comfortable with drywall repair.
- For Fiberglass Batts: You'll need to cut away a section of drywall to access the damaged batt. Remove the old, damaged piece and cut a new one to fit snugly in the cavity. Then, you'll need to patch the drywall, apply joint compound, sand, and paint.
- For Blown-In Cellulose: If the insulation has settled, you can drill a 2-inch hole in the drywall between the studs. Insert the hose from an insulation blower and fill the cavity until you feel resistance. From there, you can patch the hole with a wooden plug or drywall patch.
Fixing Damaged Crawl Space or Basement Insulation
- For Fiberglass Batts: This is a common issue, as gravity and moisture can cause batts to sag and fall. If the insulation is dry and in good shape, you can put it back in place and secure it with insulation hangers (long metal wires). If a batt is damaged, remove it and cut a new piece to fit between the joists. Use a staple gun to attach the paper flanges to the sides of the joists.
- For Foam Insulation: Small cracks in foam board can be filled with low-expansion spray foam. If a board has detached from the wall due to moisture, ensure the wall is completely dry before re-securing it with a foam-safe adhesive.
When Is It Time to Call a Professional?
While DIY repairs are great for minor issues, some problems require an expert. A small patch is one thing, but widespread damage is another. You should call an insulation contractor if you encounter:
- Visible Mold or Widespread Moisture: Wet insulation needs to be removed and the source of the moisture fixed. A remediation professional can safely handle mold and ensure the area is properly treated.
- Signs of a Pest Infestation: If you see rodent droppings, nests, or signs of insects, the insulation is likely contaminated. An exterminator and an insulation contractor will need to work together to remove the pests, clean the area, and replace the insulation.
- Extensive Damage: If more than a quarter of the insulation in an area is compressed, wet, or missing, it's typically more effective to have a professional replace the entire section.
- You're Unsure or Uncomfortable: There's no shame in calling for backup! If you don't know what type of insulation you have or the job feels too big, a professional assessment can give you peace of mind.
The cost of professional work can vary. According to Forbes, insulation removal can cost between $1 to $2 per square foot, and new installation costs depend heavily on the material. While it's an investment, the energy savings and comfort are often well worth it.

Stay Warm, Save Money, and Feel Confident
Taking care of your home's insulation is a foundational part of home maintenance. It protects your comfort, lowers your energy bills, and helps maintain your home's structural integrity. By following this guide, you can confidently tackle small repairs and know exactly when to call for help.
Feeling a bit overwhelmed or want a second opinion? Download the Casa app today. Our app can provide you with more detailed, step-by-step guidance for your specific project. And if you decide the job is better left to a pro, Casa can connect you with trusted, local insulation experts in minutes. Take control of your home's comfort and efficiency with Casa.


