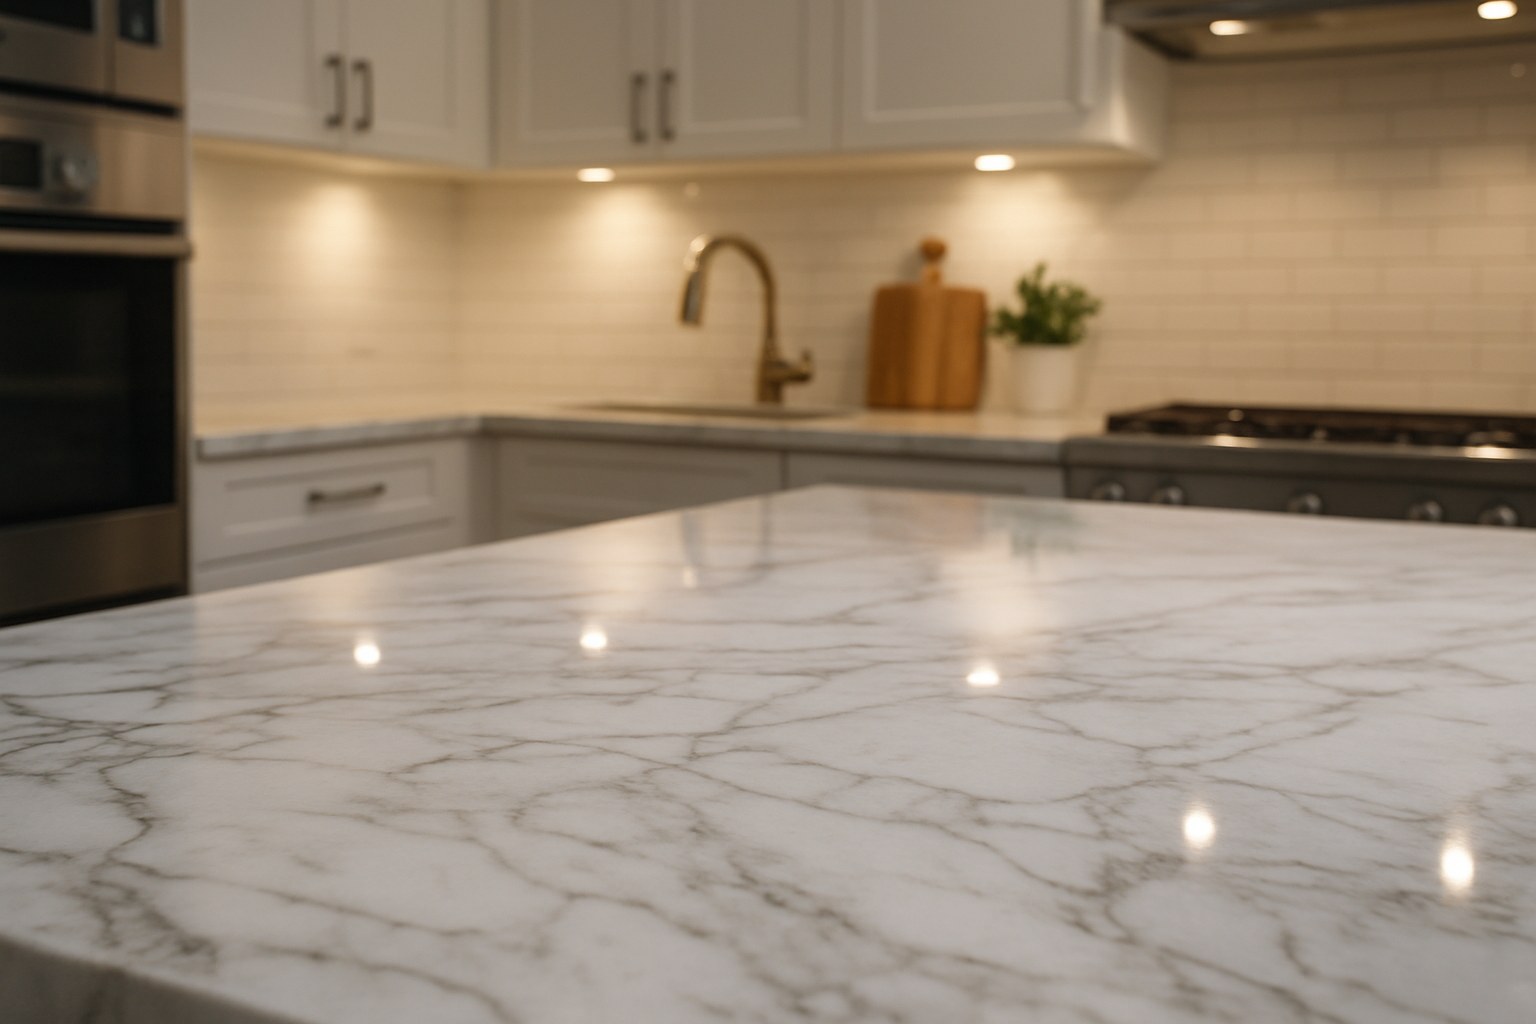
Stone and marble countertops are the centerpiece of many kitchens and bathrooms, known for their durability and timeless beauty. But even the toughest surfaces can show signs of wear and tear. A dropped pan, a spilled glass of wine, or just daily use can lead to unsightly chips, cracks, stains, or a dull finish. Seeing that first bit of damage can be disheartening, but don't panic!
The good news is that many common countertop issues are surprisingly easy to fix yourself. You don't always need to call in an expensive professional for a minor repair. With a little patience and the right materials, you can restore your countertop's flawless finish and keep it looking pristine for years to come.
In this guide, we'll walk you through everything you need to know, from identifying the problem to making the repair. Think of me as your friendly expert on the other end of the line, ready to help you tackle this project with confidence. Let's get that countertop looking brand new again!

First Things First: Identify the Issue
Before you can fix the problem, you need to know exactly what you’re dealing with. Different issues require different solutions, and the type of stone—natural (like marble or granite) versus engineered (like quartz)—also affects the repair method.
Grab a flashlight and hold it at a low angle across the surface of your countertop. This will help you spot subtle imperfections. Carefully inspect the entire surface for:
- Cracks or Chips: These are physical breaks in the stone. Note their size—is the crack wider than 1/8 inch? Is the chip larger than a dime?
- Stains or Etch Marks: A stain is a discoloration caused by a substance absorbing into the stone. An etch mark is a dull or rough spot caused by an acidic substance (like lemon juice or vinegar) corroding the surface. To tell the difference, rub the spot with a damp cloth. A stain won't change, but an etch mark will often feel slightly rough to the touch.
- Widespread Dullness: Has your countertop lost its original shine and luster? This often happens over time, especially with natural stone like marble.
- Separated Seams: Look at the joints where two pieces of countertop meet. Do you see any gaps or separation?
Once you've identified the main problem, you can move on to the specific fix.
How to Fix Cracks and Chips in Your Countertop
A chip on the edge or a hairline crack can feel like a major disaster, but small imperfections are often repairable. The key is to address them quickly before they get worse.
The process is similar for both natural and engineered stone, but the materials can differ slightly. For any crack wider than 1/8 inch or a chip larger than a dime, we recommend calling a professional. A DIY fix on a large break can be unstable and look obvious.
Tools and Materials You'll Need:
- Rubbing alcohol and a lint-free cloth
- Painter's tape
- Two-part epoxy or acrylic adhesive (choose one specifically for stone and color-matched if possible)
- Toothpick or small mixing stick
- Single-edge razor blade
- Disposable gloves
- Ultra fine-grit sandpaper (for natural stone)
- Stone polishing powder (for natural stone)
- Non-abrasive scrub pad (for engineered stone)
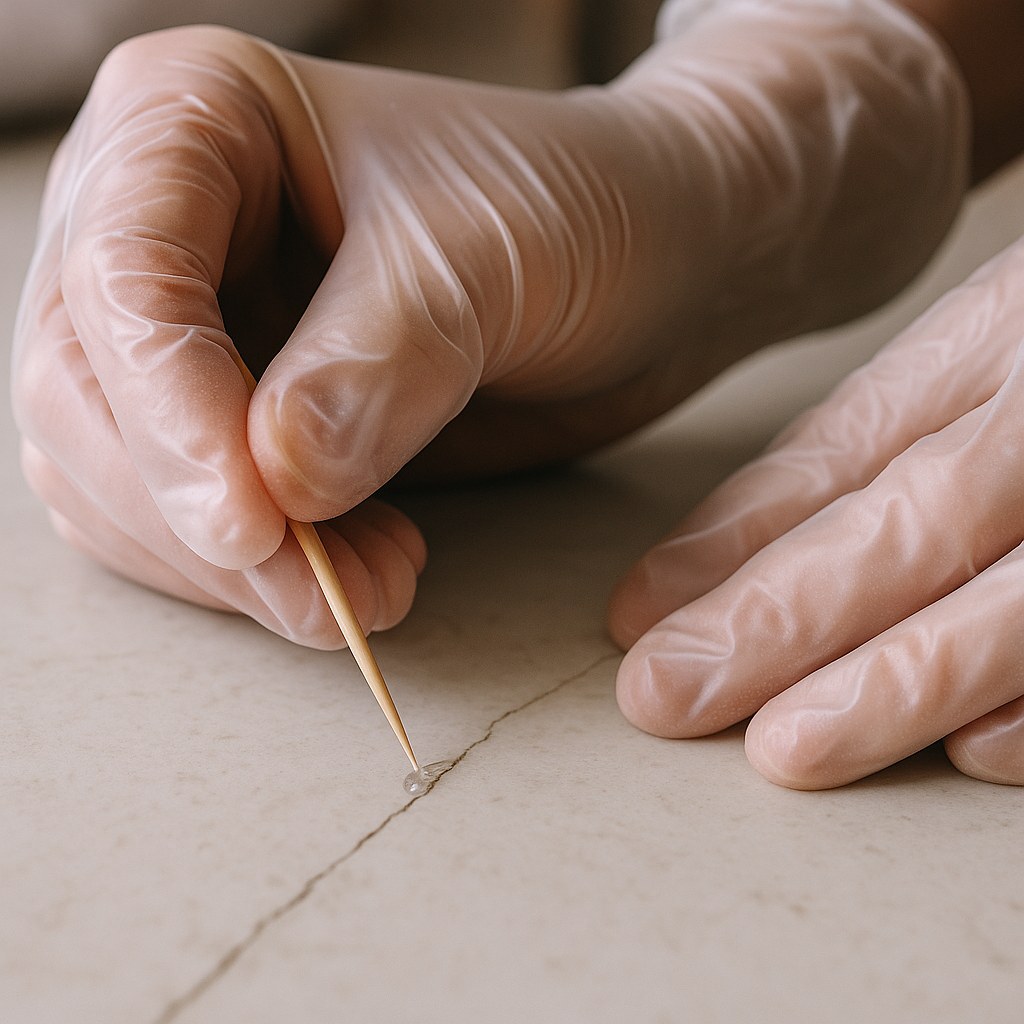
Step-by-Step Guide to Filling a Small Crack or Chip:
- Clean the Area: Put on your gloves. Thoroughly clean the crack or chip with rubbing alcohol on a lint-free cloth. This removes any dust, grease, or debris, ensuring the epoxy will form a strong bond.
- Protect the Surrounding Surface: Carefully apply painter's tape around the damaged area, leaving only the crack or chip exposed. This prevents the epoxy from getting on the undamaged part of your countertop.
- Mix the Epoxy: Following the manufacturer's instructions, mix a small amount of the two-part epoxy on a disposable surface like a piece of cardboard. Work quickly, as most epoxies begin to set within a few minutes. If you're using a color-matching kit, this is where you'll add tint.
- Fill the Damage: Using a toothpick, carefully press the mixed epoxy into the crack or chip. Make sure to work it all the way into the void to eliminate air bubbles. Slightly overfill the area.
- Level the Repair: Take a single-edge razor blade and hold it almost flat against the countertop. Scrape it across the repair to remove the excess epoxy, making the filler flush with the surrounding surface.
- Let It Cure: This is the most important step! Allow the epoxy to cure completely, which typically takes about 24 hours. Do not touch it or place anything on it during this time.
- Finish the Surface: Once cured, remove the painter's tape.
- For Natural Stone (Marble/Granite): Lightly wet-sand the area with ultra fine-grit sandpaper to make it perfectly smooth. Then, use a soft cloth and a small amount of stone polishing powder to buff the spot until its shine matches the rest of the countertop.
- For Engineered Stone (Quartz): Gently buff the area with a non-abrasive scrub pad to blend the sheen.
Wipe the area clean, and your repair is complete!
How to Remove Stains and Etch Marks
Stains and etch marks are the most common countertop complaints. An oil stain from a pizza box or an etch mark from a sliced lemon can mar an otherwise perfect surface.
For Natural Stone: The Power of the Poultice
Because natural stone is porous, stains can soak deep into the surface. The best way to lift them is with a poultice—a thick paste that draws the stain out of the stone as it dries.
- Make the Poultice: In a small bowl, mix baking soda with a small amount of water until it forms a thick paste, similar in consistency to peanut butter.
- Apply and Cover: Spread a 1/4-inch layer of the poultice directly over the stain or etch mark. Cover it with plastic wrap and use painter's tape to seal the edges.
- Wait: Let the poultice sit for 24 hours. As it dries, it will pull the stain from the stone.
- Remove and Clean: After 24 hours, remove the plastic wrap and gently scrape off the dried paste with a plastic putty knife. Rinse the area with clean water and dry it with a soft cloth.
The stain should be gone or significantly lighter. For very stubborn stains, you may need to repeat the process.
After the Stain: Seal Your Natural Stone!
If your countertop stained easily, it’s likely that its protective seal has worn off. Sealing natural stone is crucial to prevent future stains. Experts recommend resealing kitchen countertops once a year.
It's an easy process:
- Clean your countertop thoroughly and let it dry completely.
- Apply a high-quality penetrating stone sealer according to the product directions, working in small sections.
- Allow the sealer to penetrate for the recommended time (usually 5-10 minutes).
- Buff off any excess sealer with a clean, dry cloth.
For Engineered Stone:
Engineered stone is non-porous and highly stain-resistant, so deep stains are rare. Most marks are on the surface and can be removed with a non-abrasive household cleaner (like a cream cleanser) and a soft cloth. Apply the cleaner and gently rub in a circular motion. Rinse with water and dry. Avoid harsh chemicals or abrasive scouring pads, which can dull the surface.
How to Restore a Dull Finish
Has your once-glossy countertop turned dull and lackluster? This is common with natural marble due to its softer nature.
- For Natural Marble: To bring back the shine, you'll need a marble polishing powder. Sprinkle the powder on the surface, dampen a buffing pad, and work in circular motions across the entire countertop. This is a labor-intensive process, so for an entire kitchen, you might consider renting a low-speed polisher. After polishing, be sure to reseal the surface!
- For Engineered Stone: A dull finish on engineered stone is usually just a buildup of soap film or residue. A thorough cleaning with a non-abrasive cleaner followed by a vigorous buff with a dry microfiber cloth is often all it takes to restore the shine.
When Should You Call a Professional?
While DIY repairs are great for minor issues, some jobs are best left to the experts. According to HomeAdvisor, professional countertop repair can cost anywhere from $200 to $650, depending on the material and extent of the damage. You should call a contractor or countertop specialist if:
- A crack is wider than 1/8 inch or longer than a few inches.
- A chip is larger than a dime.
- A stain is very deep and doesn't lift after multiple poultice treatments.
- A seam has separated by more than 1/16 inch.
- You're simply not comfortable tackling the repair yourself.
Your Countertop is Fixed—What's Next?
Congratulations! By following these steps, you’ve likely restored the beauty of your stone countertop and saved yourself a good bit of money. Taking care of your home doesn't have to be intimidating, and every project you complete builds your confidence for the next one.
Feeling empowered? That’s what Casa is all about. We believe every homeowner can be a capable one. For more easy-to-follow guides, personalized maintenance reminders, and a direct line to trusted local pros for the jobs you can't handle, download the Casa app today. We're here to help you manage and maintain your home with ease.


