There’s nothing quite like the convenience of having an endless supply of fresh ice at your fingertips. But what happens when you reach for a cold drink only to find an empty ice bin? A broken ice maker can feel like a major appliance failure, but don’t panic just yet. More often than not, the fix is something you can easily handle yourself in under an hour.
Whether you have an ice maker built into your refrigerator or a separate countertop unit, the causes are often simple: a power issue, a water supply problem, or a minor jam. Think of us as your expert on the line, ready to walk you through it.
In this guide, we'll troubleshoot the most common reasons why your ice maker isn't working and provide clear, step-by-step instructions to get it running again.
First Things First: What Kind of Ice Maker Do You Have?
Before we dive into the nuts and bolts, let's figure out what type of machine you're working with. This will determine which troubleshooting path to follow.
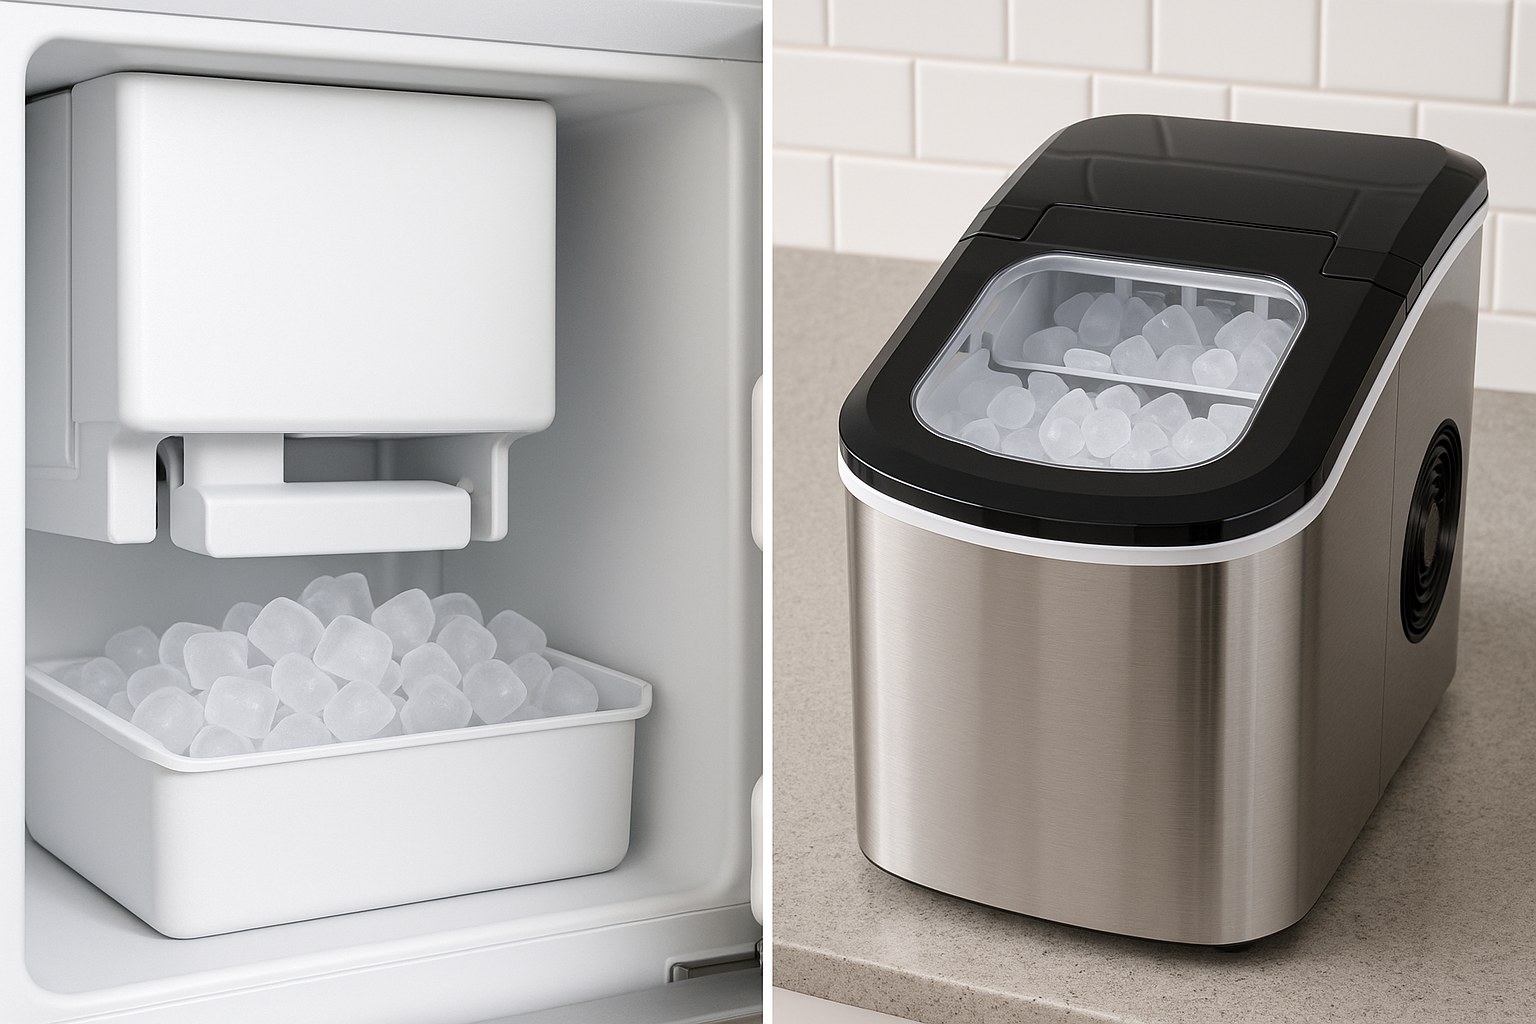
- Built-In Refrigerator Ice Maker: This is the most common type, located inside the freezer compartment of your refrigerator. It’s connected directly to your home's plumbing.
- Stand-Alone or Countertop Ice Maker: These are separate appliances. Some are portable units with a water reservoir you fill manually, while larger, under-counter models are plumbed in like a refrigerator ice maker.
Got it? Great. Let’s start with the most common type: the built-in refrigerator ice maker.
How to Fix a Built-In Refrigerator Ice Maker
If your refrigerator isn't making ice, we'll start with the simplest checks and work our way to more complex solutions.
Step 1: Perform Basic Checks
Sometimes the solution is hiding in plain sight. Let’s cover the fundamentals before you start taking anything apart.
- Check the Power Cord: This might sound obvious, but make sure your refrigerator is firmly plugged into the wall outlet. A loose connection can interrupt power without you realizing it.
- Turn the Ice Maker On: Most refrigerator ice makers have an on/off switch or a metal feeler arm (also called a slide bar). If it's a switch, make sure it’s in the "ON" position. If it’s a feeler arm, it should be in the down position. When the arm is raised, it signals to the ice maker that the bin is full and production should stop.
- Check the Freezer Temperature: Your freezer needs to be cold enough to make ice. The ideal temperature is between 0°F and 5°F (–18°C to –15°C). If it's too warm, the ice maker's thermostat won't trigger the ice-making cycle. Use a thermometer to check the temperature and adjust the freezer controls if needed.
- Clear Any Ice Jams: Grab the ice bin and pull it out. Look inside the mechanism for any ice cubes that may have gotten stuck in the ejector arm or are blocking the chute. Gently clear these out by hand. A stuck cube can prevent the machine from completing its cycle and producing new ice.
After running through these checks, put the ice bin back in, close the door, and give it a few hours (at least 3) to see if a new batch of ice appears. If it does, congratulations! If not, it’s time to check the water supply.
Step 2: Investigate the Water Supply
No water means no ice. A lack of water flow is one of the most common reasons an ice maker stops working.
A quick way to diagnose this is to use your refrigerator’s water dispenser. Press the lever for about 5 seconds.
- If water flows out steadily: Your refrigerator is getting water, which is a good sign. The problem is likely between the main water line and the ice maker itself. This often points to a clogged water filter.
- If water doesn't flow out (or just trickles): You have a bigger water supply issue. This could be a kinked line behind the fridge or a problem with the shut-off valve.
Let’s tackle the clogged filter first.
How to Replace a Clogged Refrigerator Water Filter
The water filter in your fridge is designed to catch impurities, but over time it can become so clogged that it restricts water flow to the ice maker and dispenser. Manufacturers generally recommend replacing it every six months.
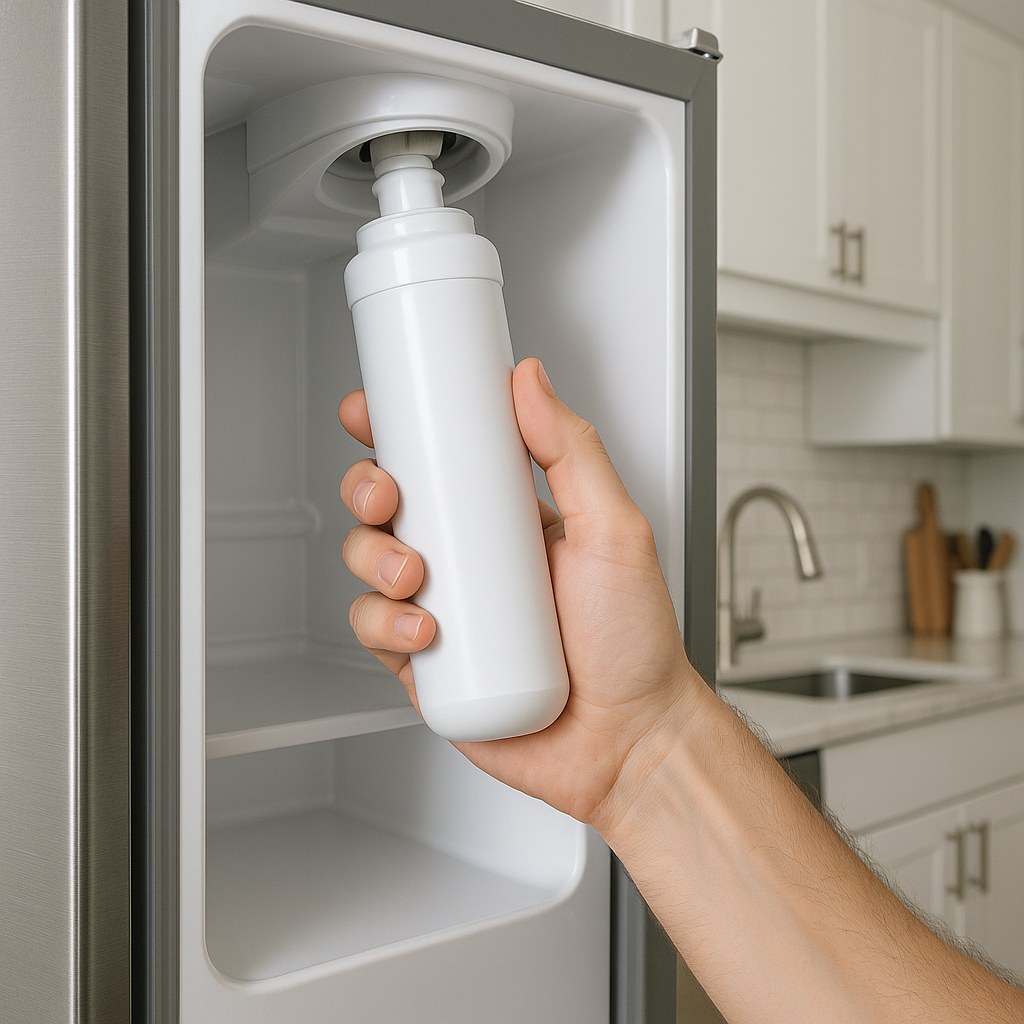
- Locate the Filter: The filter is usually located inside the refrigerator (often in the top-right corner) or at the base grille on the bottom.
- Remove the Old Filter: Most filters are removed by twisting them counter-clockwise and pulling straight out. You might see a small amount of water spill, which is normal.
- Install the New Filter: Remove the protective caps from the new filter, push it into the housing, and turn it clockwise until it locks into place.
- Flush the System: Once installed, run about a gallon of water through the dispenser. This purges any air from the lines and activates the new carbon filter.
Now, wait about 4 hours and check the ice bin. If you see fresh cubes, the clogged filter was your culprit! If not, or if your dispenser wasn’t working in the first place, it's time to inspect the main supply line.
How to Inspect the Refrigerator Water Supply Line
This step is a bit more hands-on but is crucial for solving flow problems.
- Safety First: Unplug the Fridge. Before you move it, disconnect the power.
- Pull the Refrigerator Out: Carefully slide the refrigerator straight out from the wall so you can access the back.
- Locate the Water Line: You’re looking for a thin copper or plastic tube running from the wall to the back of the refrigerator.
- Check for Kinks: Inspect the entire length of the line for any sharp bends or kinks that could be blocking water flow. Gently straighten any you find.
- Test the Water Flow:
- Find the shut-off valve for the water line (it’s usually a small T-handle or saddle valve) and turn it clockwise to close it.
- Place a bucket under the connection point on the refrigerator.
- Use an adjustable wrench to loosen the nut and disconnect the line from the fridge.
- Hold the line over the bucket and briefly open the shut-off valve. You should see a strong, steady stream of water. If the flow is weak or non-existent, the problem is with your home’s plumbing, not the fridge.
- Reconnect and Test: If the flow was strong, close the valve, reconnect the line, and tighten the nut. Open the valve again, plug the fridge back in, and slide it back into place. Wait a few hours to see if ice production starts.
If you’ve tried all these steps and your built-in ice maker is still on strike, it may be time to call in a professional. The issue could be a faulty water inlet valve or an internal component.
How to Fix a Stand-Alone or Countertop Ice Maker
For those with a portable or under-counter unit, the troubleshooting process is a bit different but just as straightforward.
Step 1: Perform Basic Checks
- Check Power and Settings: Ensure the unit is plugged in and the power light is on. Double-check that the on/off button or selector knob is set to "ON."
- Check the Water Reservoir (for portable models): If your unit isn't plumbed in, make sure the water reservoir is filled to the MAX line with clean water.
- Check the Room Temperature: Most stand-alone ice makers are designed to operate in ambient temperatures between 50°F and 90°F (10°C and 32°C). If the room is too hot or too cold, it can affect performance.
- Start a Fresh Cycle: Remove the ice bin, discard any old ice, re-insert the bin, and start a new cycle. Wait about 15-30 minutes to see if ice begins to form.
If these checks don’t solve the problem, let's see if water is making it to the freezing tray.
Step 2: Check for Water Flow and Mechanical Jams
Start a cycle and observe the machine. Can you see water flowing into the small freezing tray?
- If YES, water is flowing but no ice is produced: The problem is likely a mechanical jam.
- If NO, water is not flowing: The problem is with the water supply line (for plumbed-in models) or an internal pump (for reservoir models).
How to Clear an Internal Mechanical Jam
- Turn Off and Unplug: Safety first!
- Access the Mechanism: Remove the ice bin to get a clear view of the ejector arm and ice chute.
- Gently Clear the Jam: Look for any ice cubes stuck around the ejector arm. Use a plastic spatula or a wooden spoon to gently pry them away. Avoid using sharp metal objects, as you could damage the components.
- Restart: Wipe away any frost, reinstall the bin, plug the unit in, and start a new cycle.
Step 3: Inspect the Water Supply Line (for Plumbed-In Models)
If you have a stand-alone unit that’s connected to a water line and no water is entering the machine, follow the same steps outlined above for the refrigerator water supply line: check for kinks and test the flow from the shut-off valve.
When It's Time to Call a Professional
You’ve done a fantastic job troubleshooting, but some issues require an expert touch. It’s probably time to call an appliance repair technician if:
- You've confirmed there is good water flow to the unit, but it still won't make ice.
- The ice maker is making loud or unusual grinding noises.
- You suspect a problem with a sealed component like the water inlet valve, thermostat, or motor.
- You simply don't feel comfortable performing any of these steps.
According to Angi, the average cost to repair an ice maker is between $130 and $300. While a DIY fix can save you money, a professional can quickly diagnose and solve complex electrical or mechanical failures, ensuring the job is done safely and correctly.
Keep Your Home Running Smoothly with Casa
Fixing an ice maker is a rewarding DIY project that can save you from a service call. By patiently working through these steps, you can solve the most common issues and get back to enjoying ice-cold drinks.
For more helpful home maintenance guides, expert tips, and the ability to connect instantly with vetted professionals for the jobs you can't handle, download the Casa app today. We're here to empower you to manage your home with confidence, one fix at a time.


