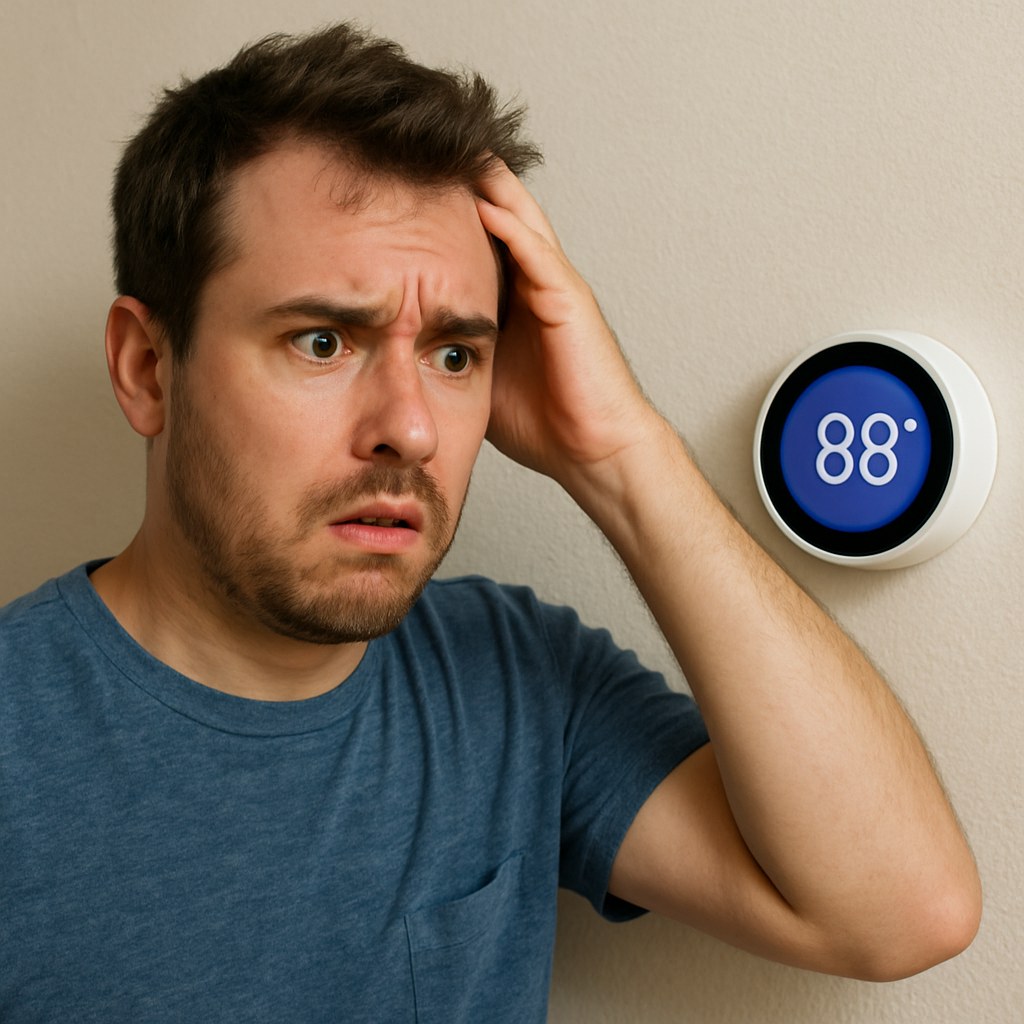
You walk into a room and it feels like a sauna, but your thermostat claims it's a perfect 72°F. Or maybe you're shivering under a blanket while the thermostat insists the heat is on. When your thermostat and the actual room temperature don't agree, it's more than just an annoyance—it can lead to discomfort, wasted energy, and surprisingly high utility bills.
The good news is that a thermostat reading the wrong temperature is a very common household issue, and you can often fix it yourself without calling a professional. It could be something as simple as dead batteries or a draft messing with the sensor.
In this guide, we'll walk you through the troubleshooting process step-by-step, just like we're on the phone with you. We'll help you figure out what kind of thermostat you have and how to get it back to accurately reading your home's temperature.
Why Is My Thermostat Reading the Wrong Temperature?
Before we dive into the fixes, let's understand the usual suspects. An inaccurate thermostat reading can be caused by several factors:
- Poor Placement: Is your thermostat in direct sunlight, near a hot oven, or next to a drafty window? External factors can trick its sensors into thinking the room is hotter or colder than it actually is.
- Dead or Dying Batteries: Many digital thermostats rely on batteries. When they get low, the thermostat can start to malfunction, leading to incorrect readings or a blank screen.
- Needs Calibration: Older analog (mercury or mechanical) thermostats can lose their accuracy over time and may need to be recalibrated.
- Dirt and Debris: Dust and grime can accumulate inside the thermostat, interfering with the internal sensors and mechanical parts.
- Incorrect Settings: Smart thermostats often have complex schedules that can override your manual adjustments, making you think it's not working correctly.
Now, let’s figure out which problem you're dealing with and get it solved.
Step 1: Identify Your Thermostat Type
The first step is to know what kind of device you're working with, as the solution varies depending on the type.
- Analog Thermostat: This is the old-school model. It usually has a dial or a small lever you move along a temperature scale. They are simple but can be less accurate.
- Digital (Non-Programmable) Thermostat: This type has a digital screen that displays the temperature, but it doesn't have scheduling features. You set it to one temperature, and it stays there.
- Smart Thermostat: These are the most modern types. They connect to your Wi-Fi, can be controlled by an app on your phone, and often feature learning capabilities and complex scheduling.
Once you’ve identified your model, find the corresponding section below to begin troubleshooting.
Fixing an Analog Thermostat
If you have a classic dial or slider thermostat, the fix is often mechanical.
1. Verify the Temperature Reading
First, let's confirm the thermostat is actually wrong.
- Tape a reliable room thermometer (a simple digital one works great) to the wall right next to your thermostat.
- Make sure it’s not in direct sunlight or near any vents.
- Wait about 15 minutes for the thermometer to get an accurate reading.
- Compare the thermometer's reading to your thermostat. If they are off by more than two degrees, your thermostat needs adjusting.
2. Calibrate Your Analog Thermostat
If the reading is off, you may need to recalibrate it. This sounds complicated, but it's manageable.
- Safety First: Go to your home's electrical panel and turn off the breaker for your HVAC system.
- Remove the Cover: Gently pull the thermostat cover off.
- Level the Thermostat: Place a small level on top of the thermostat base. If it’s not perfectly level, the mercury switch (in older models) or mechanical components won't work correctly. Loosen the mounting screws slightly and adjust until it's level, then retighten.
- Adjust the Heat Anticipator: Look for a small metal dial or lever inside with a scale that might say "LONGER" or have numbers on it. This is the heat anticipator. It tells your furnace when to turn off to prevent overshooting the target temperature. If your room gets too warm before the furnace shuts off, nudge the lever one notch toward "LONGER." If the room is always too cool, nudge it one notch the other way.
- Reassemble and Test: Snap the cover back on and turn the breaker back on. Wait a few hours to see if the adjustments have solved the problem.
If you've calibrated it and it's still not working, or if the HVAC system doesn't turn on at all, it's time to check the wiring or call a pro.
Fixing a Digital (Non-Programmable) Thermostat
Digital thermostats are common and usually very reliable. When they act up, the culprit is often simple.
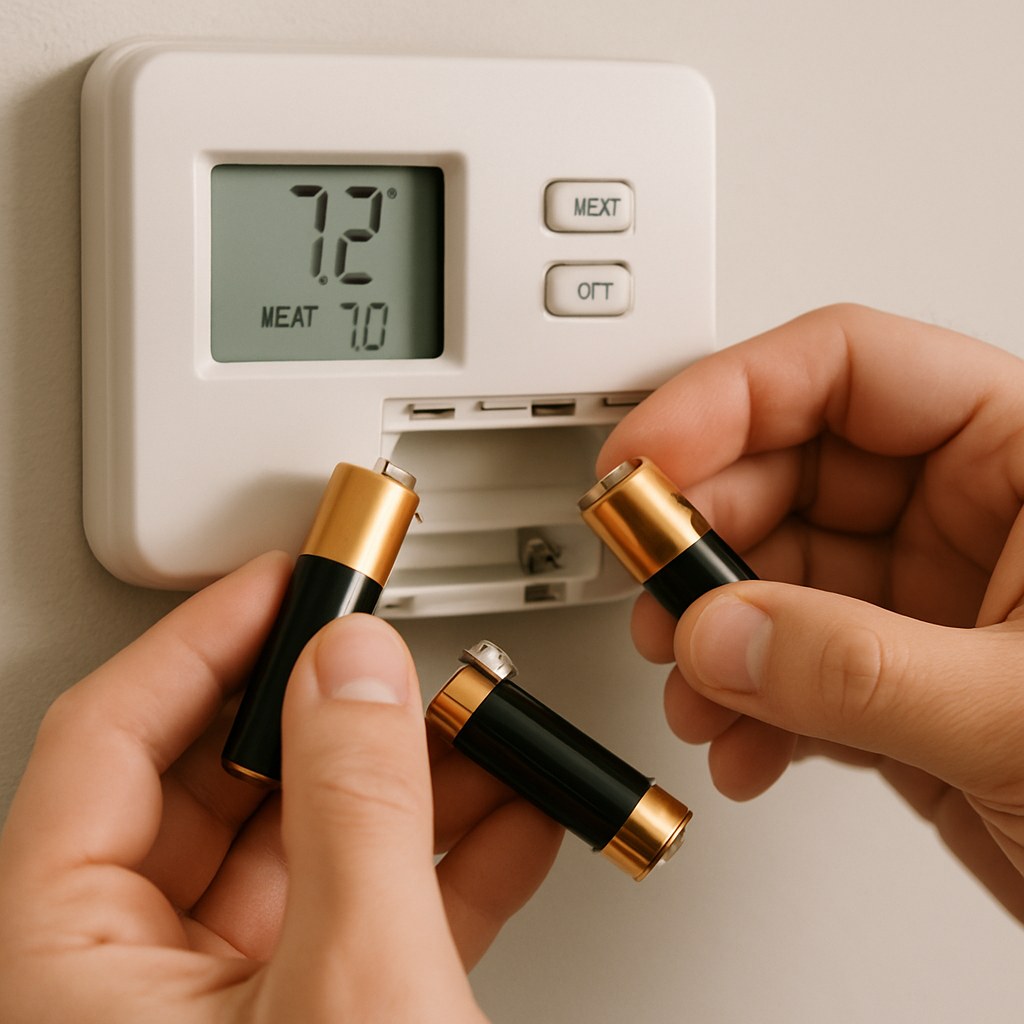
1. Replace the Batteries
This is the number one cause of digital thermostat problems.
- Does the screen look dim, show a low-battery icon, or is it completely blank?
- Gently pull the thermostat unit off its wall plate. Most models slide upwards or pull straight off.
- On the back, you'll find batteries, usually AA or AAA.
- Replace them with a fresh set, making sure to match the positive (+) and negative (-) terminals correctly.
- Push the thermostat back onto its wall plate until it clicks.
For many people, this simple step is all it takes. If the problem persists, let's check the wiring.
2. Check the Wiring
- Turn off the Power: Go to your breaker box and shut off the power to your HVAC system.
- Remove the Unit: Take the thermostat off its wall plate.
- Inspect the Wires: Look at the small colored wires connected to terminals (often labeled R, W, Y, G, C). Gently tug on each one to ensure it's secure.
- Tighten Connections: If any wires are loose, use a small Phillips screwdriver to tighten the terminal screws.
- Reassemble: Put the thermostat back on, restore power at the breaker, and test it.
Fixing a Smart Thermostat
Smart thermostats are powerful, but their complexity can sometimes be the source of the issue.
1. Check the Schedule and Settings
The most common issue with smart thermostats is a forgotten schedule overriding your manual changes.
- Open the smartphone app for your thermostat.
- Navigate to the "Schedule" section.
- Look for any pre-programmed temperature changes that might conflict with what you want. You might have a setting that lowers the temperature at night and it's kicking in earlier than you'd like.
- Adjust or delete any unwanted schedule events and save your changes.
2. Check Hardware, Placement, and Updates
- Firmware Updates: In the app or on the thermostat's screen, go to "Settings" and check for any available software or firmware updates. Installing them can often fix known bugs.
- Relocate Remote Sensors: Many smart thermostats use remote sensors to average the temperature across multiple rooms. If a sensor is in a sunny spot or next to a cold window, it can throw off the entire system. Move the sensor to a more neutral location in the center of the room.
- Insulate from Drafts: A surprising amount of air can travel through the hole in the drywall where the thermostat wires come out. This draft can affect the sensor. Gently peel the thermostat from the wall, place a small piece of insulating foam behind it to block the hole, and re-mount it.
When to Call a Professional
If you’ve tried all the steps for your thermostat type and the problem isn't fixed, it might be time to call in an expert. The issue could be with the HVAC system itself, or there might be a more complex wiring problem.
According to data from home service marketplaces, hiring an HVAC technician for a thermostat issue typically costs between $100 and $300, depending on the diagnosis and your location. While DIY fixes like replacing batteries cost only a few dollars, calling a professional is the safest bet when dealing with persistent electrical issues.

Your Home Comfort, Restored
An inaccurate thermostat is a frustrating problem, but it’s one you can often solve with a little patience and troubleshooting. By identifying your thermostat type and following these steps, you can restore comfort to your home and ensure your HVAC system is running efficiently.
For more easy-to-follow DIY home maintenance guides and instant access to trusted professionals when you need them, download the Casa app today. We’re here to help you manage your home confidently, one small fix at a time.


