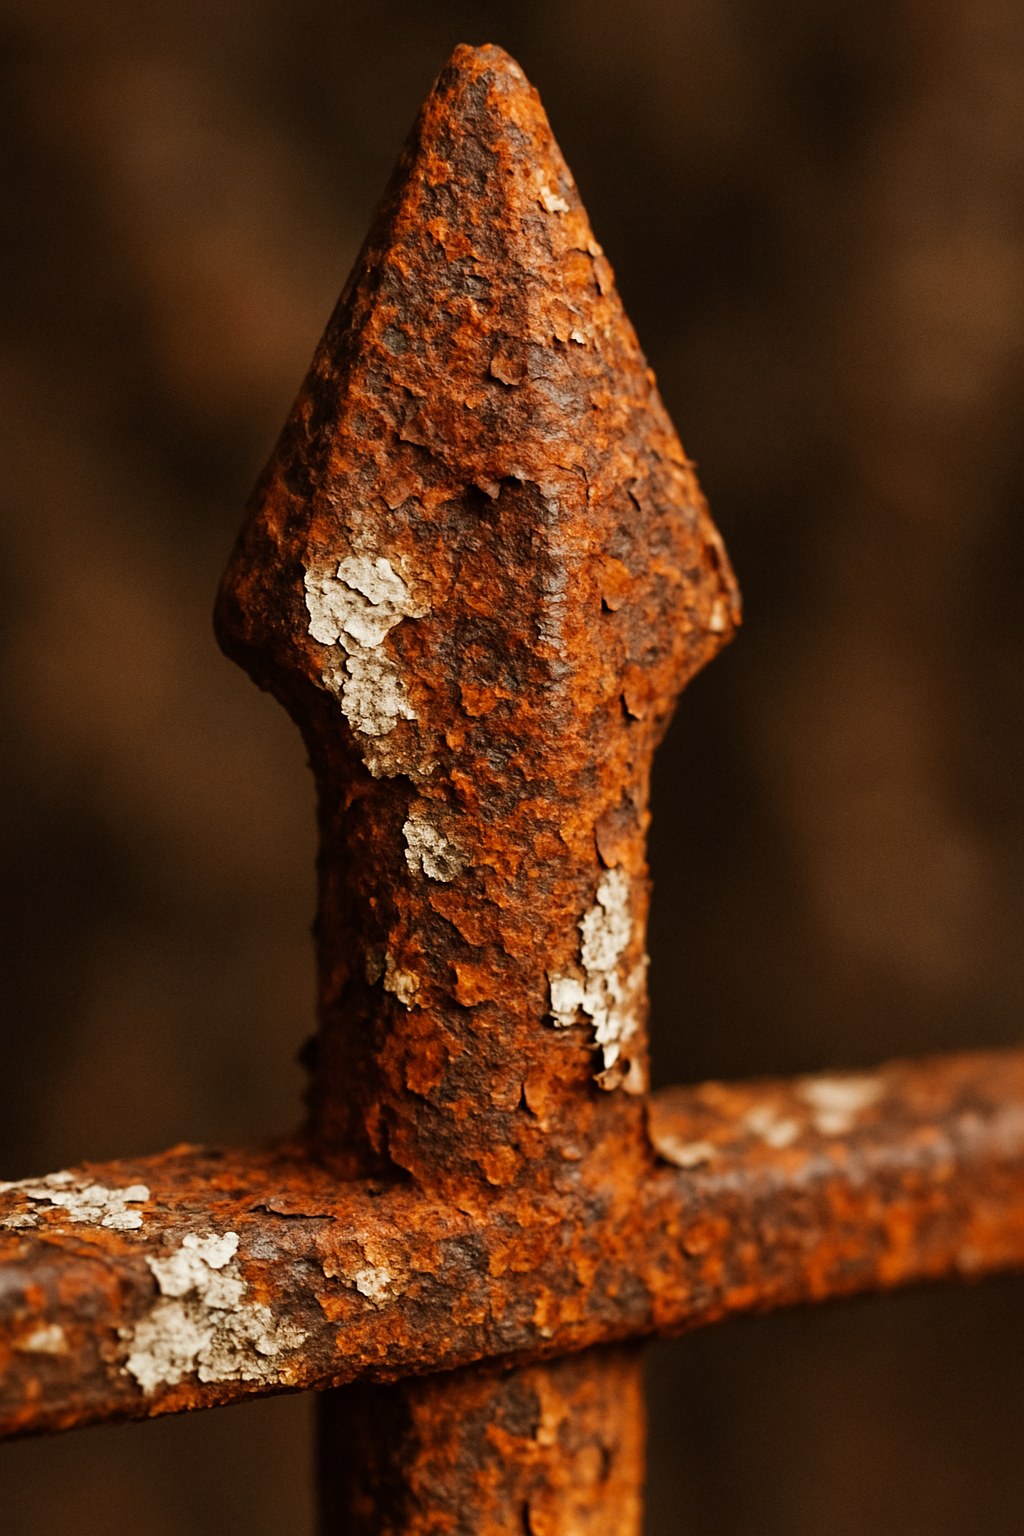
A rusty metal fence can really bring down the look of your property. What starts as a small orange spot can quickly spread, leading to peeling paint, weakened metal, and an overall neglected appearance. But it's not just about looks—a corroded fence can become a safety hazard if left untreated.
The good news is that fixing a rusty fence is a completely manageable DIY project that can save you a significant amount of money and restore your home's curb appeal. Whether you're dealing with a few minor spots or widespread corrosion, we've got you covered.
Think of me as your friendly expert on the other end of the line. I'm going to walk you through everything you need to know, from assessing the problem to applying that final, protective coat of paint. Let's get that fence looking brand new again!
Why You Shouldn't Ignore a Rusty Fence
Before we dive into the "how," let's quickly cover the "why." Rust, or iron oxide, is the result of iron or steel being exposed to oxygen and moisture. It's not just a surface issue; it's a chemical process that actively eats away at the metal.
- Structural Integrity: Over time, rust can weaken the metal, making your fence less secure. Pickets can become brittle, and posts can lose their stability.
- Curb Appeal: A rusty fence makes a property look unkempt and can lower its perceived value.
- Cost: The longer you wait, the worse the problem gets, potentially turning a simple repair job into a costly full replacement.
So, by tackling this now, you're not just making things look better; you're protecting your investment.
Step 1: Before You Start - Assess the Damage and Safety Risks
This is the most important step, so don't skip it. Before you grab a single tool, you need to determine if your fence is a candidate for a DIY repair or if it needs a professional's touch. A cosmetic fix won't help if the fence is structurally unsound.
Here's how to perform a thorough inspection:
- Gear Up: Put on a pair of sturdy work gloves and safety glasses. You'll be pressing on potentially sharp or weak metal.
- Walk the Line: Start at one end of your fence and slowly walk the entire perimeter. Look closely at every component: the vertical pickets, the horizontal rails, and the main posts set into the ground.
- Perform the "Press Test": With moderate force, press on each post and rail. Does it feel solid, or does it give way, bend, or wobble? Pay close attention to the base of the posts, where moisture often collects.
- Look for Critical Signs: Keep an eye out for deep, crater-like pits in the metal, visible holes, or sections that look thin and flaky. Check that all fasteners (screws or bolts) are present and secure.
When to Call a Professional
This is not a project you want to tackle if the fence's structure is compromised. You should stop and call a qualified fence contractor or welder if you find:
- Any parts that feel weak, wobbly, or bend easily when pressed.
- Visible holes or deep pitting that goes through the metal.
- Posts that are loose in their footings.
These issues require structural repairs, like welding new sections or replacing posts, which go beyond a simple rust treatment. It's always better to be safe and get an expert opinion.
Step 2: Spot Treatment or Full Overhaul? How to Decide
If your fence passed the safety assessment—congratulations! Now you need to determine the scope of your project. Are you dealing with a few isolated trouble spots or is the rust more widespread?
Here's a simple way to decide: Stand in one spot and look at a section of your fence. Can you see all the rusty areas from where you're standing?
- Choose Spot Treatment if: The rust is limited to a few small, contained spots on pickets or rails, and the rest of the fence's paint is in good condition.
- Choose a Full Refinish if: The rust is widespread, appearing on many pickets, along the bottom rails, at most of the joints, or if the paint is peeling and flaking all over.
Step 3: How to Treat Small Rust Spots on Your Fence
If you're doing a spot treatment, your goal is to remove the rust completely, blend the repair with the existing paint, and seal the area from future moisture.
1. Prep the Area
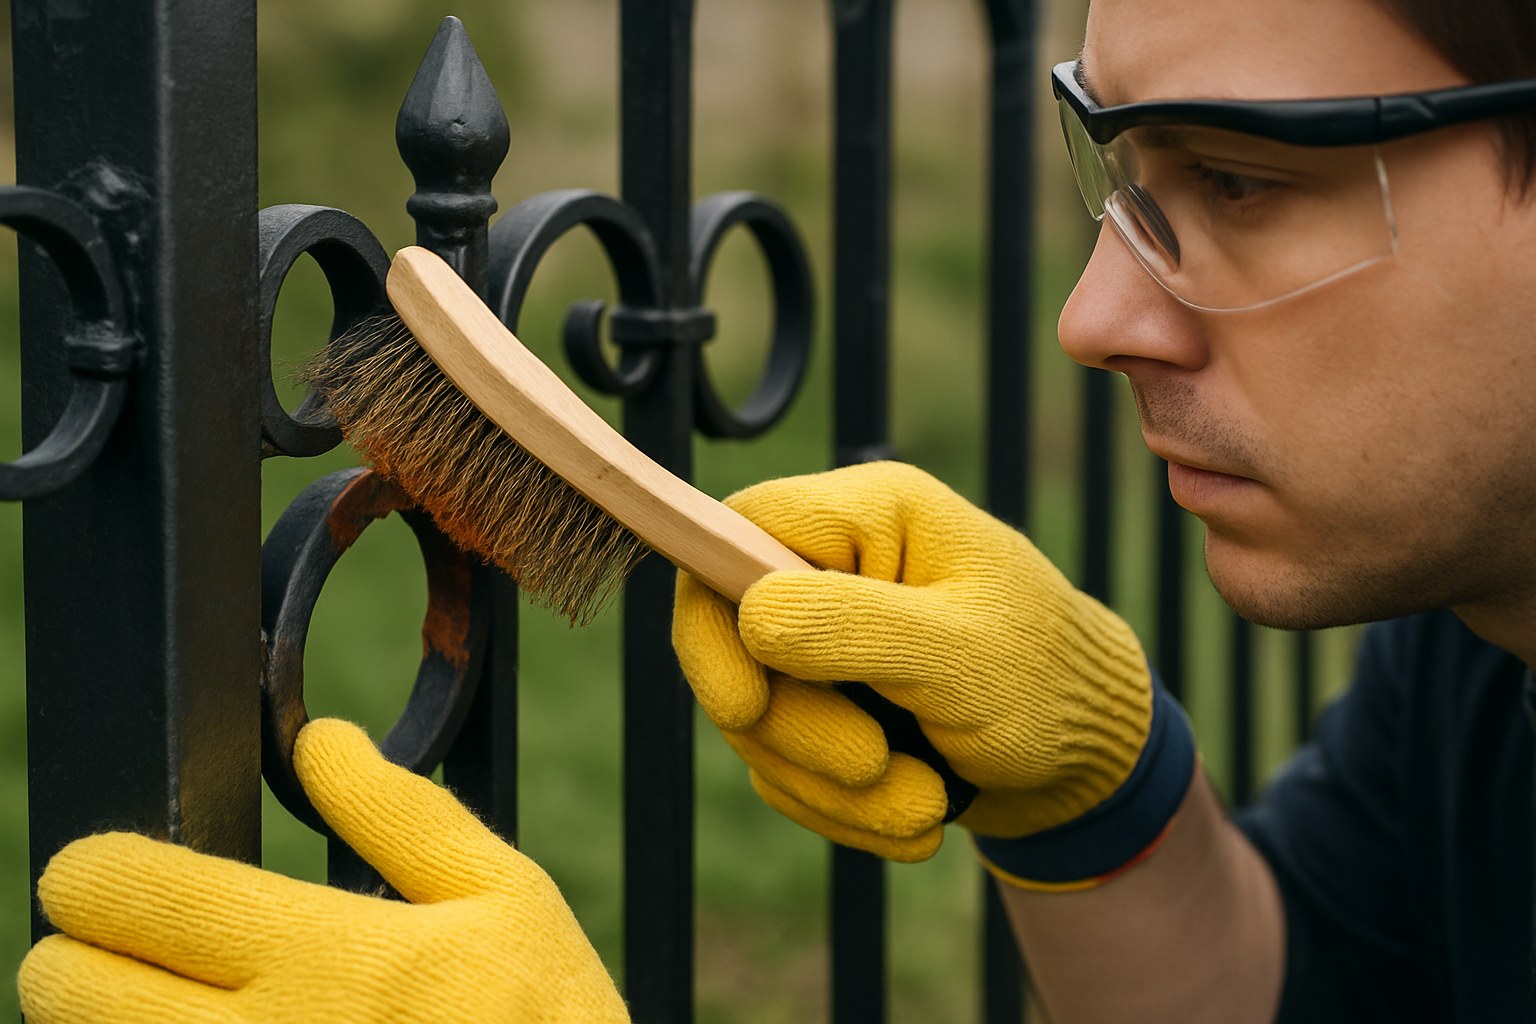
First, lay a tarp or drop cloth under the section you're working on to catch any paint chips and rust dust. Then, using a stiff wire brush, scrub the rusty spot vigorously. Your goal is to get past the orange rust and peeling paint until you see shiny, bare metal. Once the rust is gone, wipe the area with a cloth dampened in mineral spirits to remove any remaining dust and oils.
2. Check the Surrounding Paint
Now, look at the edges of the paint around the bare metal spot. Is the paint still firmly attached, or is it starting to flake and peel away at the edges? This will determine your next step.
3A. If the Paint is Intact (Patch and Prime)
If the surrounding paint is solid, your job is a bit easier.
- Prime It: Shake a can of rust-inhibiting spray primer for a full minute. Hold the can about 8-10 inches away and apply a thin, even coat to the bare metal spot. Overlap the spray onto the existing paint by about an inch to create a good seal. Let it dry according to the manufacturer's instructions (usually about 30 minutes).
- Paint It: Shake your can of color-matched exterior metal paint. Apply two light coats over the primed area, waiting about 10-15 minutes between coats. Using light coats prevents drips and creates a more durable finish.
- Cure It: Let the paint cure for at least 24 hours before touching it. The spot is now sealed and protected!
3B. If the Paint is Peeling (Feather, Prime, and Paint)
If the paint around the rusted area is peeling, you'll need to blend the edges to get a smooth, professional-looking finish.
- Feather the Edges: Using medium-grit sandpaper, sand the edges of the painted area around the bare metal patch. This process, called "feathering," creates a smooth, gradual transition from the old paint to the repair area, so you won't see a hard line once you've repainted.
- Prime It: Wipe away the sanding dust. Apply two light coats of rust-inhibiting primer to the bare metal and the feathered edges. Let it dry completely.
- Paint It: Apply two light coats of your exterior metal paint over the entire primed area.
- Cure It: Allow the paint to cure for 24 hours. The repaired area is now fully protected.
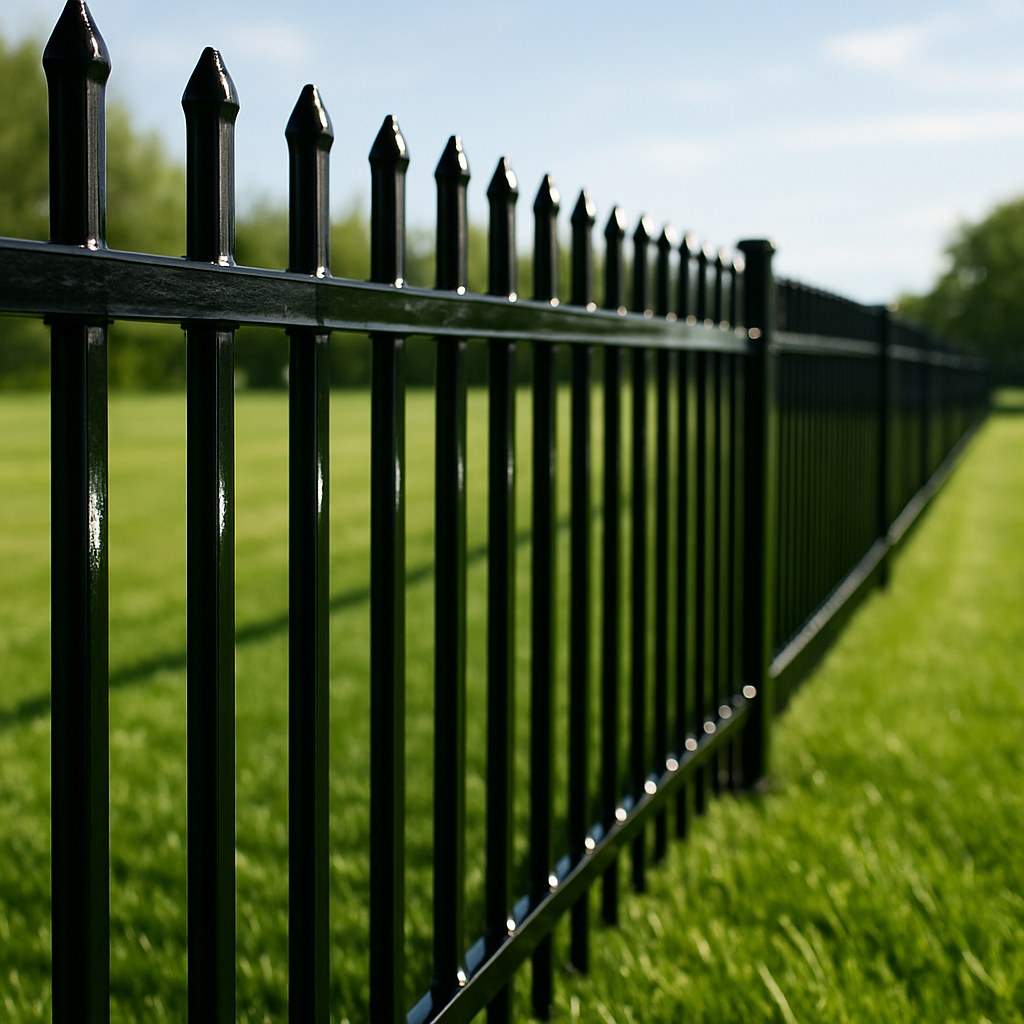
Step 4: Going All Out - How to Completely Refinish Your Metal Fence
For fences with widespread rust, a full refinish is the way to go. It’s a bigger job, but the results are dramatic and will protect your fence for years.
1. The Big Clean-Up
You can't paint a dirty fence. Start by clearing any grass, weeds, or vines away from the fence line. Then, rinse the entire fence with a garden hose. In a bucket, mix some dish soap with water and use a large brush to scrub the entire metal surface. Rinse thoroughly and let the fence dry completely for at least a few hours.
2. Know Your Metal (A Magnet is Your Best Friend!)
The prep process is different for aluminum versus iron or steel. Not sure what you have? Grab a magnet. If it sticks, you have a ferrous metal like wrought iron or steel. If it doesn't, you have aluminum.
3A. Refinishing a Wrought Iron or Steel Fence
- Safety First: Put on your gloves, safety glasses, and an N95 respirator. Removing lots of rust and old paint can kick up a lot of dust.
- Remove All Rust and Loose Paint: This is the most labor-intensive part. For large, flat areas, a wire wheel attachment on a power drill will make quick work of rust. For corners and detailed areas, use a stiff wire brush. The goal is to get down to clean metal wherever there's rust or peeling paint.
- Clean the Surface: Wipe the entire fence down with a cloth and mineral spirits to remove all dust and grease.
- Prime the Entire Fence: Lay down drop cloths to protect your lawn. Use a rust-inhibiting or rust-converting primer. Spray the entire fence in thin, even, overlapping passes. Let it dry completely (usually about 1 hour).
- Apply the Final Coats: Apply two light coats of high-quality exterior metal paint, allowing about 15 minutes of drying time between coats.
3B. Refinishing an Aluminum Fence
Aluminum doesn't rust, but it can corrode and oxidize, forming a chalky white powder and causing paint to fail.
- Safety First: Wear gloves and an N95 respirator.
- Lightly Sand the Surface: Lightly scuff the entire fence surface with very fine-grit sandpaper. You are not trying to remove metal, just the oxidation and creating a "tooth" for the primer to grip onto.
- Clean the Surface: Wipe the entire fence with a cloth dampened in denatured alcohol to remove all the sanding dust.
- Prime with the Right Stuff: For aluminum, you must use a self-etching primer. This special primer contains an acid that lightly etches the metal surface, creating a super-strong bond. Apply a thin, even coat over the whole fence.
- Apply the Final Coats: Once the primer is dry, apply two light coats of your exterior paint.
What Will This Cost? DIY vs. Professional
One of the biggest benefits of tackling this project yourself is the cost savings.
- DIY Cost: You can expect to spend between $75 and $200 on materials like wire brushes, sandpaper, primer, paint, and safety gear.
- Professional Cost: According to HomeAdvisor, hiring a professional to paint a metal fence can cost anywhere from $5 to $15 per linear foot. For a 100-foot fence, that could be anywhere from $500 to $1,500!
Keep it Looking Great: Long-Term Fence Care
After all your hard work, you'll want to keep your fence looking its best.
- Inspect it annually, preferably in the spring, to look for any new chips or rust spots.
- Wash it once a year with mild soap and water to remove dirt and grime.
- Tackle new chips immediately. A quick spot treatment can prevent a small problem from becoming a big one.
Your Fence is Fixed! What's Next?
Restoring a rusty fence is a truly rewarding project that boosts your home’s curb appeal and protects its value. By following these steps, you can confidently tackle rust and keep your fence standing strong for years to come.
For more expert home maintenance tips, checklists, and step-by-step repair guides, download the Casa app today. Casa makes DIY homeownership simple and connects you with a network of trusted professionals when a project is too big to handle alone. Whether you're fixing a fence or a faucet, Casa is here to help you every step of the way.


