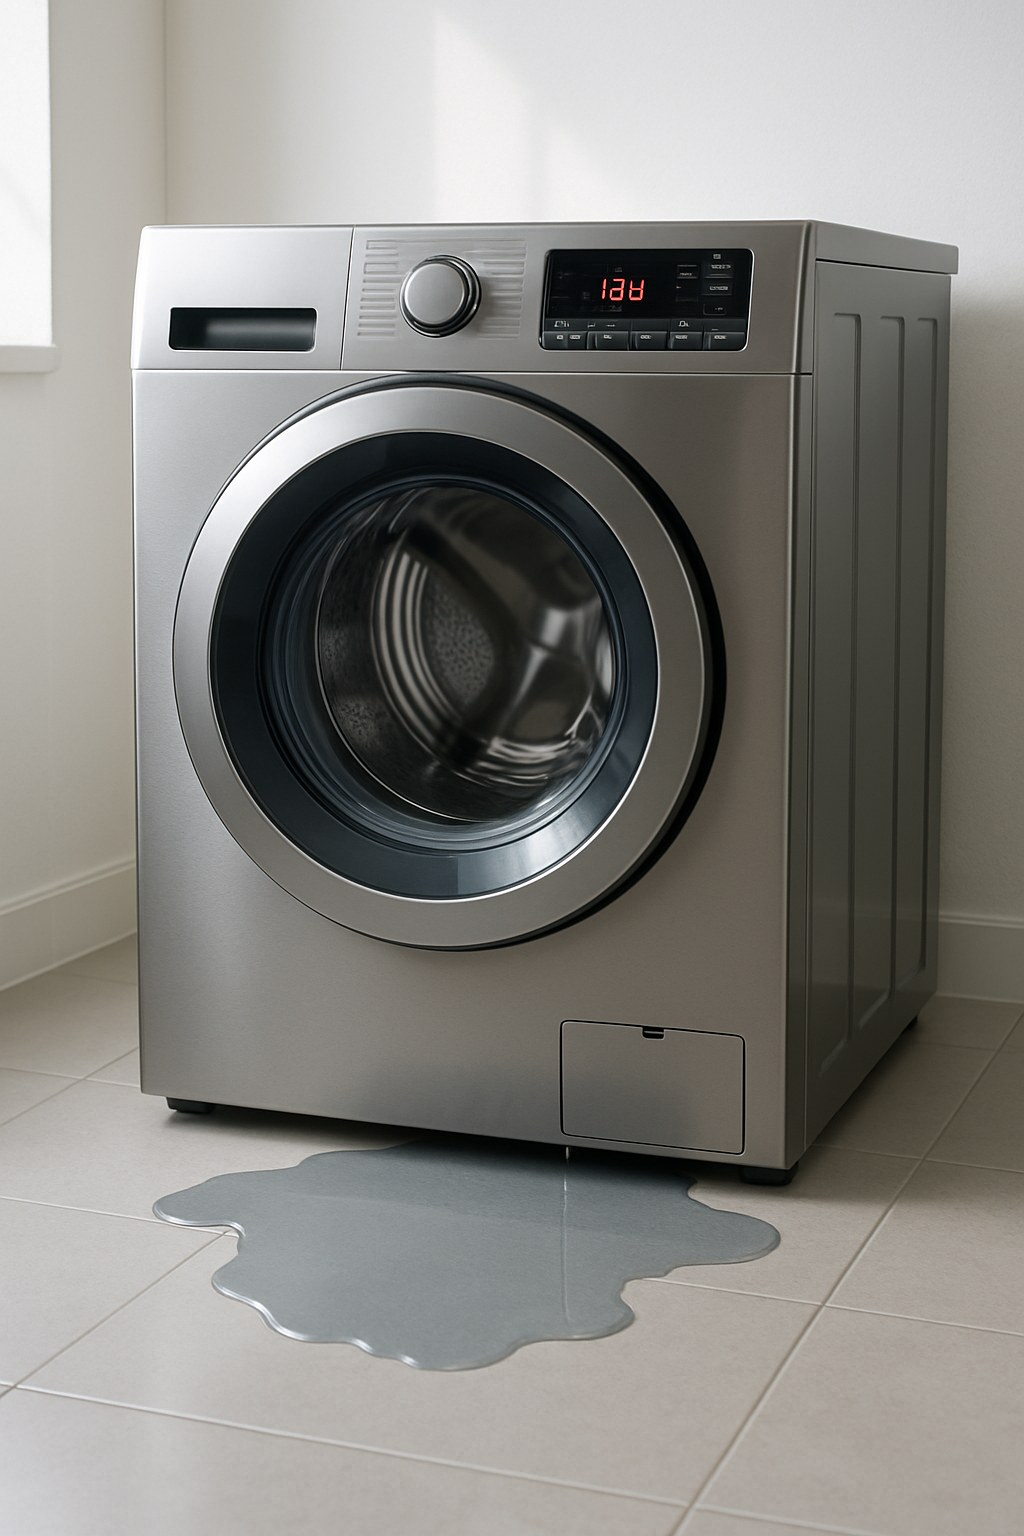
It’s a moment every homeowner dreads: you walk into your laundry room to find a growing puddle of water seeping out from under your washing machine. Your mind immediately jumps to expensive repairs and the threat of serious water damage. But before you panic and call for backup, take a deep breath. A leaking washing machine is one of the most common appliance issues, and the fix is often surprisingly simple and inexpensive.
Most leaks can be traced back to a few common culprits that you can easily address yourself with just a few basic tools and a little bit of detective work. In this guide, we’ll walk you through the process of finding and fixing your washing machine leak, just like a friendly expert over the phone. Let’s get that leak stopped and your laundry room dry again.
Why Is My Washing Machine Leaking Water? Common Causes
Before we roll up our sleeves, it helps to understand what might be going on behind the scenes. Your washing machine is a complex appliance, but its leaks usually stem from a handful of predictable problems.
Here are the most common reasons you might find water on your floor:
- Leaky Water Supply Hoses: This is the number one cause. The connections at the back of the washer can loosen over time, or the rubber hoses themselves can crack and degrade.
- Drain Hose Issues: The hose that carries water away from your machine can become clogged, kinked, or disconnected from the standpipe, causing wastewater to back up and spill.
- Front-Loader Door Seal (Gasket): The rubber gasket on a front-loading machine can collect dirt, hair, and detergent residue, preventing a watertight seal. It can also get torn or damaged.
- Top-Loader Lid or Dispenser Problems: On top-loaders, a clogged detergent dispenser can cause water to back up and leak, or a damaged lid seal may no longer be effective.
- Overfilling: If your machine is taking on too much water, it can spill over the top of the tub. This is often caused by a malfunctioning water inlet valve or an unlevel machine.
- Internal Leaks: While less common for a DIY fix, leaks can also come from a cracked internal tub or a failing water pump.
Now that you have an idea of what we’re looking for, let's gather our tools and get started.
Step-by-Step Guide to Fixing Your Leaking Washing Machine
We'll approach this systematically, starting with the easiest and most common fixes first.
Part 1: Safety and Preparation
Safety is always the first step when working with any appliance that uses both water and electricity.
- Unplug the Washing Machine: Disconnect the machine from the electrical outlet completely.
- Turn Off the Water: Locate the hot and cold water supply valves on the wall behind your washer. Turn them clockwise until they are fully closed.
- Clean Up the Puddle: Use towels to dry up any standing water on the floor. This will make it easier to spot where new water is coming from.
- Gather Your Tools: You won't need much. Grab a flashlight, a bucket, an adjustable wrench, and some old towels or microfiber cloths.
Part 2: Finding the Source of the Leak
To fix the leak, we first have to find it.
Plug the washer back in and turn the water supply valves back on. Select a short wash or rinse cycle and start the machine (with no clothes inside).
Now, become a leak detective. Using your flashlight, carefully observe the machine as it fills with water. Watch these key areas closely:
- The hot and cold hose connections at the back of the washer.
- The front-loading door seal (if you have a front-loader).
- The lid and dispenser area (if you have a top-loader).
- The drain hose where it connects to the washer and enters the wall.
- The area underneath the machine.
The moment you see the first drip, you’ve found your culprit! Pause the cycle, unplug the machine, and proceed to the corresponding fix below.
Part 3: Applying the Fix
Fix 1: The Water Supply Hoses (Most Common Leak)
If you saw water dripping from the braided metal hoses at the back, you’re in luck. This is usually a straightforward fix.
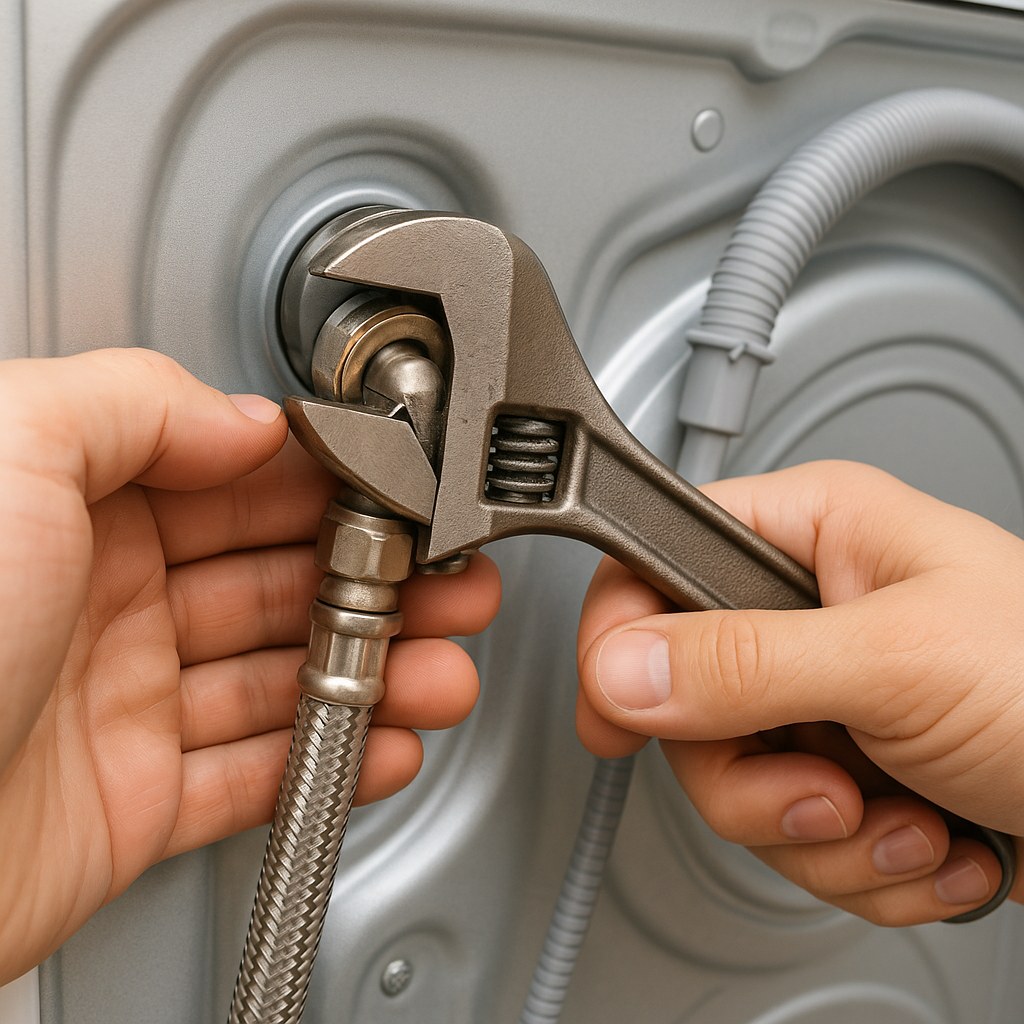
- Tighten the Connections: Place a bucket under the hoses to catch any drips. Use your adjustable wrench to gently tighten the connections on both the washing machine and the wall valves. Turn them about a quarter-turn clockwise. Be careful not to overtighten, as this can damage the rubber washers inside.
- Inspect the Hoses: Wipe down the entire length of both hoses and look for any cracks, blisters, or signs of rust on the fittings. If you see any damage, the hose needs to be replaced.
- Replace if Necessary: To replace a hose, simply unscrew it, take it to your local hardware store to find a match (standard and flood-safe hoses are great options), and install the new one. Hand-tighten it first, then give it a final quarter-turn with your wrench.
- Test Your Work: Turn the water supply back on and check for drips. If it's dry, you've likely solved the problem!
Pro Tip: Experts recommend replacing standard rubber washing machine hoses every 3 to 5 years as a preventative measure to avoid a catastrophic burst.
Fix 2: The Front-Loader Door Seal (Gasket)
For front-loader owners, a leaky door is often caused by a dirty or obstructed gasket.
- Clean the Gasket: Open the washer door and carefully pull back the inner lip of the large rubber seal. You might be surprised what you find! Remove any trapped hair, coins, or other debris.
- Wipe It Down: Mix a solution of mild dish soap and warm water. Use a microfiber cloth to thoroughly wipe down the entire gasket, including the hidden folds where mold and detergent scum love to hide.
- Inspect for Damage: While cleaning, run your fingers along the gasket to feel for any tears, holes, or sections that have pulled away from the drum. If you find significant damage, the gasket will need to be replaced—a more advanced repair that may require a professional.
- Test It: Close the door, plug the machine in, and run a short rinse cycle while watching closely for leaks. A good cleaning is often all it takes!
Fix 3: The Drain Hose
If you notice water pooling during the drain or spin cycle, the drain hose is the prime suspect.
- Check for Clogs and Kinks: Gently pull the washer away from the wall to get a clear view of the drain hose. Make sure it isn't kinked or crushed.
- Secure the Connection: Check the clamp that secures the drain hose to the drain pump outlet on the back of the washer. If it's loose, tighten it with a screwdriver.
- Ensure Proper Placement: Make sure the end of the drain hose is securely inserted into the standpipe (the drain in your wall). It should extend about 6-8 inches into the pipe but no more, as this can cause siphoning issues.
- Run a Test Cycle: Push the washer back into place, making sure not to kink the hose. Run a "Drain & Spin" cycle and watch for leaks.
Fix 4: An Unlevel Machine or Overfilling
If water seems to be spilling over the top of the tub, your machine might be overfilling or simply not sitting level.
- Check for Level: Place a 4-foot level on top of your washing machine. Check it from front-to-back and side-to-side.
- Adjust the Feet: If the bubble isn't centered, adjust the machine’s leveling feet. Most washing machines have adjustable front feet that you can turn by hand or with a wrench to raise or lower each corner until the machine is perfectly level.
- Test Again: Run a small fill cycle and watch the water level. If leveling the machine fixed the issue, you’re all set. If it continues to overfill, the problem may be a faulty water inlet valve or pressure switch, which typically requires a professional diagnosis.
When Should You Call a Professional?
You’ve checked the hoses, cleaned the gasket, and leveled the machine, but the leak persists. Sometimes, the problem is deeper inside the machine, and it's time to call for professional help. Contact an appliance repair technician if:
- You’ve tried all the steps above without success.
- You can see the leak is coming from the bottom center of the machine (a sign of a bad pump or tub seal).
- You find visible cracks in the plastic or metal tub.
- You're simply not comfortable performing the repair yourself.
According to Angi, the average cost to hire a professional for a washing machine leak can range from $150 to $350, depending on the cause. While DIY is cheaper for simple fixes, a pro can save you time and prevent further damage for complex issues.
Take Control of Your Home Maintenance
Congratulations on tackling your washing machine leak! By following these steps, you’ve not only potentially saved yourself hundreds of dollars but also learned a valuable home maintenance skill. A small leak, if ignored, can lead to warped floors, mold growth, and costly water damage, so you've made a smart move by addressing it quickly.
Want to make home maintenance even easier? For more expert DIY guides, personalized maintenance reminders, and instant access to vetted professionals for the jobs you'd rather leave to an expert, download the Casa app today. Take the guesswork out of homeownership and keep your home running smoothly with Casa at your side.


