That little gap between your stair tread (the part you step on) and the riser (the vertical part) might seem like a small cosmetic issue. But often, it’s your home’s way of telling you something is shifting. It can be the source of that relentless squeak you hear every time someone goes upstairs, or worse, a sign of a loose and potentially unsafe step.
The good news is that fixing this common household problem is often well within the skills of a DIY-er. Whether your staircase is made of classic wood or sturdy concrete, a little investigation and the right technique can make those gaps disappear, silencing the squeaks and restoring your peace of mind.
In this guide, we’ll walk you through everything you need to know, from initial inspection to the final fix. It’s like having a friendly expert right there with you. Let’s get those stairs back in shape!
First Things First: Inspecting Your Staircase
Before you grab any tools, you need to play detective. Understanding the material of your staircase and the nature of the gap will determine the right way to fix it.
Here’s how to conduct a quick inspection:
- Identify the Material: Stand at the bottom of the stairs and take a good look. Is it primarily wood? Or is it concrete, like you might find in a basement or garage? If you’re unsure, give a tread a light tap with your knuckle. Wood will produce a hollow, resonant sound, while concrete will give a solid, dull thud.
- Check for Movement: Carefully walk up and down the stairs. Pay attention to the steps with gaps. Does the tread move or feel loose when you step on it? Does the riser flex or shift? Movement is a key indicator of a structural issue, not just a cosmetic one.
- Listen for Squeaks: Squeaky stairs are often caused by wood parts rubbing against each other or against a nail. A gap can exacerbate this. Note which steps are the culprits.
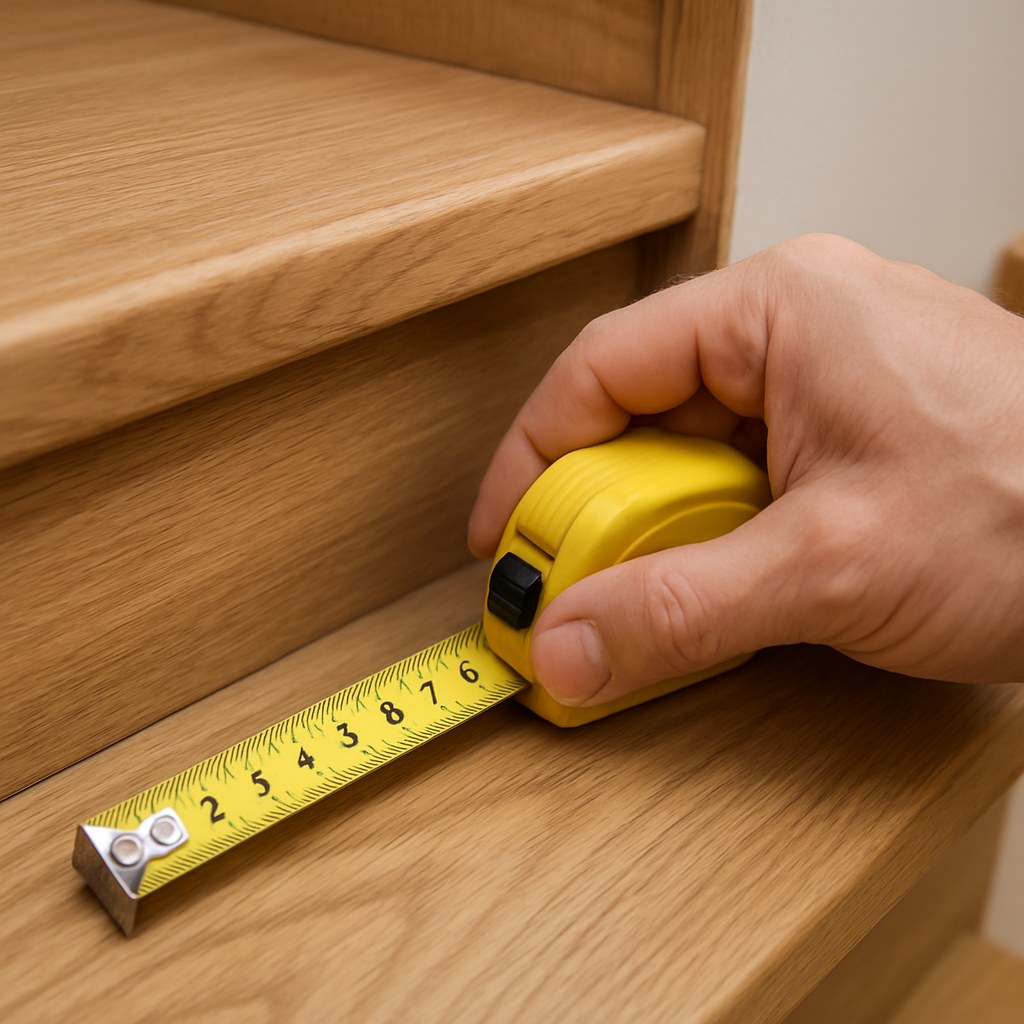
- Measure the Gap: Grab a tape measure and find the widest part of the gap. Is it a hairline crack, or is it wider than a quarter of an inch? The size of the gap will influence the repair method.
- Look for Environmental Clues: Take note of the area around the staircase. Is it particularly humid or dry? Extreme changes in humidity can cause wood to expand and contract, which is a common cause of gaps forming over time.
Once you’ve gathered this information, you can choose the right path forward.
How to Fix Gaps in Wooden Stairs
Wood is the most common material for interior staircases, and it's prone to developing gaps due to settling, wear and tear, and changes in humidity. Here are three ways to tackle these gaps, depending on what your inspection revealed.
Solution 1: Filling a Small, Cosmetic Gap (Less than 1/4 inch)
If the gap is small and the tread feels completely solid when you step on it, your problem is likely just cosmetic. This is the easiest fix of all.
Tools You'll Need:
- Vacuum with a nozzle attachment
- Painter's tape
- Flexible, paintable latex caulk
- A damp cloth or your fingertip
Step-by-Step Instructions:
- Clean the Gap: Use your vacuum’s nozzle attachment to thoroughly clean out any dust, pet hair, or debris from inside the gap. A clean surface is essential for the caulk to adhere properly.
- Tape it Off: Apply painter's tape along the top edge of the riser and the back edge of the tread. This will give you a perfectly clean, professional-looking caulk line.
- Apply the Caulk: Cut the tip of your caulk tube at a slight angle and apply a steady bead of caulk directly into the gap. Fill it completely, even slightly overfilling it.
- Smooth the Seam: Using a damp fingertip or a caulk smoothing tool, run it along the bead of caulk, pressing gently. This will force the caulk deep into the gap and create a smooth, concave surface that is flush with the wood.
- Remove the Tape: Carefully peel off the painter's tape while the caulk is still wet. Pull it away from the caulk line at a 45-degree angle to avoid smudging your work.
- Let it Cure: Allow the caulk to cure completely according to the manufacturer's instructions, usually about 24 hours, before painting or using the stairs normally.
Solution 2: Reinforcing a Loose Tread or Riser
If your inspection revealed that the tread moves or the riser flexes, filling the gap with caulk won't solve the underlying structural problem. You need to secure the components together first. This will often close the gap and will definitely eliminate any squeaking.
Tools You'll Need:
- Safety glasses
- A helper (this makes the job much easier)
- Drill with a 1/8-inch bit
- 2-inch wood screws
- Wood filler matching your stair’s finish
- Putty knife
- Medium-grit sandpaper
Step-by-Step Instructions:
- Safety First: Put on your safety glasses before you start drilling.
- Add Weight: Ask your helper to stand firmly on the tread, near the back edge. Their weight will press the tread down and close the gap against the riser.
- Drill Pilot Holes: From the top of the tread, drill two or three pilot holes downwards at a slight angle through the tread and into the top of the riser below it. Spacing them out will provide more stability. A pilot hole prevents the wood from splitting when you drive the screw in.
- Drive the Screws: Drive the 2-inch wood screws into the pilot holes until the heads are slightly recessed below the surface of the tread. You should feel the tread pull down tight against the riser, closing the gap.
- Fill and Finish: Use a putty knife to press wood filler into the screw holes. Overfill them slightly. Once the filler is dry (check the product label), sand it smooth so it's flush with the tread. You can then stain or paint the filler to match.
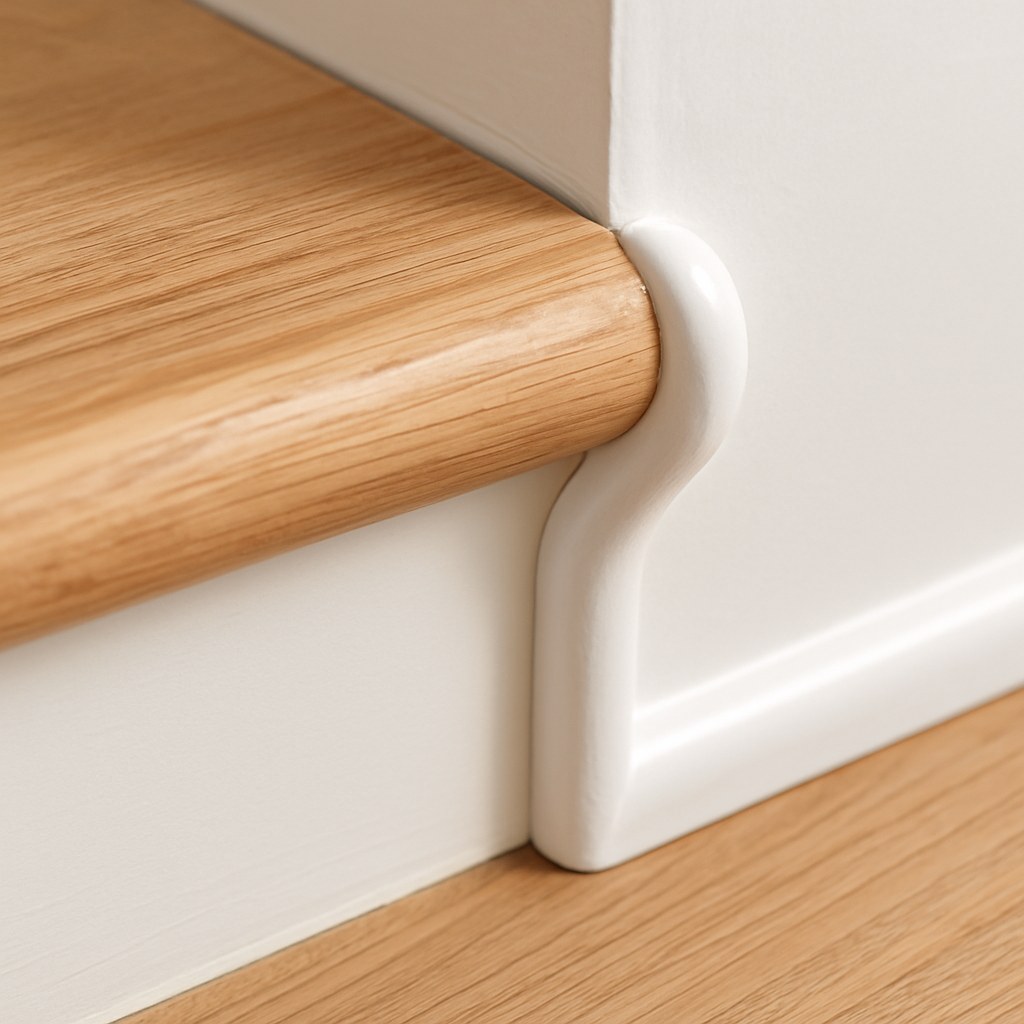
Solution 3: Covering a Stubborn Gap with Molding
Sometimes, even after reinforcing a tread, a small, static gap remains. Or perhaps the gap is purely cosmetic but too wide to look good with caulk alone. In these cases, a piece of quarter-round or cove molding is an elegant and simple solution.
Tools You'll Need:
- Tape measure
- Quarter-round molding
- Hand saw or miter saw
- Medium-grit sandpaper
- Construction adhesive
- Painter's tape
Step-by-Step Instructions:
- Measure and Cut: Measure the length of the gap along the back of the tread. Cut your piece of molding to that exact length. A miter saw will give you the cleanest cut.
- Sand the Ends: Lightly sand the cut ends of the molding to remove any splinters and create a smooth finish.
- Apply Adhesive: Run a continuous bead of construction adhesive along the two back faces of the molding.
- Press in Place: Firmly press the molding into the corner where the tread and riser meet, making sure it completely covers the gap.
- Secure and Clean: Use a few strips of painter's tape to hold the molding securely in place while the adhesive sets. Wipe away any excess adhesive that squeezes out with a damp cloth. Let it set for at least an hour before removing the tape.
How to Fix Gaps in Concrete Stairs
Gaps in concrete stairs, common in basements or outdoor steps, are usually caused by settling or chipping. The repair process is different but just as manageable.
For Small Gaps (Shallower than 1/2 inch)
- Clean Thoroughly: Use a stiff brush and a shop vacuum to remove all loose debris and dust from the gap.
- Dampen the Concrete: Lightly mist the inside of the gap with water from a spray bottle. Dampening the surface prevents the old concrete from sucking the moisture out of the new patch mix too quickly, ensuring a stronger bond.
- Mix and Patch: Mix a small amount of concrete patch compound according to the directions. Using a putty knife, press the patching material firmly into the gap, slightly overfilling it.
- Smooth and Cure: Smooth the patch so it's level with the surrounding stair surface. Allow it to cure undisturbed for at least 24 hours.
For Deep Gaps (Deeper than 1/2 inch)
- Prep the Area: Chip away any loose or crumbling concrete with a hammer and cold chisel. Vacuum all debris.
- Use a Backer Rod: For deep gaps, press a foam backer rod into the crack until it sits about 1/2 inch below the surface. This fills the void so you don't have to use an excessive amount of patching compound.
- Patch in Layers: Dampen the area, then apply a 1/2-inch layer of concrete patch over the backer rod. Let it set for about 30 minutes, then apply another layer. Repeat until the patch is flush with the surface.
- Cure Slowly: Smooth the final layer. To ensure maximum strength, you need to help the patch cure slowly. Lightly mist the patched area with water twice a day for two days. This prevents cracking.
When to Call a Professional
While most stair gaps are a straightforward DIY fix, there are times when it’s best to call a professional carpenter or contractor. If you’ve tried these fixes and the tread still feels loose, if the gap is very large (over 1/2 inch), or if you suspect a deeper structural issue with the staircase's stringers (the sawtooth frame), it’s time for an expert opinion. A professional can typically fix a simple stair gap for $150 to $350, a small price for guaranteed safety and stability.
Your Next Step to a Better Home
Fixing a gap in your stairs is a satisfying project that improves the safety, quiet, and look of your home. By correctly identifying the problem and using the right technique, you can achieve a professional-quality repair.
For more easy-to-follow guides, personalized home maintenance reminders, and instant access to trusted local professionals for the jobs you can’t handle yourself, download the Casa app today! We’re here to help you manage and love your home, one project at a time.


