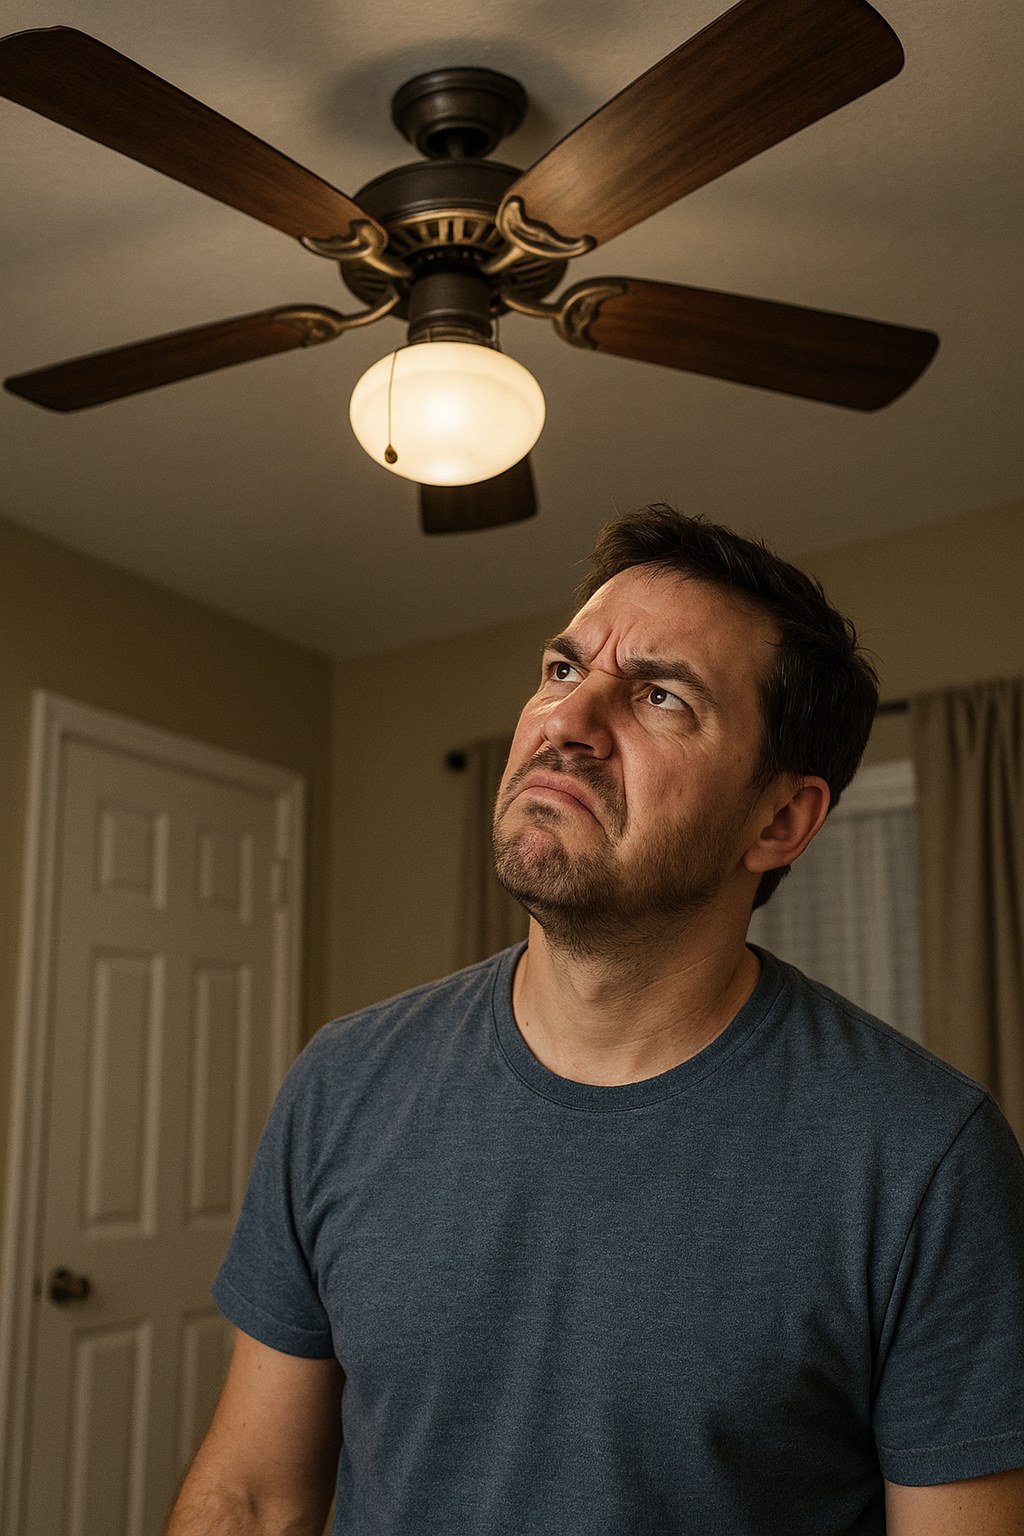
It’s a classic home comfort dilemma. On a hot day, your ceiling fan is stuck on the lowest setting, barely moving the air. On a cool evening, it’s blasting like a wind tunnel, stuck on high. A fan that won't change speeds is more than just an inconvenience; it disrupts the comfort of your home.
The good news is that you don't have to live with it. In many cases, fixing a fan that’s stuck on one speed is a straightforward DIY project that you can tackle in less than an hour. Whether your fan is controlled by a pull-chain, a wall switch, or a remote, we’re here to walk you through the troubleshooting process step-by-step.
Let's get that breeze back under your control!
Why Is My Fan Stuck on One Speed?
Before we dive into the fixes, it helps to know what might be going wrong. A fan's speed is typically controlled by a switch that directs electricity through a series of capacitors. Different capacitors create different levels of electrical resistance, which in turn makes the motor spin at different speeds.
When a fan stops changing speeds, the problem usually lies in the control mechanism itself. Common culprits include:
- A broken pull-chain switch: The internal mechanism that clicks between settings can wear out or break.
- Loose wiring in a wall switch: A simple disconnected wire can prevent the switch from sending the right signals.
- A faulty remote or receiver: Dead batteries or a loss of sync between the remote and the fan's receiver are frequent issues.
- A bad speed capacitor: This component inside the fan can fail, leaving you with only one operational speed (usually high).
Now, let's figure out what kind of fan you have and get to the solution.
Step 1: Identify Your Fan Type
The first step is to identify what kind of fan you're working with. The repair process is different for a ceiling fan than for a portable fan.
- Ceiling Fan: Mounted permanently on the ceiling. This is the most common type with speed issues and will be our main focus.
- Table Fan: A small, portable fan designed to sit on a desk or table.
- Stand/Floor Fan: A larger portable fan that stands on the floor with a tall, adjustable pole.
Once you know your fan type, you can jump to the right section below.
How to Fix a Ceiling Fan That Won't Change Speeds
Ceiling fans have the most varied controls, so we need to figure out how you operate yours. Do you use a pull-chain, a wall switch, or a remote?
A. For Ceiling Fans with a Pull-Chain
If you tug on the chain and nothing happens, or it just pulls without "clicking" into different speeds, the switch mechanism is the likely suspect.
Tools you'll need: A Phillips screwdriver, possibly a pull-chain extension.
Working Time: 15 minutes
- Safety First! Go to your home's electrical panel and turn off the corresponding circuit breaker for the room the fan is in. Then, flip the wall switch that controls the fan to the "off" position as an extra precaution.
- Wait for the Blades to Stop: Never work on a fan while the blades are moving.
- Test the Chain: Gently tug on the fan pull-chain. You should feel distinct clicks as you cycle through the speeds (e.g., High-Medium-Low-Off). If it feels mushy, loose, or doesn't click, the switch is probably the problem. If the chain is simply broken off, you may just need to attach a simple pull-chain extension.
- Access the Switch: Most pull-chain switches are housed inside the light kit or switch housing at the bottom of the fan. To access it, you may need to remove the light kit cover. Use a Phillips screwdriver to undo the screws holding it in place.
- Check the Retaining Nut: Once you can see the pull-chain switch, you'll see a small nut holding it in place. Sometimes, this nut can come loose, causing the whole switch to twist instead of clicking. Hand-tighten this retaining nut until it's snug.
- Reassemble and Test: Put the light kit cover back on and reinstall the screws. Restore power by flipping the circuit breaker back on and turning on the wall switch. Pull the chain several times. Does the fan change speeds now? If so, you're all set!
If that didn't work: The internal pull-chain switch is likely worn out or the fan's capacitor has failed. Replacing these parts involves more complex wiring, so it's best to call a handyman or electrician for this repair.
B. For Ceiling Fans with a Wall Speed Switch
If you have a slider or knob on the wall that's no longer working, the issue could be as simple as a loose wire.
Tools you'll need: A Phillips screwdriver, a non-contact voltage tester.
Working Time: 20 minutes
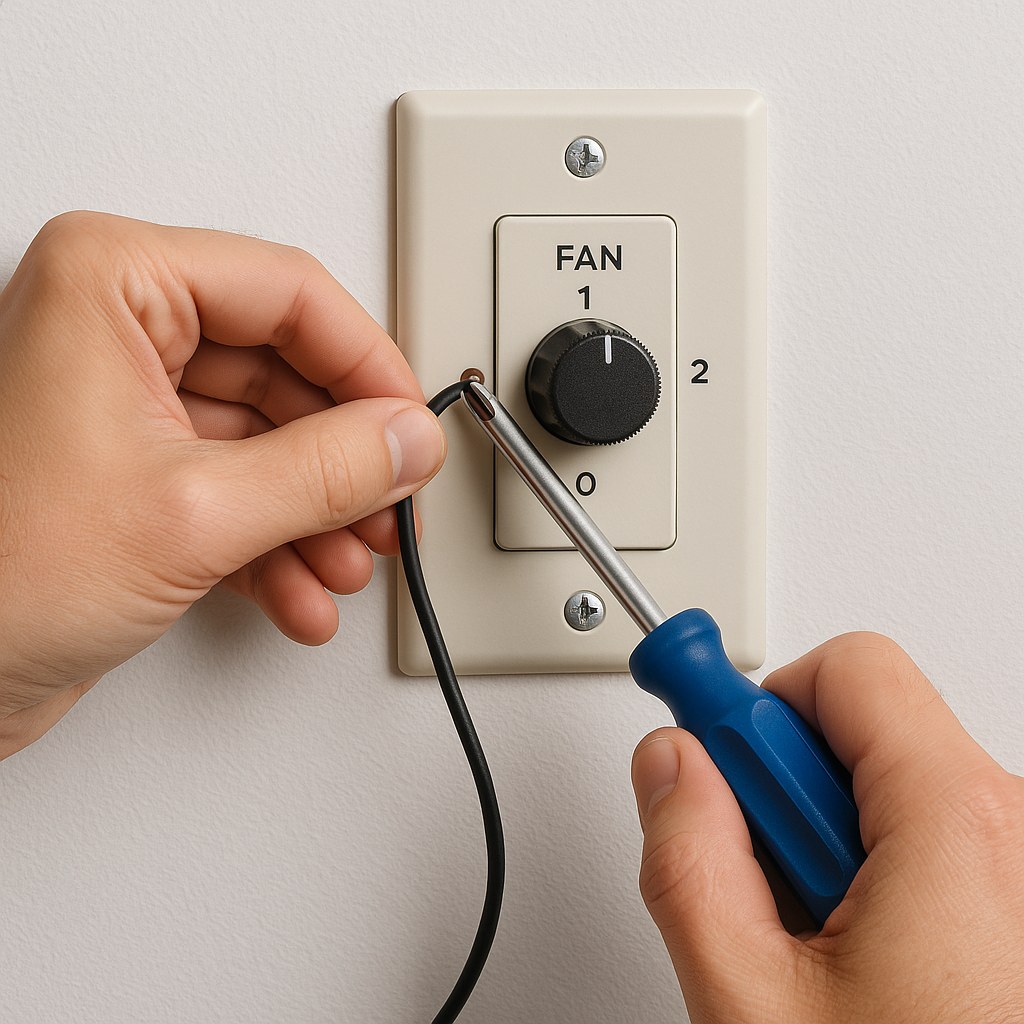
- Kill the Power: Head to your electrical panel and turn off the circuit breaker that powers the fan and switch.
- Confirm Power is Off: Use a non-contact voltage tester to be absolutely sure there is no electricity flowing to the switch. Touch the tester to the screws on the side of the switch; it should not light up or beep.
- Access the Wiring: Unscrew and remove the wall plate. Then, unscrew the fan speed switch from the electrical box in the wall.
- Inspect the Wires: Gently pull the switch forward out of the box. Look at the wires connected to the wire terminal screws. Are any of them loose or disconnected? Even a slightly loose wire can cause a malfunction. Use your screwdriver to tighten all the screws.
- Reassemble and Test: Carefully push the switch back into the box, secure it with its screws, and reattach the wall plate. Go back to the electrical panel and restore power. Toggle through the speed settings on the wall. If it works, you've solved it!
If that didn't work: The wall switch itself may be faulty and need replacement, or there could be a more complex wiring issue. This is a good time to call a qualified electrician.
C. For Ceiling Fans with a Remote Control
Remote control issues are often the easiest to fix, typically boiling down to batteries or communication problems.
Tools you'll need: New batteries (usually AA or AAA), a stepladder.
Working Time: 25 minutes
- Start Simple: Replace the Batteries: This solves the problem more often than you'd think! Slide off the remote control battery cover and swap in a fresh pair of AA batteries. Stand within 10 feet of the fan and test the speed buttons.
- Resync the Remote and Receiver: If new batteries didn't help, the remote may have lost its connection to the receiver inside the fan. We need to reset it.
- Cut the Power: For safety, turn off the fan's circuit breaker.
- Locate the Receiver: The receiver is a small black box usually tucked inside the fan canopy cover (the part that sits flush against the ceiling). You may need to loosen a few screws to lower the canopy and access it.
- Match the DIP Switches: On the receiver, you'll find a small panel of tiny switches called DIP switches. You'll find a matching set inside the remote's battery compartment. Ensure the pattern of up/down switches is exactly the same on both the receiver and the remote. If they don't match, adjust them so they do.
- Reassemble and Test: Slide the canopy cover back into place and secure it. Restore power at the circuit breaker and try the remote again.
If that didn't work: It’s likely that either the remote's receiver has failed or the fan's speed capacitor is bad. An electrician or handyman can diagnose this and replace the necessary parts.
How to Fix a Table or Stand Fan That Won't Change Speeds
Portable fans are much simpler. The problem is almost always a dirty or worn contact inside the control knob or buttons. Here's a quick trick to try.
Working Time: 10 minutes
- Unplug the Fan: This is a crucial safety step.
- Work the Controls: If your fan has a speed knob, firmly rotate it back and forth from the lowest to highest setting about 10-15 times. If it has speed buttons, press each one firmly several times. This action can help clean off any dust or corrosion that has built up on the internal electrical contacts.
- Plug it In and Test: Plug the fan back into the wall and cycle through the speeds. This simple trick often brings a stubborn fan back to life.
If that didn't work: For most portable fans, internal repairs are not cost-effective. At this point, you can either call a small-appliance repair technician or consider replacing the fan.
When to Call a Pro and What to Expect
While many fan speed issues are perfect for a DIY fix, it's important to know your limits, especially with electrical work. It's time to call a professional if:
- You're uncomfortable working with wiring or at your electrical panel.
- You've tried the troubleshooting steps above and the fan still doesn't work.
- You suspect a bad capacitor or internal motor issue.
- You see any signs of burnt wires or smell a burning odor from the fan or switch.
According to Angi, the average cost for a professional to repair a ceiling fan ranges from $100 to $350, depending on the complexity of the issue. A DIY fix, on the other hand, can cost as little as $5 for a new pull-chain switch. Tackling it yourself can save you significant money and give you a great sense of accomplishment.
Take Control of Your Home Comfort
A fan that's stuck on one speed doesn't have to be a permanent frustration. With a little bit of troubleshooting, you can often pinpoint the problem and fix it yourself in minutes. By understanding how your fan works, you're empowered to keep your home comfortable all year round.
For more easy-to-follow home repair guides, expert tips, and a direct line to trusted professionals for the jobs you can't handle alone, download the Casa app today! We're here to help you manage and maintain your home with confidence.


