This guide will walk you through the immediate steps to take, from ensuring your safety to finding the source of the problem. We’ll help you understand what you can handle yourself and when it’s time to call a professional for help.

Step 1: Ensure Your Safety First
Before you step into the water or start cleaning, you must address potential electrical hazards. Water and electricity are a dangerous combination.
Safety Checklist:
- Wear Protective Gear: Put on waterproof rubber boots and rubber gloves. The floor will be slippery, and the water may not be clean.
- Assess Electrical Risks: Look for any electrical items in or near the water. This includes power strips, extension cords, appliances, and outlets.
- Shut Off the Power: If you see any potential electrical hazards, go to your home’s main electrical panel (often found in the basement, garage, or a utility closet). Find the circuit breakers that control the outlets and lights in the flooded area and switch them to the "OFF" position. If you are unsure which breakers to turn off, it is safest to shut off the main breaker for the entire house.
Never step into standing water if you suspect it could be electrically charged.
Step 2: Stop the Source of the Water
Once the area is electrically safe, your next goal is to stop more water from entering.
If you can see water actively flowing from a burst pipe or overflowing appliance, or if the water level is visibly rising, you need to shut off your home's main water supply.
The main water shut-off valve is typically located where the main water pipe enters your house. Look for it in the basement, a crawl space, or on an exterior wall. It will have either a wheel-style handle (turn it clockwise until it stops) or a lever handle (turn it a quarter-turn so it is perpendicular to the pipe).
Step 3: Remove the Standing Water
With the area safe and the source controlled, you can begin removing the water. The method you use will depend on how much water you’re dealing with.
For Small Puddles
If you only have a small amount of water, you can often manage it with basic supplies.
- Use old towels or a mop to soak up as much water as possible.
- Wring the water out into a bucket.
- Repeat until the floor is just damp to the touch.
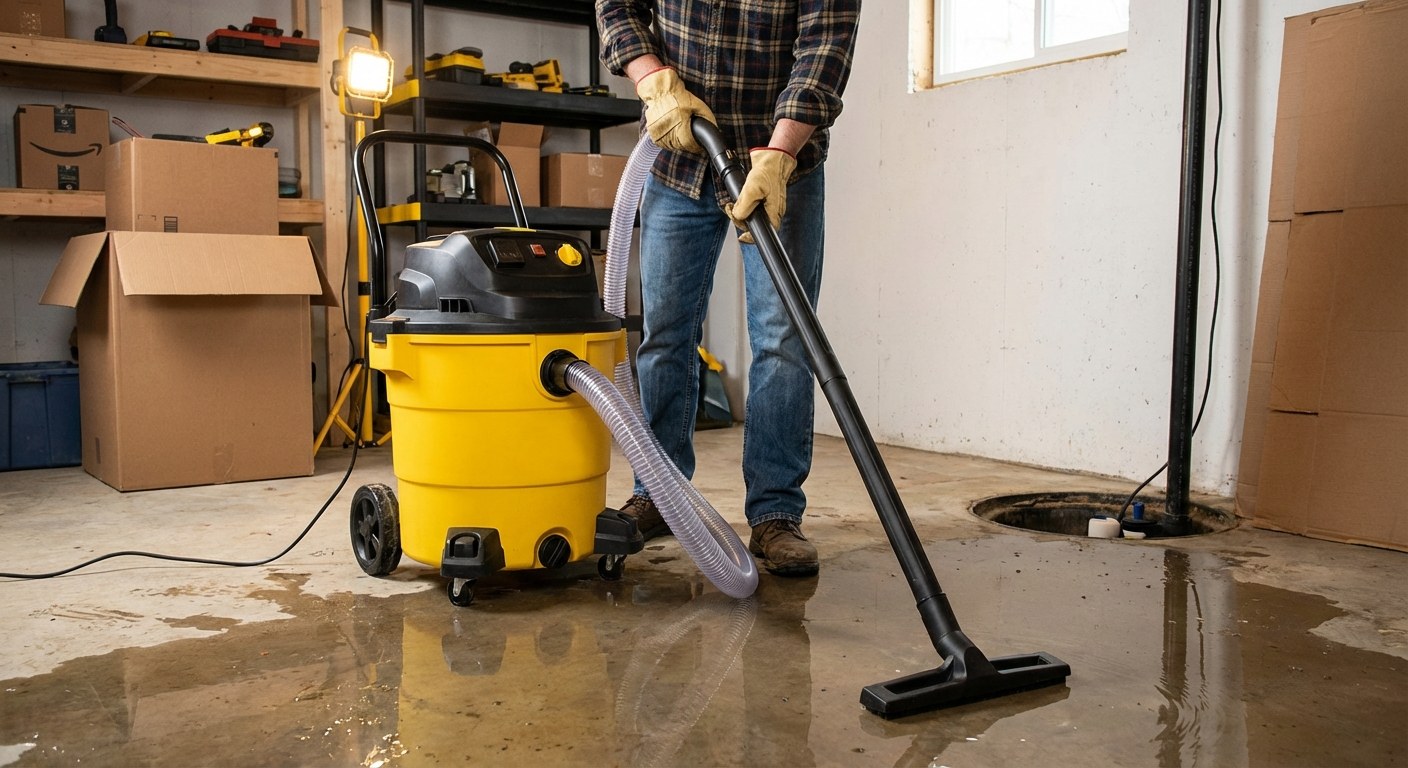
For Water Less Than 2 Inches Deep
A wet/dry vacuum (often called a shop vac) is the best tool for this job.
- Remove any furniture or rugs from the wet area.
- Use the vacuum to suck up the water, emptying the canister as needed.
- Continue until you’ve removed all the standing water.
For Water More Than 2 Inches Deep
For significant flooding, you will likely need a pump.
- If you have a sump pump: Check to make sure it is plugged in and that the float switch (the part that rises with the water to activate the pump) can move freely. If it is working, it should begin pumping the water out automatically.
- If you do not have a sump pump: You may need a submersible utility pump. You can often rent these from a local hardware store. Place the pump in the deepest part of the water, run the discharge hose outside and away from your foundation, and turn it on.
When to Stop and Call for Help
If you have pumped out the water but more continues to seep in through the foundation or floor, it’s time to call a professional water damage restoration service. They have the equipment and expertise to handle ongoing water intrusion and prevent serious structural damage.
Step 4: Dry the Area Thoroughly
Removing the water is just the first part of the cleanup. Drying the area completely is critical to prevent the growth of mold and mildew, which can begin within 24-48 hours.
For Wet Carpets:
- Use pliers to pull up a corner of the wet carpet.
- Roll the carpet back to expose the padding underneath.
- The carpet pad acts like a sponge and is nearly impossible to dry effectively. You will need to cut out and discard any wet sections.
- Prop up the wet carpet and use fans and a dehumidifier to circulate air above and below it until it is completely dry. This can take several days.
For Wet Hard Floors (Wood, Tile, Vinyl):
- Use a floor squeegee to push any remaining water toward a drain or out an exterior door.
- Mop the floor with a disinfectant cleaner to sanitize the surface.
- Set up box fans and a dehumidifier to speed up the drying process. Run them continuously for at least 48 hours or until all moisture is gone.
Keeping track of your home’s materials, like flooring types, in an app like Casa can help you act quickly and confidently when issues like this arise.
Step 5: Investigate the Cause
After you’ve managed the immediate crisis, you need to find out why it happened.
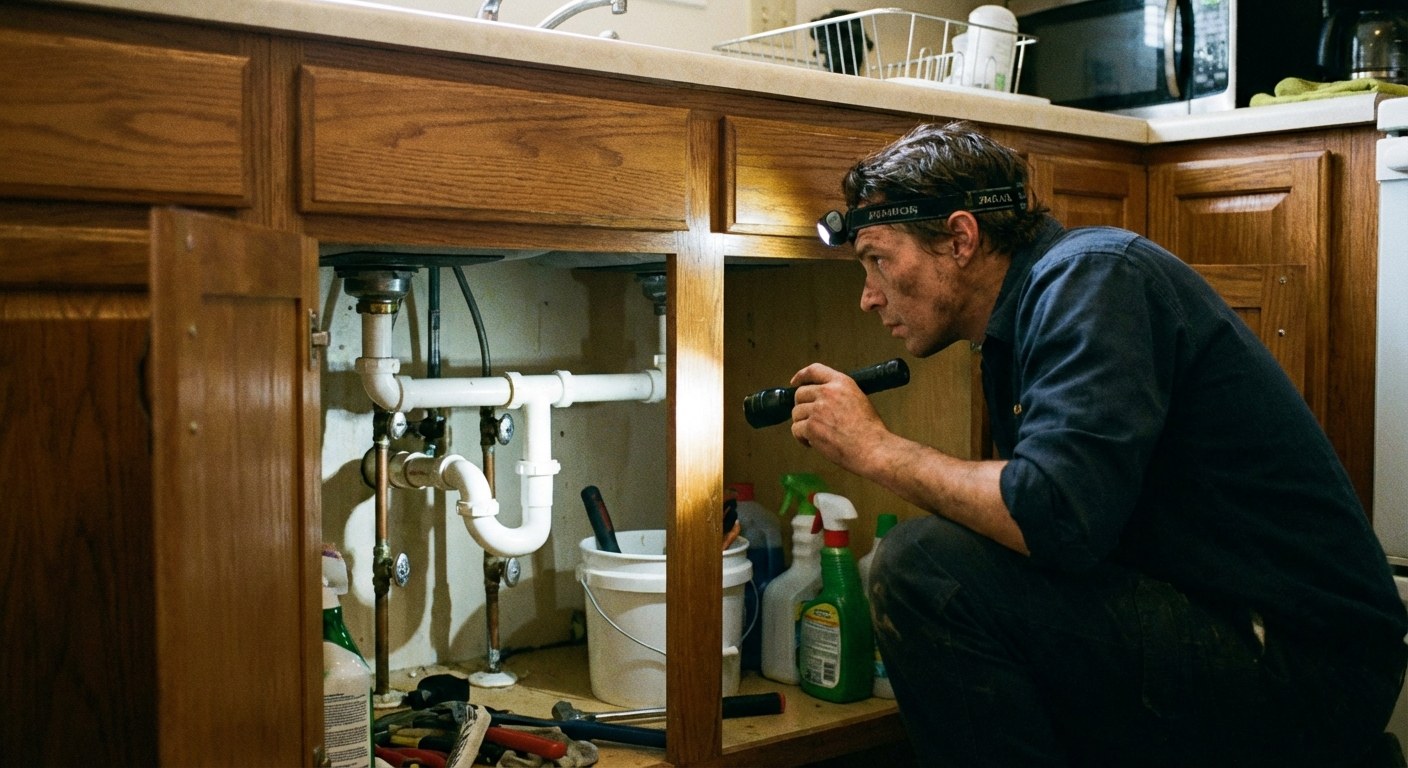
Check for Plumbing Leaks:
If the water was located near a sink, toilet, or appliance, the cause is likely a plumbing issue.
- Thoroughly dry all the pipes, valves, and supply hoses in the area.
- Watch them closely for several minutes to see if any new drips form.
- If you spot a slow drip from a fitting, you may be able to tighten it with a wrench. If the leak continues or is coming from the pipe itself, it’s best to call a plumber.
Check for Exterior Water Sources:
If you don’t find a plumbing leak, the water likely came from outside.
- Check your gutters: Clogged gutters can cause water to overflow and pool against your foundation.
- Inspect your downspouts: Make sure they are connected and direct water at least six feet away from your house.
- Examine the ground slope: The ground around your foundation should slope away from the house, not toward it.
Cost and Time to Address Standing Water
The cost and time involved can vary significantly depending on the severity of the problem.
- DIY Costs: If you handle it yourself, costs may include equipment rentals (a submersible pump can be $40–$60 per day) and materials like a new carpet pad.
- Professional Costs:
- Plumber: A service call to fix a leak typically ranges from $150 to $350, depending on the complexity of the repair.
- Water Damage Restoration: This is a much more significant expense. According to Forbes Advisor, professional water cleanup and restoration can range from around $1,300 to over $5,700, depending on the amount of water and the extent of the damage.
You Are Prepared to Handle This
Finding unexpected water in your home is unsettling, but by following these steps—safety first, then stopping, removing, and drying—you can take control of the situation. By identifying the root cause, you can help ensure it doesn’t happen again.
Being prepared is the best way to reduce the stress of homeownership. Download the Casa app to keep important information about your home—from your main water shut-off location to records of past repairs—organized and ready for when you need it most.
Related Reading


