The key to a successful repair is correctly identifying the size of the hole, as that determines the method you’ll use. This guide will walk you through inspecting the damage and repairing small, medium, and large holes, so you can restore your wall with confidence.
Step 1: Inspect the Damage
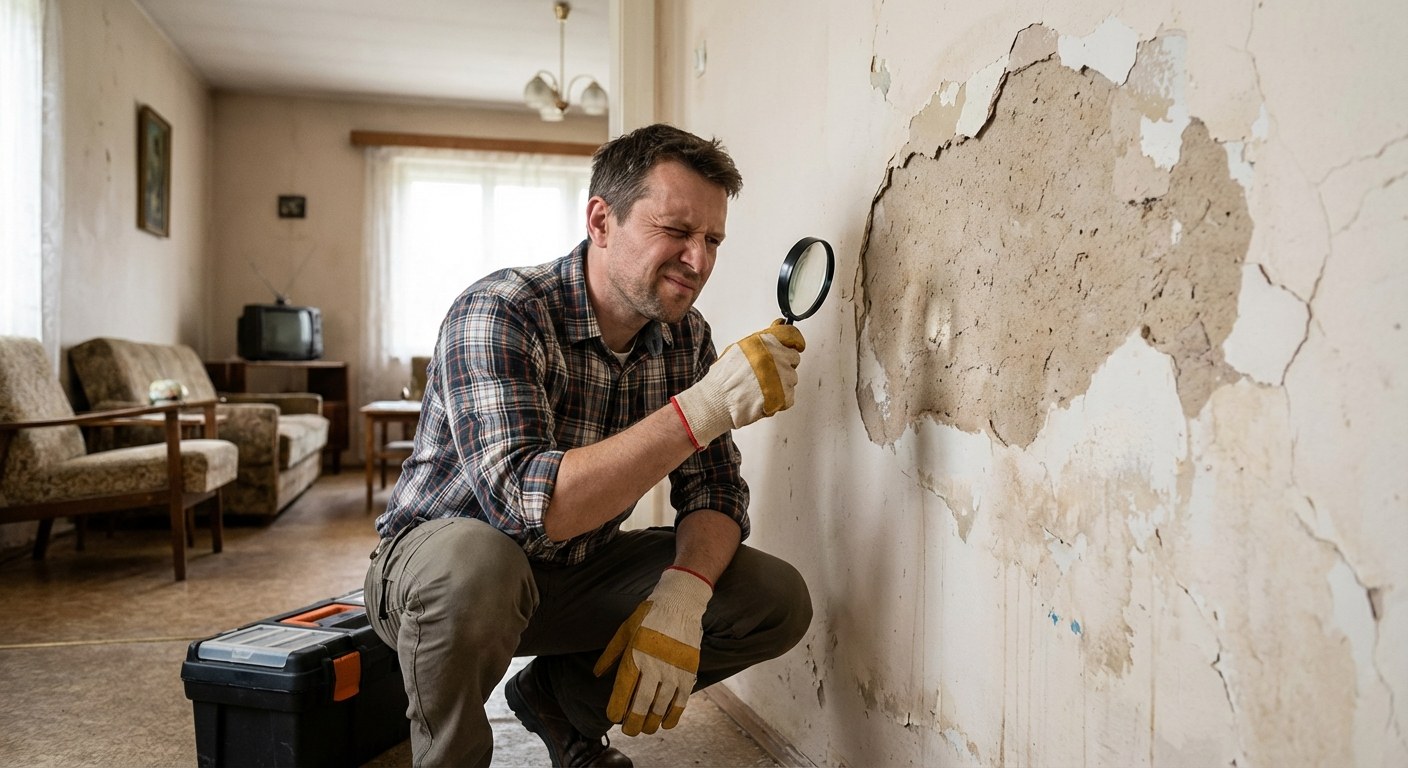
Before you start any repair, take a moment to assess the situation. The size of the hole is your primary guide, but you should also look for signs of other issues.
- Measure the hole: Use a tape measure to determine the widest part of the opening. We'll categorize the repair based on whether the hole is smaller than a pencil, smaller than a tennis ball, or larger.
- Check for moisture: Look closely at the drywall around the hole. Do you see any discoloration, bubbling paint, or dampness? Gently press on the surrounding area. If it feels soft or crumbles, this could indicate a water leak inside the wall.
If you find any signs of moisture, stop. A drywall patch won't fix an active leak. Your first step is to identify and resolve the source of the water, which may require help from a plumber or contractor.
When to Stop: Check for Hidden Utilities
For any hole larger than a nail or screw hole, it’s essential to check for what’s behind the wall before you start cutting or patching. Your walls conceal important systems like electrical wiring, plumbing pipes, and HVAC ductwork.
This is a critical safety step.
Use a stud finder that can detect live AC wiring and metal pipes. Scan the area at least 6 inches around the hole, both horizontally and vertically.
If your stud finder alerts you to live wires or plumbing directly behind the damaged area, do not proceed with the repair yourself. Cutting into a live wire can cause serious injury, and damaging a pipe can lead to significant water damage. In this situation, the safest decision is to call a licensed professional.
How to Repair a Small Hole (Under 1/2-inch)
For tiny holes left by nails, screws, or small dings, the fix is quick and simple.
Time: 10 minutes working time, about 45 minutes total with drying.
Tools & Materials:
- Spackle
- Putty knife
- Fine-grit sandpaper
- Sponge or cloth
Steps:
- Clean the Area: Use a utility knife to carefully trim away any loose paper or debris from the edges of the hole. Wipe away any dust with a damp cloth.
- Apply Spackle: Scoop a small amount of spackle onto your putty knife and press it firmly into the hole. The goal is to fill it completely.
- Smooth the Surface: Holding the putty knife at a 45-degree angle, scrape off the excess spackle, leaving a smooth, flush surface.
- Dry and Sand: Allow the spackle to dry completely (check the product instructions, usually around 30 minutes). Once dry, lightly sand the area with fine-grit sandpaper until it’s perfectly smooth. Wipe away the sanding dust with a clean cloth.
How to Repair a Medium Hole (Up to 6 inches)
For holes from doorknobs or larger impacts, you'll need to provide more support than spackle alone can offer. A self-adhesive mesh patch is an excellent solution.
Time: 25 minutes working time, 2–3 hours total with drying.
Tools & Materials:
- Self-adhesive mesh patch
- Joint compound (also called drywall mud)
- Putty knife or drywall knife
- Fine-grit sandpaper
- Utility knife
Steps:
- Prep the Hole: Clean up any ragged edges around the hole with a utility knife. Brush away any loose dust.
- Apply the Patch: Peel the backing off the mesh patch and center it over the hole. Press firmly so the adhesive sticks to the wall.
- Apply First Coat: Using a putty knife, spread a thin, even layer of joint compound over the mesh patch. Extend the compound about 2 inches beyond the edges of the patch, using a feathering motion to create a smooth transition to the wall.
- Dry and Sand: Let the first coat dry for at least an hour, or until it is hard and white. Lightly sand the surface to knock down any bumps.
- Apply Second Coat: Apply a second, slightly wider coat of joint compound, again feathering the edges. This coat will fill any imperfections and help blend the patch seamlessly.
- Final Dry and Sand: Allow the second coat to dry completely. Sand it one last time until the patch is smooth and level with the surrounding wall. Wipe away all dust before painting.
How to Repair a Large Hole (Over 6 inches)
For significant damage, you’ll need to create a new section of drywall. This method, often called a "California patch" or blowout patch, provides a strong, durable repair.
Time: 45 minutes working time, 4–6 hours total with drying.
Tools & Materials:
- Scrap piece of drywall (larger than the hole)
- Two 1x2 wood boards (furring strips)
- Utility knife or drywall saw
- Drill with screwdriver bit
- Drywall screws
- Paper drywall tape
- Joint compound
- Drywall knife
- Sandpaper
Steps:
- Square the Hole: Use a straightedge and utility knife to cut the damaged area into a clean square or rectangle. Try to extend the opening to the center of the nearest wall studs on either side if possible.
- Install Backing: Cut a 1x2 wood board so it's about 4 inches longer than the height of your opening. Insert this board into the hole vertically, holding it flat against the back of the drywall. It should extend 2 inches above and 2 inches below the opening.
- Secure the Backing: Drive drywall screws through the existing wall (above and below the hole) into the wood board to hold it in place. If your hole doesn't reach a stud, add a second board on the other side of the opening.
- Cut the Patch: Measure the rectangular opening and cut a matching piece from your scrap drywall.
- Install the Patch: Fit the new drywall patch into the opening and secure it by driving screws through the patch and into the wood backing boards.
- Tape and Mud: Cover the seams around the patch with paper drywall tape. Apply a thin layer of joint compound over the tape, pressing it firmly into the seams.
- Apply Finish Coats: Let the first coat dry, then sand it smooth. Apply a second, wider coat of joint compound, feathering the edges. Let it dry completely, then do a final sanding until the patch is invisible.
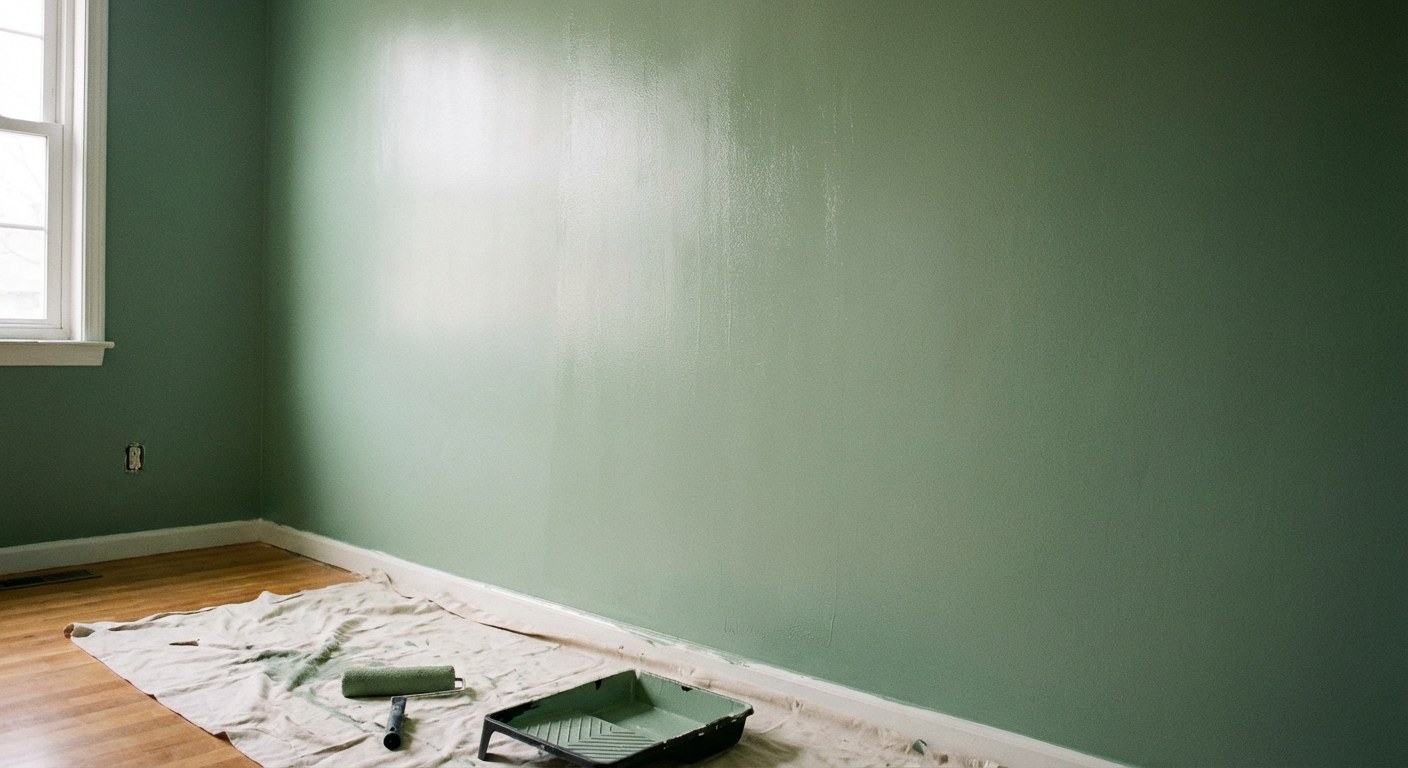
Finishing Your Repair: Texture and Paint
With the patch in place, the final step is to make it blend in.
- Match Texture: If your walls are textured, you’ll need to replicate that pattern. Aerosol wall texture sprays are great for this. Practice on a piece of cardboard first to get the spray pattern right. Apply a light coat, let it set briefly, and then use a drywall knife to gently "knock down" the high spots to match your existing texture.
- Prime and Paint: Always prime a new drywall patch. Primer seals the porous joint compound and ensures the paint finish will be even, preventing a dull spot known as "flashing." Once the primer is dry, apply one or two coats of your wall paint, blending it into the surrounding area.
Keeping track of projects and paint colors is easy with an app like Casa, ensuring you're always prepared for future touch-ups.
Cost and Time for Drywall Repair
- DIY Cost: You can typically buy all the necessary materials for a small or medium repair for $15 to $50.
- Professional Cost: Hiring a handyman or contractor to repair a hole can range from $75 to over $300, depending on the size, location, and finish work required.
A Smooth Finish is Within Reach
Fixing a hole in your drywall is one of the most satisfying DIY projects for a homeowner. By following the right steps for the size of the damage, you can confidently restore your wall and make the damage disappear completely.
Ready to take control of your home maintenance? Download the Casa app today. Get clear guidance for your projects, track your repairs, and connect with trusted pros when you need them.


