While it might sound intimidating, especially when dealing with a gas appliance, relighting a pilot light is a common DIY task that many homeowners can handle safely on their own. It usually takes less than 30 minutes and can save you the cost of a service call.
At Casa, we believe in empowering you to manage your home with confidence. So, let’s walk through this together, just like we’re on the phone. We’ll cover the essential safety checks, help you figure out what kind of water heater you have, and give you clear, step-by-step instructions to bring the heat back.
Safety First: The Most Important Step
Before you touch anything on your water heater, we need to perform a critical safety check. We are dealing with natural gas, and safety is non-negotiable.
The Sniff Test: Check for Gas Leaks
Your number one priority is to check for the smell of gas. Natural gas is odorless, so utility companies add a chemical called mercaptan to give it a distinct, unpleasant smell, often described as rotten eggs or sulfur.
Lean down and sniff the air around the base of your water heater and its connections.
- If you smell gas: STOP. Do not proceed. Do not turn any lights on or off, do not use your phone, and do not try to light the pilot. A spark could ignite the gas. Leave the building immediately, leaving the door open behind you. Once you are a safe distance away, call your gas company's emergency line or 911. They will send a professional to address the leak.
- If you do not smell gas: Great! It's safe to proceed to the next step.
Also, take a moment to ensure the area around your water heater is clear of any flammable materials like paint cans, gasoline, papers, or cleaning supplies. Good airflow is essential for safe operation.
Step 1: Identify Your Water Heater Type
Not all water heaters are created equal. The fix for "no hot water" depends entirely on whether your unit is powered by gas or electricity.
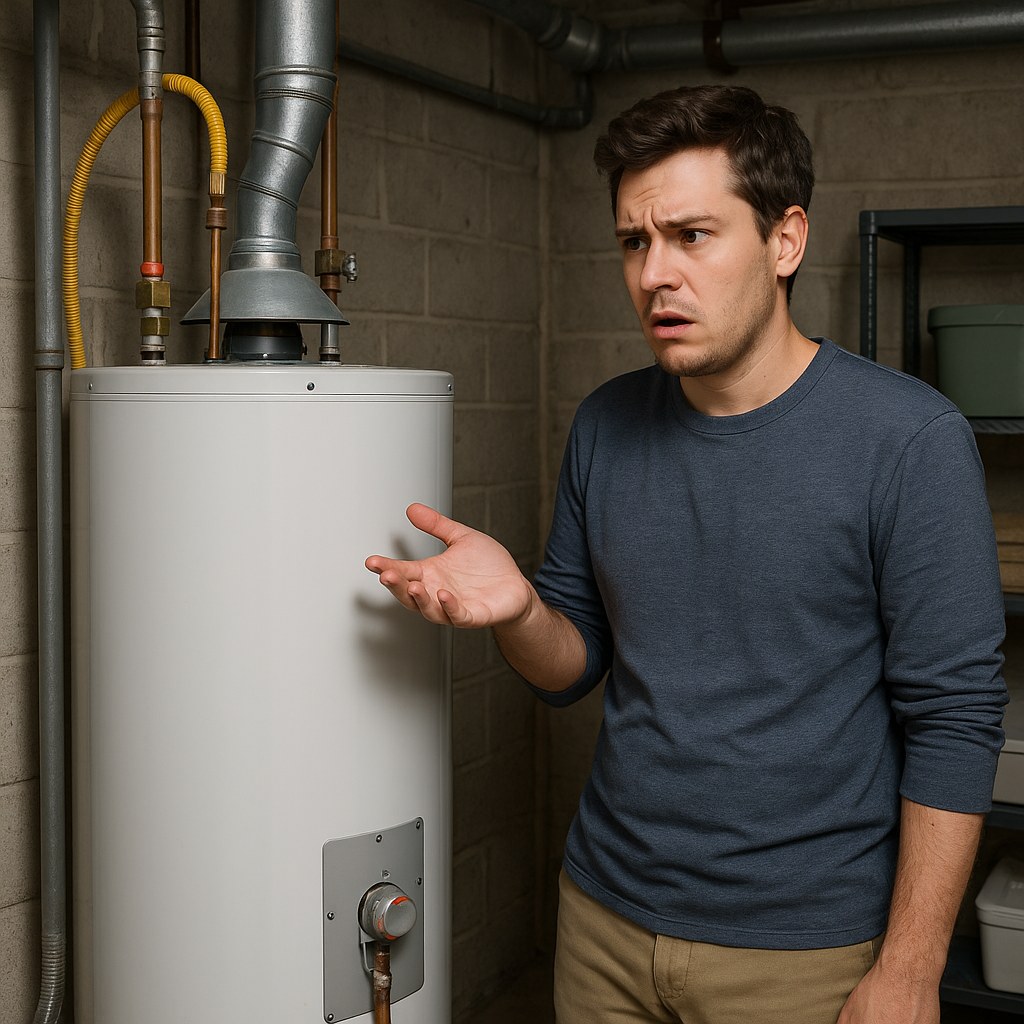
- Gas Water Heaters: These are the ones with pilot lights. Look for a rigid or flexible gas supply line (usually black or yellow) running to a control box at the bottom of the tank. You'll also see a vent pipe (flue) coming out of the top to exhaust gases. Most will have a data label that explicitly says "Gas Water Heater."
- Electric Water Heaters: These do not have a pilot light. You will not see a gas line or a flue. Instead, you'll see a thick electrical cable running from the wall directly into the unit. The data label will state that it is an electric model.
What If I Have an Electric Water Heater?
If you've determined you have an electric model, you can stop here—you don’t have a pilot light to relight! The problem lies elsewhere. The most common fix is to reset the circuit breaker.
- Go to your home's main electrical panel (breaker box).
- Find the breaker labeled "Water Heater." It's often a double-breaker.
- Flip the breaker all the way to the "Off" position.
- Wait about 30 seconds, then flip it firmly back to the "On" position.
Wait about 30-60 minutes and then check a faucet. If you have hot water, you've solved the problem! If not, the issue could be a faulty heating element or thermostat, and it’s time to call a professional.
Step 2: How to Relight Your Gas Water Heater
Okay, so you've confirmed you have a gas water heater and there's no gas leak. Now, let's get that pilot lit. Gas heaters come in two main styles: modern units with electronic ignition and traditional units with a standing pilot.
For Heaters with Electronic Ignition (No Standing Pilot)
Many newer water heaters use an electronic ignition system instead of a constantly burning pilot light. This is more energy-efficient. You'll know you have one if you see a power cord, a digital display, or an ignition button, but no pilot access window.
Resetting these is often straightforward:
- Cut the Power: If it's plugged in, unplug it. If it's hardwired, turn off the power switch, often located on or near the unit.
- Turn Gas Off: Locate the gas control knob on the front of the unit and turn it to the "Off" position.
- Wait 5 Minutes: This is crucial. It allows any residual gas in the chamber to clear out completely.
- Turn Gas On: Turn the gas control knob back to the "On" position.
- Restore Power: Plug the unit back in or flip the power switch on.
- Reset: The heater may try to ignite on its own. If not, press the reset or ignition button once.
You should hear a clicking sound followed by the "whoosh" of the main burner igniting. If it lights up and starts heating, you’re back in business! If it fails to ignite after a couple of tries, there may be an issue with the igniter itself, and you should call an HVAC professional.
For Heaters with a Standing Pilot Light
This is the classic method most people think of. You'll need a flashlight and possibly a long lighter if your unit's piezo igniter button is broken.
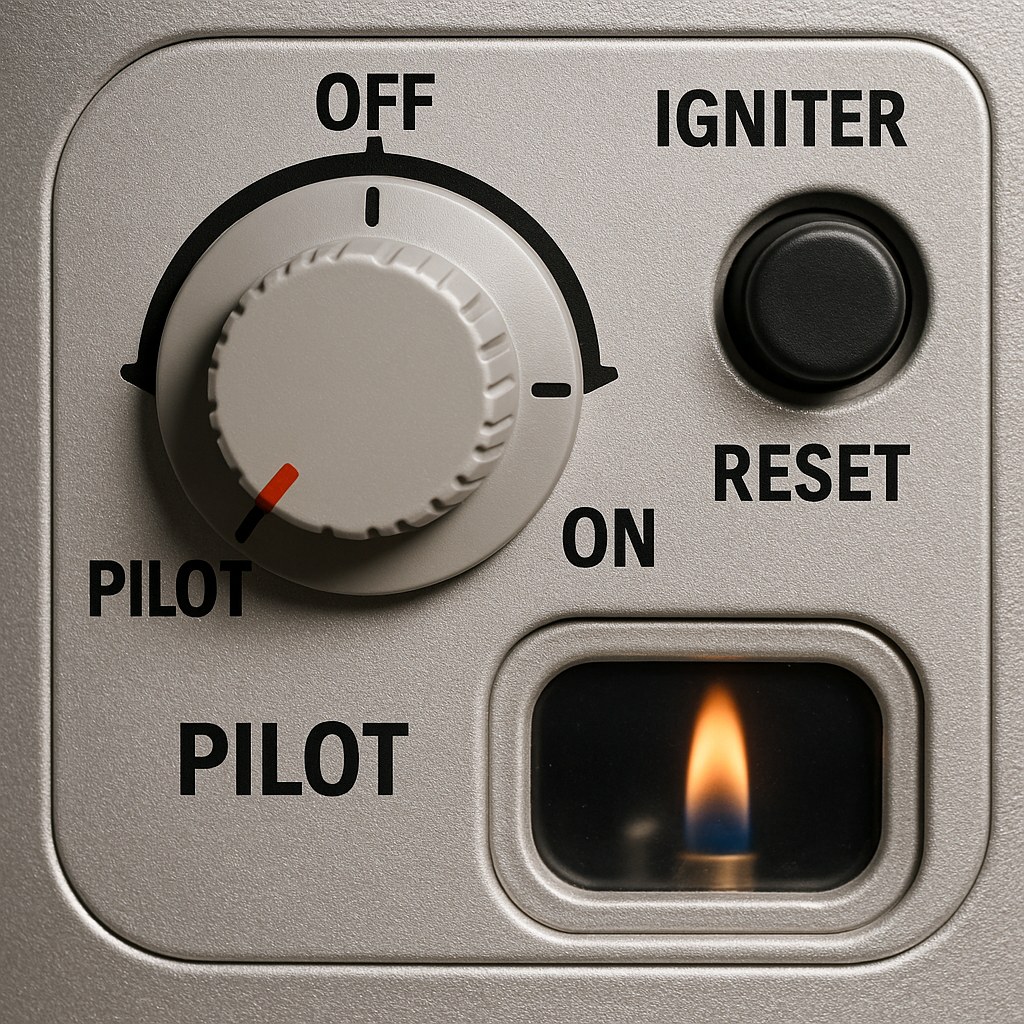
- Turn the Gas Control Knob to "Off": Locate the main control knob on the gas valve. It will have "On," "Off," and "Pilot" settings. Turn it completely to "Off."
- Wait 5-10 Minutes: Again, this is a critical safety step to allow any unlit gas to dissipate.
- Find the Pilot Burner: Look for the small access window or opening near the bottom of the tank. You may need to remove a small metal access panel. Use your flashlight to locate the two small gas tubes leading to the pilot assembly inside. This is where the flame will appear.
- Set to "Pilot": Turn the gas control knob to the "Pilot" position.
- Press and Hold: Press and hold the control knob down (or a separate red button next to it). This manually sends a small stream of gas to the pilot burner.
- Light the Pilot: While still holding the knob down, press the red or black piezo igniter button. You may need to press it several times. You should hear a "click" and see a small blue flame ignite inside the access window. If your igniter is broken, you'll have to use a long lighter to light the pilot through the access opening.
- Keep Holding for 60 Seconds: This is the most common point of failure for DIYers. Do not release the knob immediately! You must continue holding it down for a full 60 seconds after the flame is lit. This heats up a safety sensor called a thermocouple.
- Release and Check: After 60 seconds, slowly release the control knob. The pilot flame should remain lit. If it does, congratulations!
- Turn to "On": Turn the gas control knob to the "On" position. You should hear the main burner kick on with a "whoosh" sound.
- Replace the Panel: Put any access panels back in place. You should have hot water again in 30-60 minutes.
Troubleshooting: What If the Pilot Won't Stay Lit?
Did you follow the steps perfectly, but the pilot light went out as soon as you released the knob? This is a very common issue, and it almost always points to a dirty or faulty thermocouple.
The thermocouple is a small copper sensor that sits in the pilot flame. Its job is to detect heat and signal the gas valve that it's safe to stay open. If it's covered in soot or has failed, it won't sense the flame and will shut the gas off as a safety precaution.
You can often fix this by cleaning it:
- Turn the gas control knob to "Off" and wait at least 10 minutes for everything to cool down.
- Remove the access panel to get to the pilot assembly.
- The thermocouple is the small copper rod positioned right next to where the pilot flame burns.
- Gently clean the tip of the thermocouple with a piece of fine grit sandpaper or an emery cloth. You just want to remove any carbon buildup so the metal is shiny.
- Wipe away any debris with a dry cloth.
- Now, go back and repeat the steps in the "Relight standing pilot" guide.
If the pilot stays lit after cleaning, you've solved it! If it still won't stay lit, the thermocouple itself has likely failed and needs to be replaced. This is an inexpensive part, but if you're not comfortable with the repair, it's a quick job for a professional.
When to Call a Professional
While fixing a pilot light is a great DIY skill, it's important to know your limits. It's time to call a certified HVAC technician if:
- You smell gas at any point.
- Your electric water heater doesn't work after resetting the breaker.
- Your electronic ignition model refuses to reset.
- The pilot light will not stay lit even after cleaning the thermocouple.
- You are simply not comfortable performing any of these steps.
According to Forbes, the average cost for a professional water heater repair typically ranges from $150 to $700, depending on the part that needs fixing. A simple service call to diagnose the issue and relight the pilot will be on the lower end of that spectrum and can provide valuable peace of mind.

Your Hot Water is Back!
Navigating home repairs can be daunting, but you did it. By following these steps safely, you’ve tackled one of the most common household issues and restored comfort to your home.
Want to become an even more confident homeowner? Download the Casa app today! Casa provides easy-to-follow guides for hundreds of home maintenance tasks, helps you keep track of your home's needs, and connects you with vetted, local professionals for the jobs you'd rather leave to an expert. Take control of your home with Casa.


