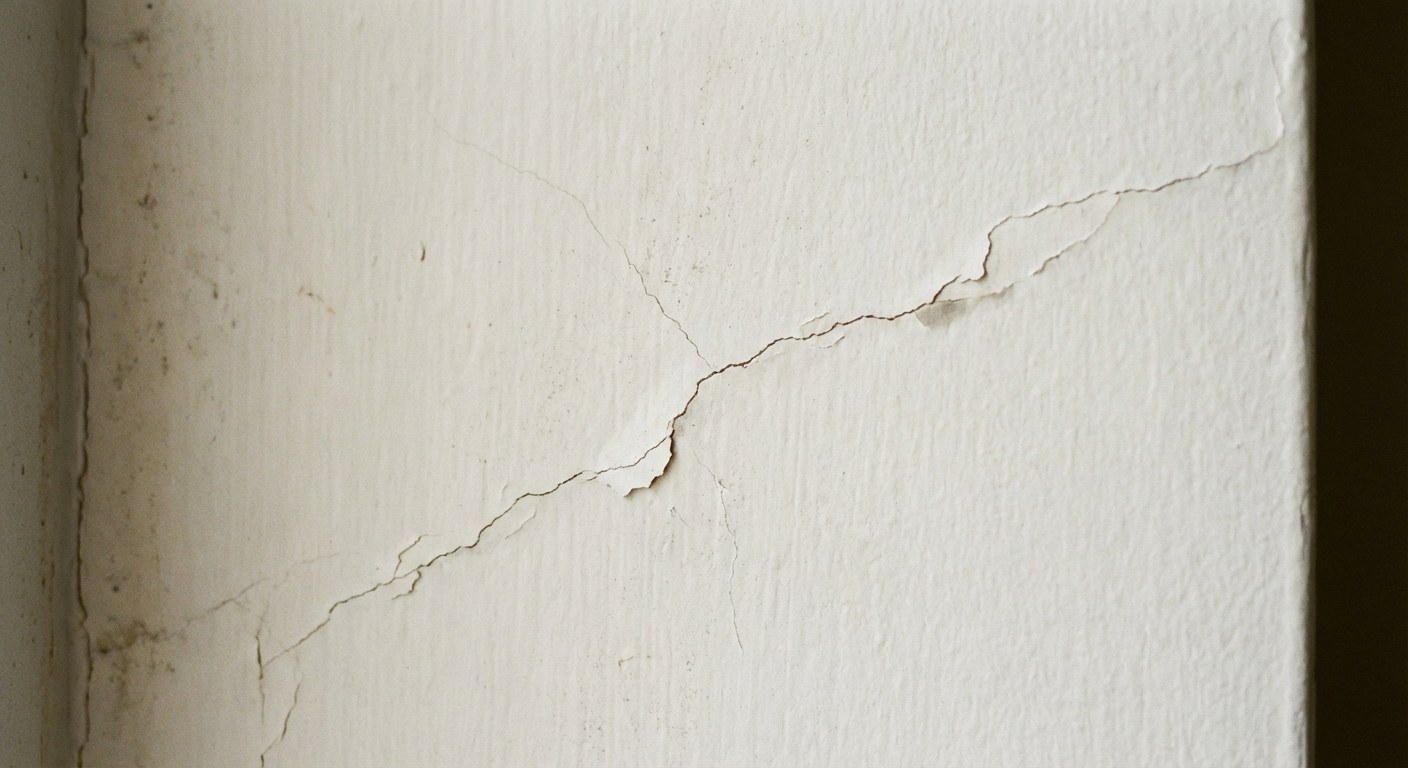
Take a deep breath. In the vast majority of cases, small wall cracks are completely normal. Houses are made of wood, concrete, and drywall—materials that expand and contract with temperature changes and settle over time. As your home "breathes" through the seasons, the rigid drywall sometimes gives way, resulting in those hairline fractures you’re seeing.
The good news is that fixing them is one of the most manageable DIY projects for a new homeowner. It requires very few tools, very little money, and just a bit of patience.
Here is how to assess the damage and make those cracks disappear.
Step 1: Diagnose the Crack
Before you open a tub of spackle, you need to make sure the crack is cosmetic (safe to fix yourself) rather than structural (needs a pro).
Grab a flashlight and a credit card.
Hold the flashlight against the wall to cast a shadow across the crack—this helps you see the true width and depth.
The Credit Card Test:
Is the crack wider than the edge of a credit card (about 1/16 inch)?
- No: It’s likely a standard settling crack. You can proceed with the repairs below.
- Yes: Proceed with caution. Wider cracks can indicate more significant movement.
The Structural Check:
Walk through your home. Do you see matching cracks in the same spot in adjacent rooms? Do the cracks run across the ceiling and down the wall in a continuous line? Do you see visible cracks in your home's exterior foundation?
- If YES: This suggests structural movement. Stop here and call a structural engineer or a foundation specialist.
- If NO: You are likely clear to fix this yourself.
Step 2: Choose Your Repair Method
Not all cracks are fixed the same way. The method depends on where the crack is located.
- Mid-Panel Cracks: These appear in the middle of a smooth wall section. They are usually caused by minor settling or impact.
- Joint/Corner Cracks: These appear in the corners of a room or in straight vertical/horizontal lines where two sheets of drywall meet. These are often caused by the drywall tape lifting or shifting.
How to Repair a Mid-Panel Crack
Best for random hairline fractures in the middle of a wall.
Time: ~30 minutes of work (plus drying time)
Difficulty: Moderate
Tools:
- Drop cloth
- N95 mask and safety glasses
- Utility knife
- Putty knife
- Lightweight spackle
- Fine-grit sandpaper
- Paintbrush
The Process:
- Prep the area: Lay down your drop cloth. Even small repairs create dust. Put on your mask and glasses.
- Open the crack: This feels counterintuitive, but you need to make the crack slightly bigger to fix it. Use your utility knife to trace the crack, carving a "V" shape along the length of it. This gives the spackle more surface area to grip.
- Clean it out: Use a dry paintbrush to whisk away any loose dust or gypsum from the V-groove.
- Fill it: Use your putty knife to press lightweight spackle into the crack. Don't just wipe it over the top; press it in.
- Smooth it: Swipe the knife over the surface to remove excess material. You want it slightly raised, as it may shrink when drying, but not a mountain of goop.
- Let it dry: Wait at least 30 minutes (check the label on your spackle).
- Sand: Gently sand the area with fine-grit sandpaper until it is perfectly flush with the wall.
How to Repair a Joint or Corner Crack
Best for straight cracks running vertically or horizontally, or cracks in corners.
Time: ~45 minutes of work (plus drying time)
Difficulty: Harder (requires more finesse)
Tools:
- Drop cloth
- N95 mask and safety glasses
- Drywall joint knife (wider than a putty knife)
- Paper drywall tape
- Joint compound (different from spackle)
- Fine-grit sandpaper
The Process:
- Clean the joint: Use your joint knife to scrape away any loose paint, old compound, or peeling tape. You need a solid surface.
- Apply compound: Spread a thin layer of joint compound over the crack.
- Tape it: Cut a strip of paper drywall tape to length. Press it into the wet compound. Use your knife to smooth it out, squeezing out excess compound from behind the tape. Start from the center and wipe outward.
- Cover it: Apply a second thin coat of compound over the tape. "Feather" the edges, meaning you spread the compound thinner and thinner as you move away from the center, blending it into the wall about 2 inches out.
- Dry and Sand: Let it dry for at least an hour. Sand lightly until smooth.
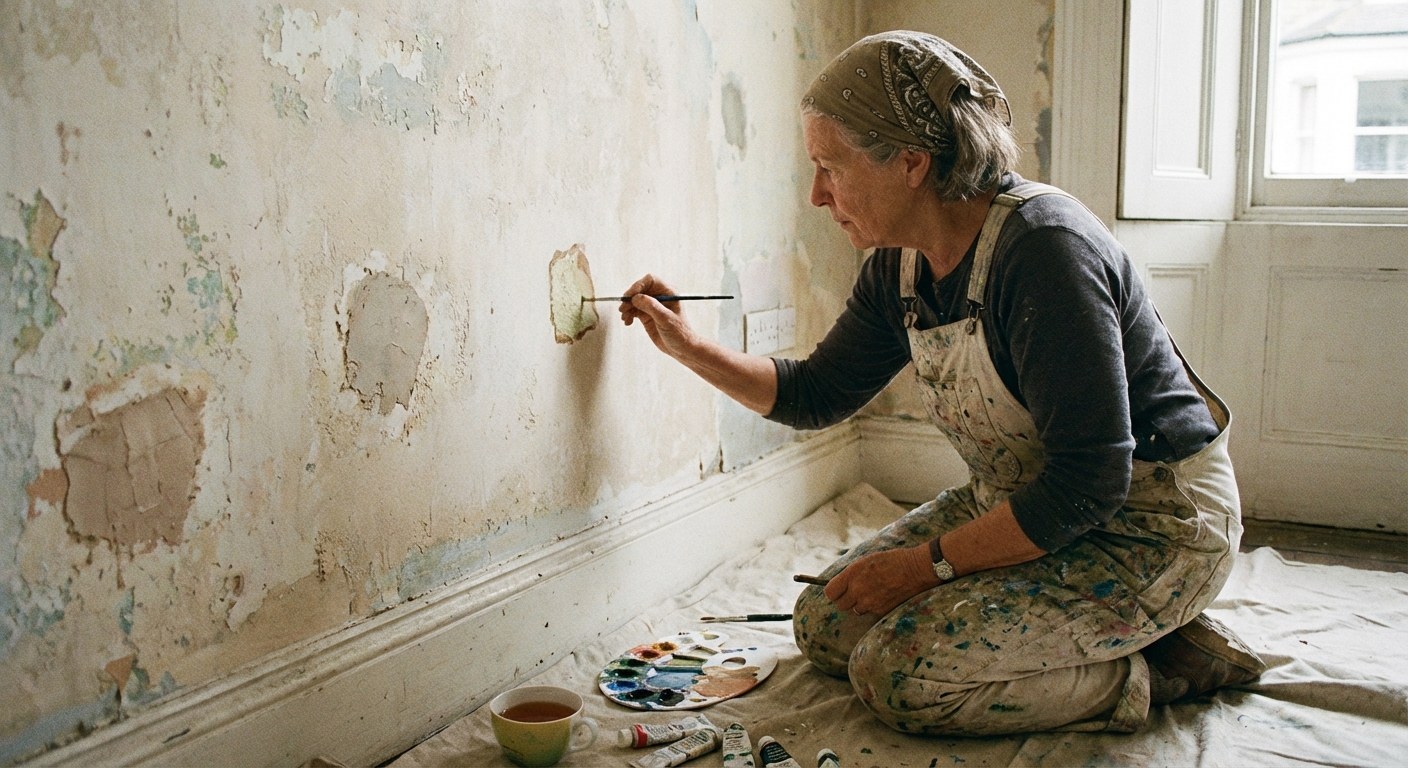
Step 3: Finish the Surface
Once your patch is sanded and smooth, you have one final hurdle: matching the rest of the wall.
If your wall is smooth:
- Wipe away the sanding dust with a microfiber cloth.
- Apply a thin coat of interior primer to seal the patch. (If you skip this, the paint will soak in differently and look dull).
- Once the primer is dry (about 30 minutes), apply your matching wall paint. Feather the paint outward to blend it with the surrounding area.
If your wall is textured (Orange peel, knockdown, etc.):
- Buy a can of wall-texture spray (available at any hardware store).
- Test it first: Shake the can for a minute and spray it onto a piece of cardboard. Adjust the nozzle until the spray pattern matches your wall.
- Apply: Hold the can 12 inches from the wall and use quick, light sweeps. Don't overdo it—you can always add more, but it's hard to take off.
- Wait 10 minutes. If it looks light, add another quick pass.
- Let it dry for an hour, lightly sand any high spots, then prime and paint as described above.
When to Call a Pro
While most cracks are DIY-friendly, there are times to stop and call for help. If you noticed the cracks are wider than a credit card, or if you see "stair-step" cracks in your exterior brick or concrete foundation, this requires a professional opinion.
Final Thoughts
Small cracks are a part of homeownership, like a squeaky floorboard or a dripping faucet. They rarely mean something is wrong with your house; they just mean your house is settling into its environment.
Tracking these little changes is a great way to stay on top of your home's health. Download the Casa app to keep a log of your home repairs, store paint codes for easy touch-ups, and get personalized maintenance reminders. A little attention today prevents big headaches tomorrow.


