
Looking for more guidance? Take a look at our Repairs overview.
DEC 17, 2025
How to Fix Bubbling Paint on Your Walls

DEC 17, 2025
Looking for more guidance? Take a look at our Repairs overview.
You’ve spent hours, maybe even days, prepping and painting a room. You step back to admire your work, only to see it: a cluster of bubbles and blisters marring your otherwise perfect finish. It’s a frustrating sight, but don’t worry—it’s a common problem with clear solutions. Bubbling paint is your wall's way of telling you that something went wrong, either during application or with the surface underneath.
The good news is that you can absolutely fix this. Whether the paint is still wet or has been dry for weeks, a little detective work and the right technique will have your walls looking smooth and flawless again.
In this guide, we’ll walk you through everything you need to know about how to fix bubbling paint. We'll start by identifying the root cause and then dive into the specific, step-by-step repairs. Think of us as your expert on the line, ready to help you get this sorted out.
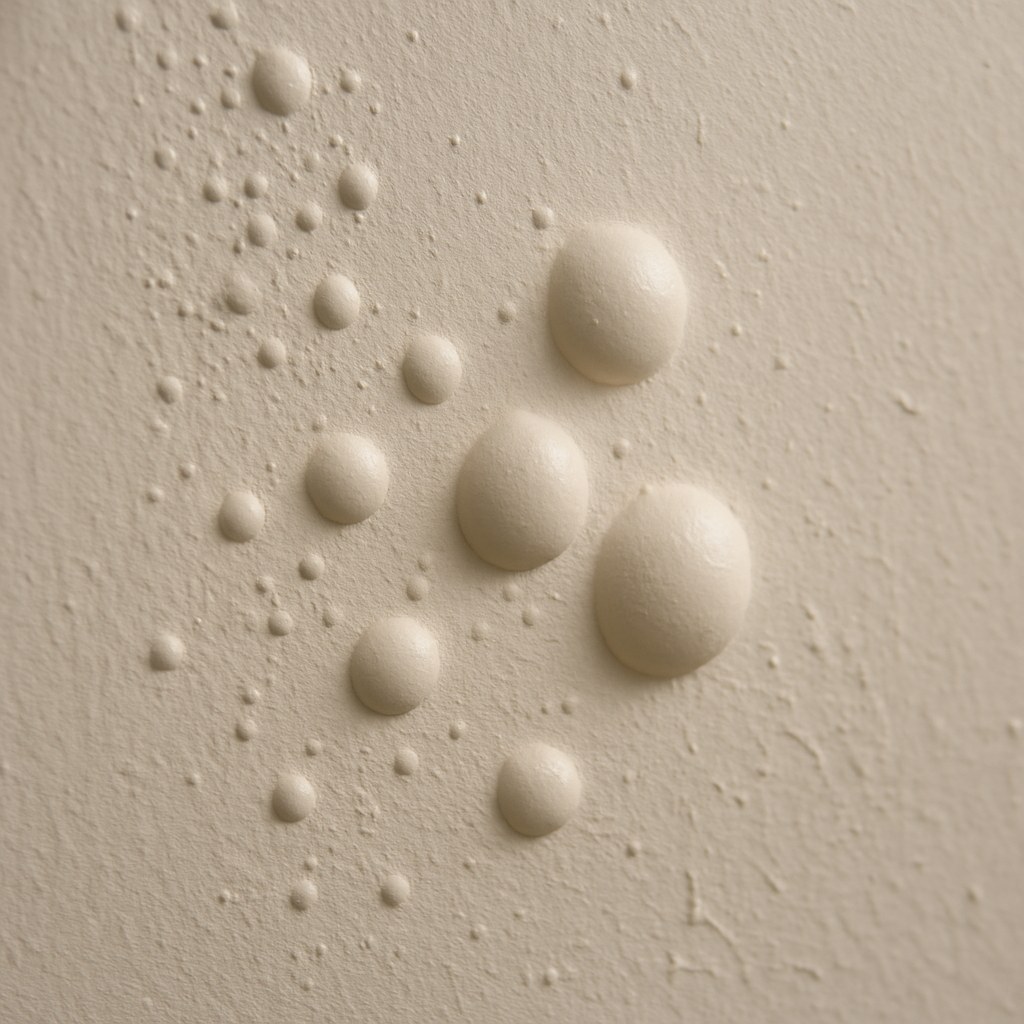
Before you can fix the problem, you need to understand what caused it. Paint bubbles, also known as blisters, form when a layer of paint loses adhesion to the surface underneath it. This pocket of air or moisture is what you see as a bubble. Here are the four most common culprits:
Moisture and Humidity: This is the number one cause of paint bubbles. If there's moisture trapped in the wall from a leak, high humidity, or condensation, it will try to escape, pushing the paint outward. This is especially common in bathrooms, kitchens, and basements. A musty smell or damp feel to the wall is a dead giveaway.
Surface Contamination: Paint needs a clean, dry, and slightly porous surface to stick to. If you painted over a wall that had dirt, grease, oil, or even just a fine layer of dust on it, the paint can't form a strong bond. This lack of adhesion eventually leads to blistering as the paint detaches from the contaminated spots.
Heat and Direct Sunlight: Applying paint to a surface that’s too hot or in direct, intense sunlight can cause the top layer to dry too quickly. This process, called "skinning," traps wet paint and solvents underneath. As these trapped solvents evaporate, they create gas pockets that push against the dried top layer, forming bubbles.
Improper Prep or Application: Sometimes, the issue lies in the technique. Applying paint too thickly can prevent it from drying evenly. Another classic mistake, especially in older homes, is applying a water-based (latex) paint directly over an old oil-based paint without the proper primer. The two types of paint are fundamentally incompatible and will not bond, causing widespread peeling and bubbling.
Now that you have a better idea of what might be going on, let's get to the fix.
Your first move is to determine the state of the paint. The fix for wet paint bubbles is very different from the fix for dry ones.
To check, find an inconspicuous spot and gently press a fingertip against one of the bubbles. If the paint feels tacky or leaves color on your finger, it’s still wet. If it feels hard and dry, you can skip to the next section.
You might be in luck! Sometimes, bubbles that appear during application will settle down on their own as the paint cures. If they don't, you can try to smooth them out.
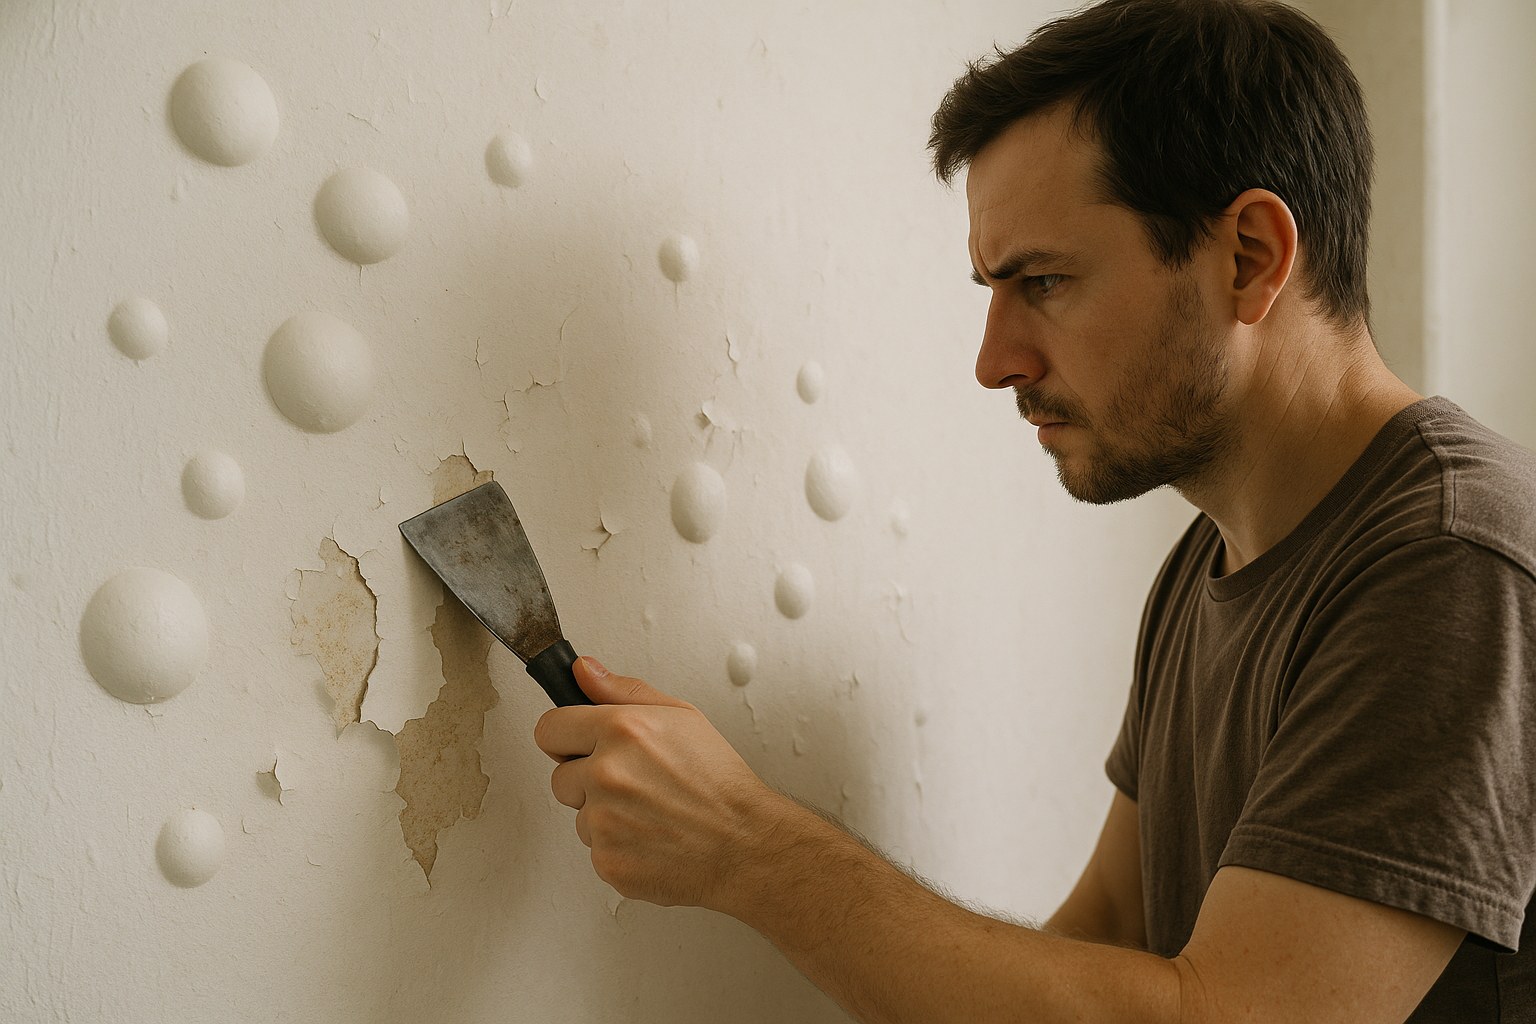
If the paint was already dry, or if your wet paint bubbles came back, it’s time for a more thorough repair. This process involves removing the bubbled paint, fixing the underlying issue, and then repainting.
If you suspect moisture is the culprit (common in humid rooms or on walls with plumbing), you must address the source of the water before repainting.
If you think a contaminated surface caused the bubbles, the fix involves a deep clean.
This issue requires completely removing the new paint and starting over with the right prep.
If you painted in direct heat or simply applied the paint too heavily, the fix is straightforward.
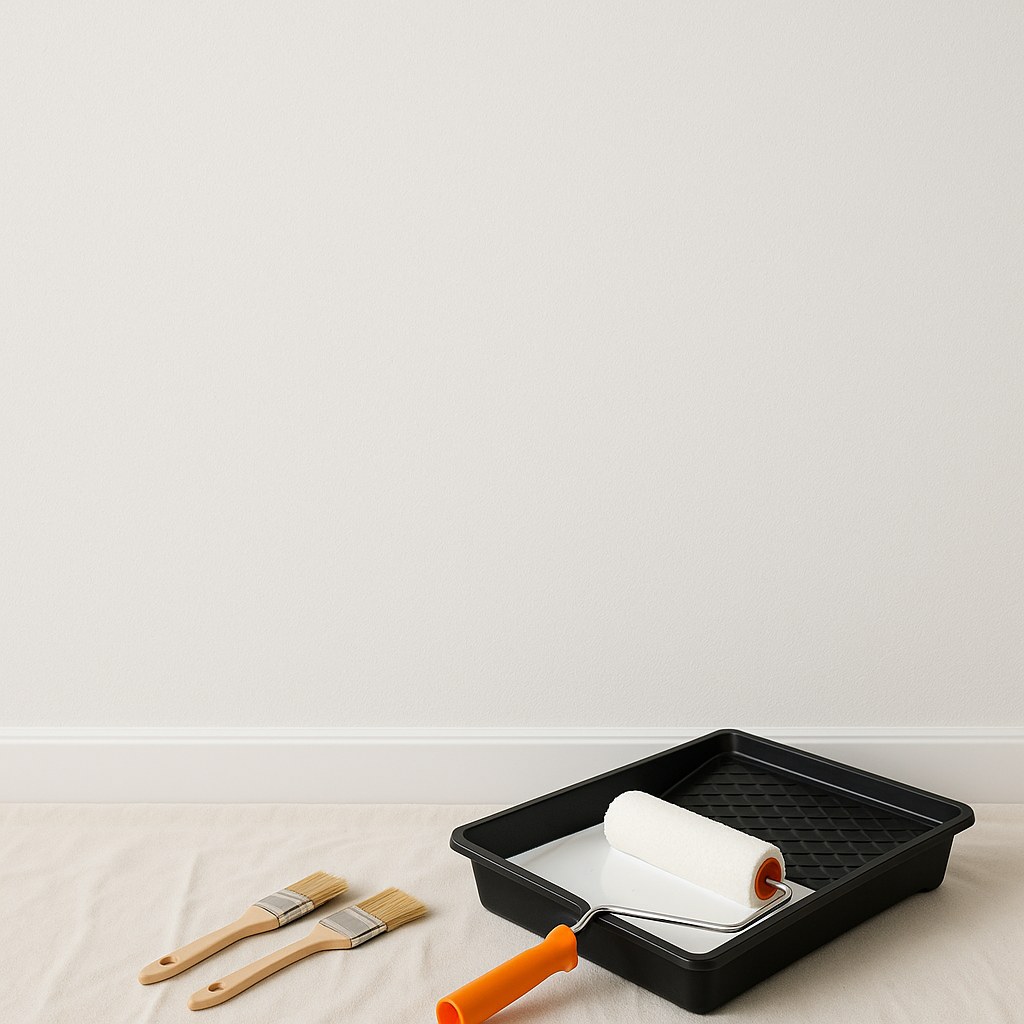
Fixing paint bubbles is manageable, but avoiding them in the first place is even better. Always remember the keys to a perfect paint job: start with a clean, dry surface, use the right primer for the job, apply thin coats, and control your environment by avoiding extreme heat or humidity.
Tackling home repairs can feel daunting, but you don't have to do it alone. For more expert tips, personalized project guidance, and help finding trusted professionals in your area, download the Casa app today. We make it easy to manage any home maintenance task, from simple fixes to major renovations. Let Casa help you turn your home improvement frustrations into successes.


