A fence is only as strong as its weakest post. If you’ve noticed a section of your fence swaying in the wind, leaning drunkenly to one side, or literally heaving out of the ground, you aren't alone.
Looking for more guidance? Take a look at our Repairs overview.
Get the Casa App
Identify and resolve the issue to prevent future problems.
Fence posts take a beating from the elements. They deal with moisture from the soil, pressure from high winds, and the freeze-thaw cycles of winter that can push them upward (a process called "frost heave"). While a wobbly post looks alarming, it doesn't always mean you need a brand-new fence.
In many cases, you can stabilize the post yourself in an afternoon. In others, the post might be too far gone and needs replacing. This guide will help you figure out exactly what’s happening below the surface and how to fix it.
Why Is My Fence Post Moving?
Before grabbing a shovel, it helps to know why the post failed. Usually, it's one of three things:
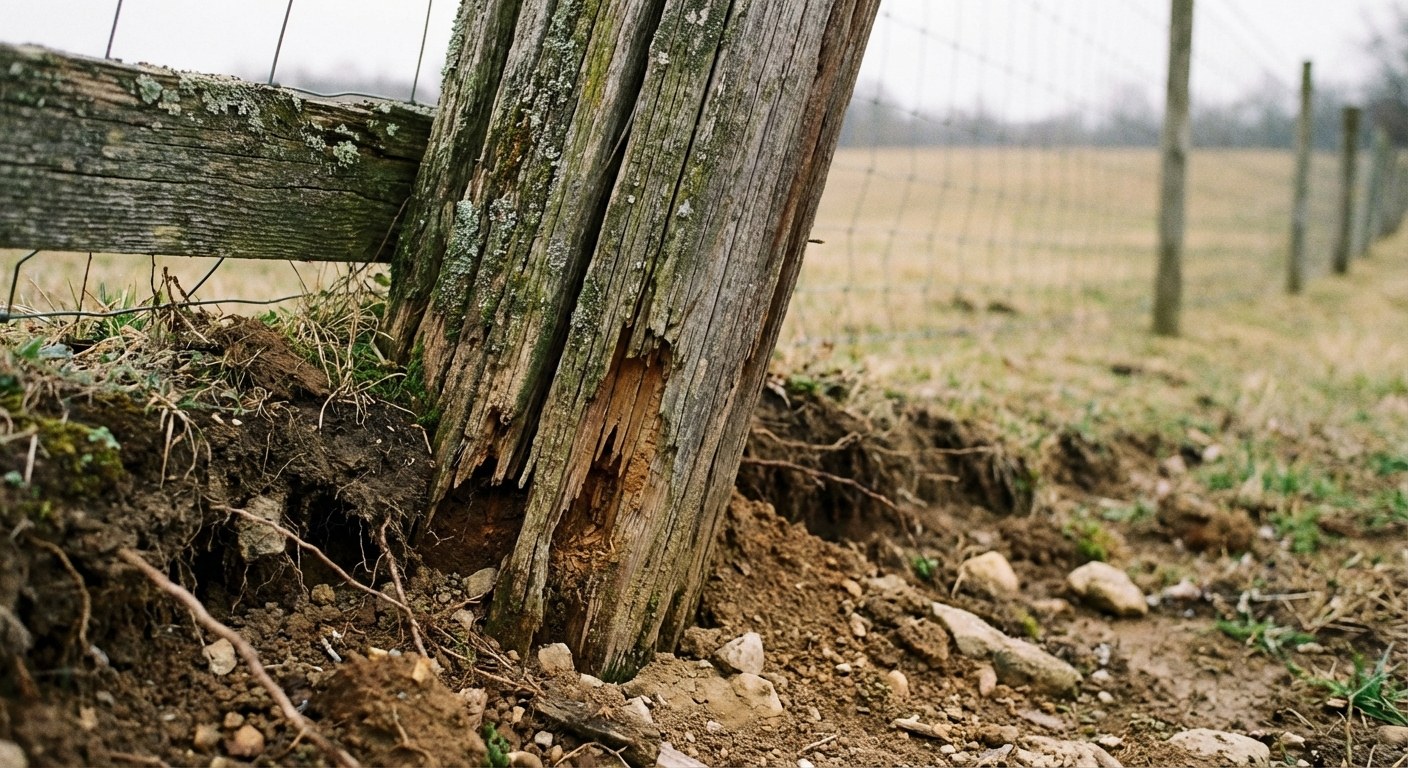
Rot or physical damage: Wood eventually rots, especially at ground level where moisture gets trapped. If the post snaps or crumbles when you push it, the wood is done.
Concrete footing failure: The concrete anchor below ground might have cracked or sunk, allowing the post to wiggle inside it.
Soil shifts: If the post was set directly in dirt (or if the ground is very soft), heavy rain or frost can loosen the soil grip, causing the post to lean.
Let's inspect your fence to see which problem you have.
Step 1: The Initial Assessment
Difficulty: Easy Time: 15 minutes
Grab a pair of work gloves and head out to the wobbly post. We need to determine if the post itself is salvageable or if it’s trash.
Check for rot. Poke the wood right at the ground line with a screwdriver. If it goes in easily or feels spongy, the post is rotted.
Check for snaps. Rock the post gently. Does it move at the ground level while the base stays still? That suggests a break below the surface.
Check the base. Dig a tiny bit around the base. Is it set in a concrete block, or just dirt?
Decision Time:
Is the post rotted, snapped, or hollowed out by insects? Stop here. You cannot repair the post; you must replace it. Skip to "Option A" below.
Is the post solid, but wiggling in the ground? You can likely save it. Skip to "Option B" below.
Option A: Replace a Damaged Fence Post
If the wood is rotted or broken, no amount of bracing will help. You need to dig the old one out and put a new one in.
When to call a pro: If the post is set in a massive chunk of concrete that you can't lift, or if the fence section is too heavy to support on your own, it’s worth calling a fencing contractor.
The Steps:
Support the fence. Before removing the post, prop up the fence rails on either side with scrap 2x4s so the fence doesn't collapse.
Detach the post. Unscrew the fence rails or panels from the bad post.
Dig it out. This is the hard part. Dig around the base until the post (and its concrete footing) is loose.
Remove the old post. Lift it out. If it’s heavy concrete, you might need to break it up with a sledgehammer first.
Prep the hole. Clear out debris. Pour about 6 inches of crushed gravel into the bottom of the hole for drainage.
Set the new post. Place your new pressure-treated post in the hole. Use a level to make sure it’s perfectly vertical (plumb).
Add concrete. While a helper holds the post steady, pour fast-setting concrete mix into the hole around the post. Add water according to the bag instructions and mix it with a stick right in the hole.
Wait and reattach. Hold it steady for a few minutes until it stands on its own. Wait about 2 hours for it to cure, then screw your fence rails back onto the new post.
Option B: Re-Secure a Loose Post (No Replacement)
If the wood is still strong but the post is leaning, the problem is the ground, not the post. The fix depends on whether it was set in concrete or soil.
If the post is in concrete:
Sometimes the concrete footer stays solid, but the earth around it gets loose.
Dig a trench. Dig a semi-circle trench (about 6 inches wide) on the side of the post opposite the lean.
Push it upright. Push the post until it’s level.
Fill the gap. Pour fast-setting concrete into the gap you created. Add water and let it set. This creates a "wedge" that stops the post from leaning back.
Note: If the concrete footing itself is cracked and crumbling, this won't work. You’ll need to break out the old concrete and treat it like a full replacement (Option A).
If the post is in soil (dirt only):
If there is no concrete, you have two choices: add concrete or repack with gravel.
To fix with gravel (good drainage):
Dig out the loose soil around the post down to about 2 feet.
Straighten the post.
Fill the hole with crushed gravel in 6-inch layers.
Important: Tamp (pack down) the gravel incredibly hard with a heavy stick or board after every layer. The friction of the sharp rocks holds the post tighter than dirt ever could.
To fix with concrete (strongest hold):
Dig the hole wider (about 10 inches) and deeper (30 inches).
Add 6 inches of gravel at the bottom.
Pour fast-setting concrete around the post up to about 3 inches below ground level.
Water it, mix it, and hold it level until set. cover the ugly concrete top with soil.
When to Call a Professional
While fixing a single post is a great Saturday project, there are times when you should hand it off to a pro:
Multiple posts are failing: This usually indicates the fence has reached the end of its life or was installed incorrectly.
Obstructed digging: If you hit large tree roots or utility lines (always call 811 before digging!), stop immediately.
Heavy gates: Posts that hold up heavy gates require specialized bracing and deeper footings that are hard to get right with DIY methods.
Summary
A leaning fence post is an eyesore, but it's usually fixable. By identifying whether the wood is rotted or just loose, you can save yourself the cost of a full fence replacement.
If you’re planning a weekend of repairs, download the Casa app. It’s a great way to keep track of your home maintenance history, store photos of the paint colors or wood stains you use on your fence, and organize your to-do list so nothing slips through the cracks.
Whether you’re mixing concrete or just tamping down gravel, take your time to get the post level—your fence will look brand new again.