The great news is that this is one of the most common and easily solvable appliance problems. In most cases, you can get that light shining again in under 15 minutes with no special tools required. You don't need to be an appliance expert—you just need a little guidance.
At Casa, we believe in empowering homeowners to tackle these fixes themselves. Let’s walk through the simple diagnostic steps to figure out why your fridge or freezer light is out and how to fix it.
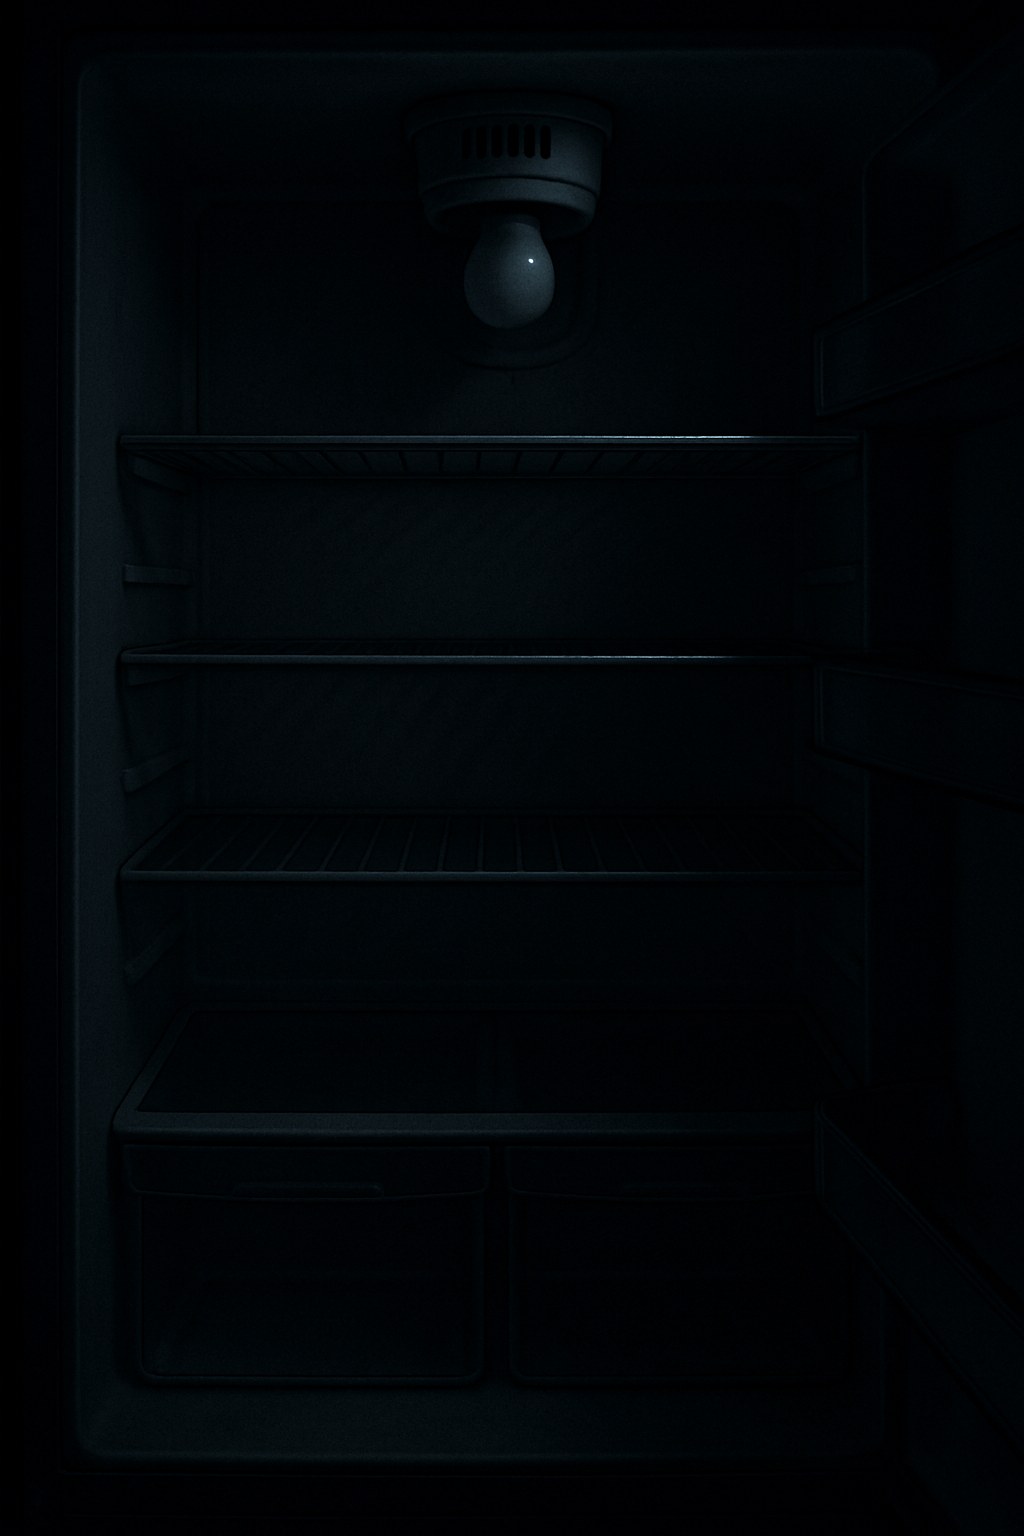
First Things First Is the Fridge Still Cooling
Before you start worrying about the bulb, you need to answer a critical question: is the rest of the appliance working correctly? The light being out could be a symptom of a larger power issue.
Here’s a quick 2-minute check:
- Listen for the Hum: With the door open, listen for the gentle hum of the compressor or the sound of the internal fan. These noises indicate the cooling system is running.
- Check the Display: Does your refrigerator have a temperature display or control panel? If those lights are on, your unit has power.
- Feel the Temperature: Touch a few items inside. Do they feel properly cold? This is the most straightforward confirmation that the cooling function is active.
- Test the Outlet: Unplug the refrigerator and plug a small lamp or phone charger into the same wall outlet. If the lamp turns on, the outlet is working fine.
If your refrigerator is not cooling, the fans are silent, and the outlet is working, you have a bigger problem than a burnt-out bulb. In this case, it’s best to call a professional appliance technician, as the issue could be with the compressor, control board, or internal wiring.
However, if the fridge is cold and running normally, the problem is isolated to the lighting system, and you can definitely fix this yourself!
How to Fix Your Refrigerator Light A Step by Step Guide
Let’s get that light back on. Follow these steps in order to diagnose and solve the problem efficiently.
Step 1 Safely Access and Inspect the Bulb
The most common culprit for a dark fridge is, unsurprisingly, a burnt-out light bulb. Here’s how to check it.
Tools Needed: None (potentially a Phillips head screwdriver if the cover is screwed on)
Time: 5-10 minutes
- Unplug the Refrigerator: Safety is always the first step. Before reaching inside, disconnect the power cord from the wall outlet to prevent any risk of electric shock.
- Locate the Light Cover: Find the plastic shield covering the light bulb. It’s usually at the top of the main compartment, along the ceiling or back wall.
- Remove the Cover: Most light covers are held in place by plastic tabs. You can typically release them by gently squeezing the sides or pressing a tab. Some older models might have a small screw holding the cover in place.
- Remove the Bulb: If the light was on recently, give the bulb a minute to cool down. Then, gently twist it counter-clockwise to unscrew it. Some newer fridges use a push-in style bulb, which you can simply pull straight out of the socket.
- Inspect for Damage: Hold the bulb up to a light source. Look for a broken or dangling filament inside the glass. You might also see dark, smoky spots on the glass, which are clear signs the bulb has burned out.
If you see a broken filament or burn marks, you’ve found your problem! It’s time to get a replacement.
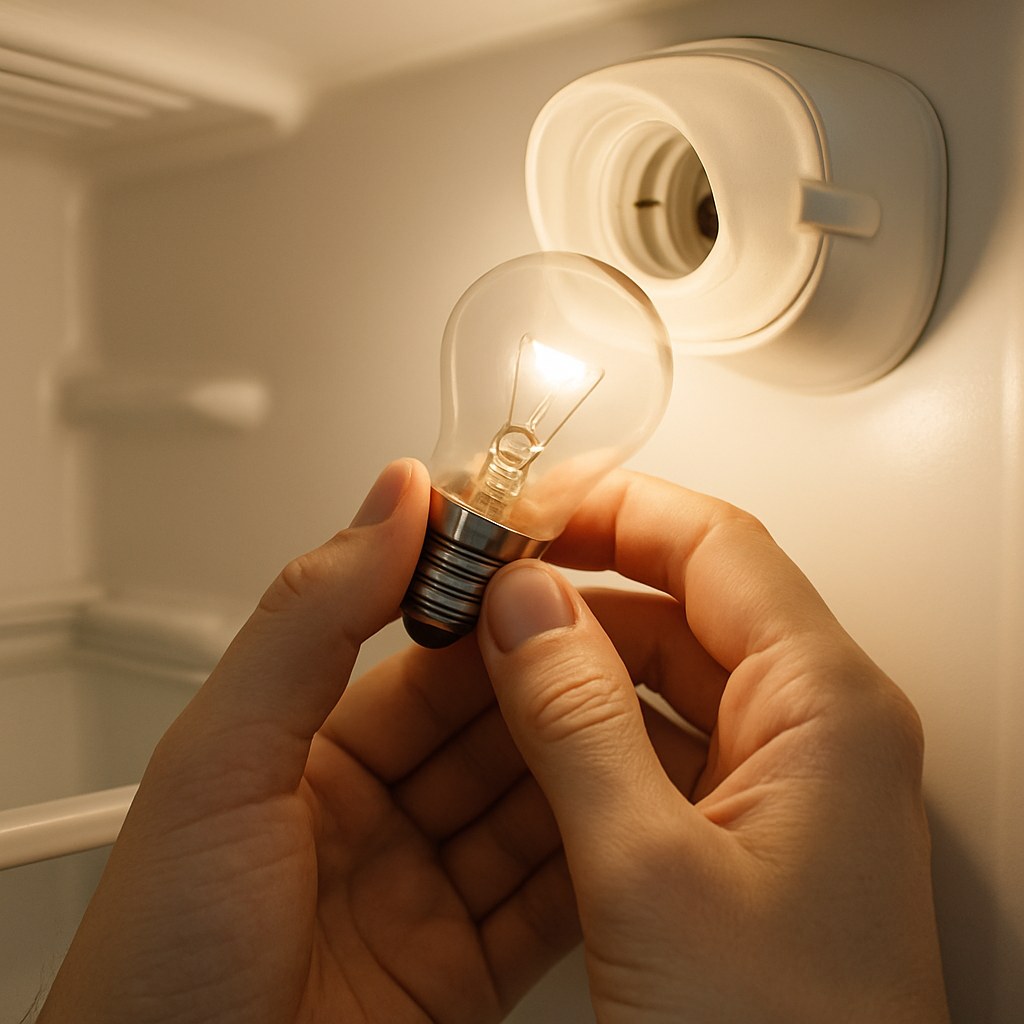
Step 2 Choosing and Replacing the Light Bulb
You can’t just grab any old light bulb from your closet. Refrigerators and freezers require a special "appliance bulb."
Why You Need a Specific Appliance Bulb
Standard household bulbs are not designed to withstand the cold temperatures and moisture inside a refrigerator. The temperature fluctuations can cause the glass of a regular bulb to become brittle and shatter. Appliance bulbs are built to be more durable and resistant to these conditions.
- Incandescent vs. LED: Traditional appliance bulbs are incandescent. However, many manufacturers now offer LED appliance bulbs. LEDs are a fantastic upgrade as they last much longer, use less energy, and produce very little heat, which means your fridge’s compressor doesn’t have to work as hard.
- Check the Specs: Look at the base of the old bulb for its wattage and voltage ratings (e.g., 40 watts, 120 volts). Your replacement bulb must match these specifications. Most home improvement and hardware stores carry universal appliance bulbs.
Installation Steps:
- Confirm the New Bulb: Double-check that your new bulb has the same base type and ratings as the old one.
- Install the Bulb: Gently screw the new bulb into the socket clockwise until it is snug. If it’s a push-in type, align the pins and push it firmly into place.
- Replace the Cover: Snap or screw the light cover back into its original position.
- Plug It In and Test: Plug the refrigerator's power cord back into the wall outlet and open the door. If the light comes on, congratulations—you’ve fixed it!
Step 3 What If a New Bulb Doesnt Work Check the Door Switch
If you've installed a brand-new bulb and the fridge is still dark, the next most likely culprit is the door switch. This small plunger-style switch tells the fridge when the door is open or closed, turning the light on and off accordingly. Over time, it can get dirty, stuck, or fail.
Tools Needed: A cotton swab and mild, soapy water.
Time: 5 minutes
- Locate the Switch: Find the small plastic switch along the frame of the refrigerator, usually near the top hinge. When you close the door, it pushes this plunger in.
- Test the Plunger: Press and release the switch several times with your finger. You should feel a slight springiness and hear a faint "click" each time. If it feels mushy, sticky, or makes no sound, it might be stuck.
- Clean the Switch: Sometimes, food residue or grime can cause the switch to stick in the "off" position. Unplug the fridge again. Dip a cotton swab in a little soapy water (don't drench it) and carefully clean the switch and the area around it. Dry it thoroughly.
- Check the Gasket: Make sure the rubber door seal (gasket) isn't blocking or holding the switch down when the door is open.
After cleaning, plug the fridge back in and test the light again. Often, a simple cleaning is all it takes to get the switch working properly.
When Your DIY Fix Doesnt Cut It Signs You Need a Pro
You’ve checked the power, replaced the bulb, and cleaned the switch, but the light is still out. At this point, the problem is likely more complex and requires a professional.
The issue could be a:
- Faulty light socket
- Damaged internal wiring
- Problem with the main control board
According to home service experts, hiring a technician for a minor electrical repair on an appliance can cost anywhere from $100 to $300, depending on the part and labor involved. While it's an expense, it's safer than attempting complex electrical work yourself.

Your Go-To Resource for Home Maintenance
Fixing a refrigerator light is a perfect example of a small DIY win that saves you time and money. It’s empowering to solve these little household problems on your own.
For every home maintenance challenge, from the simple fixes to the ones that require a professional, Casa is here to help. Download the Casa app today to get easy-to-follow, step-by-step guides for hundreds of home repairs. And if you ever find yourself stuck or facing a problem that's beyond your comfort zone, Casa can connect you with vetted, reliable professionals in your area.
Take control of your home maintenance with Casa—your friendly expert in your pocket.


